Group Level Documentation
From anywhere in Xano, click Connect this backend in the header. In the modal that opens, use the Global tab to modify workspace-wide documentation settings, and the API Groups tab to modify per-group documentation settings.
Documentation Access Levels
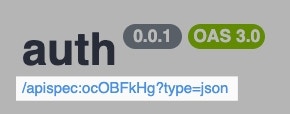
Public Public docs have no restrictions and are accessible by anyone with the URL. Private Private docs have a publicly accessible URL, but that URL must also include a token to gain access. This is the recommended setting. Disabled No documentation will be available.Accessing the Documentation
Once you’ve enabled your docs, you can access the URLs to them from the same modal at any time by clicking the to copy the URL, or to open them in a new tab.Using the Documentation
1
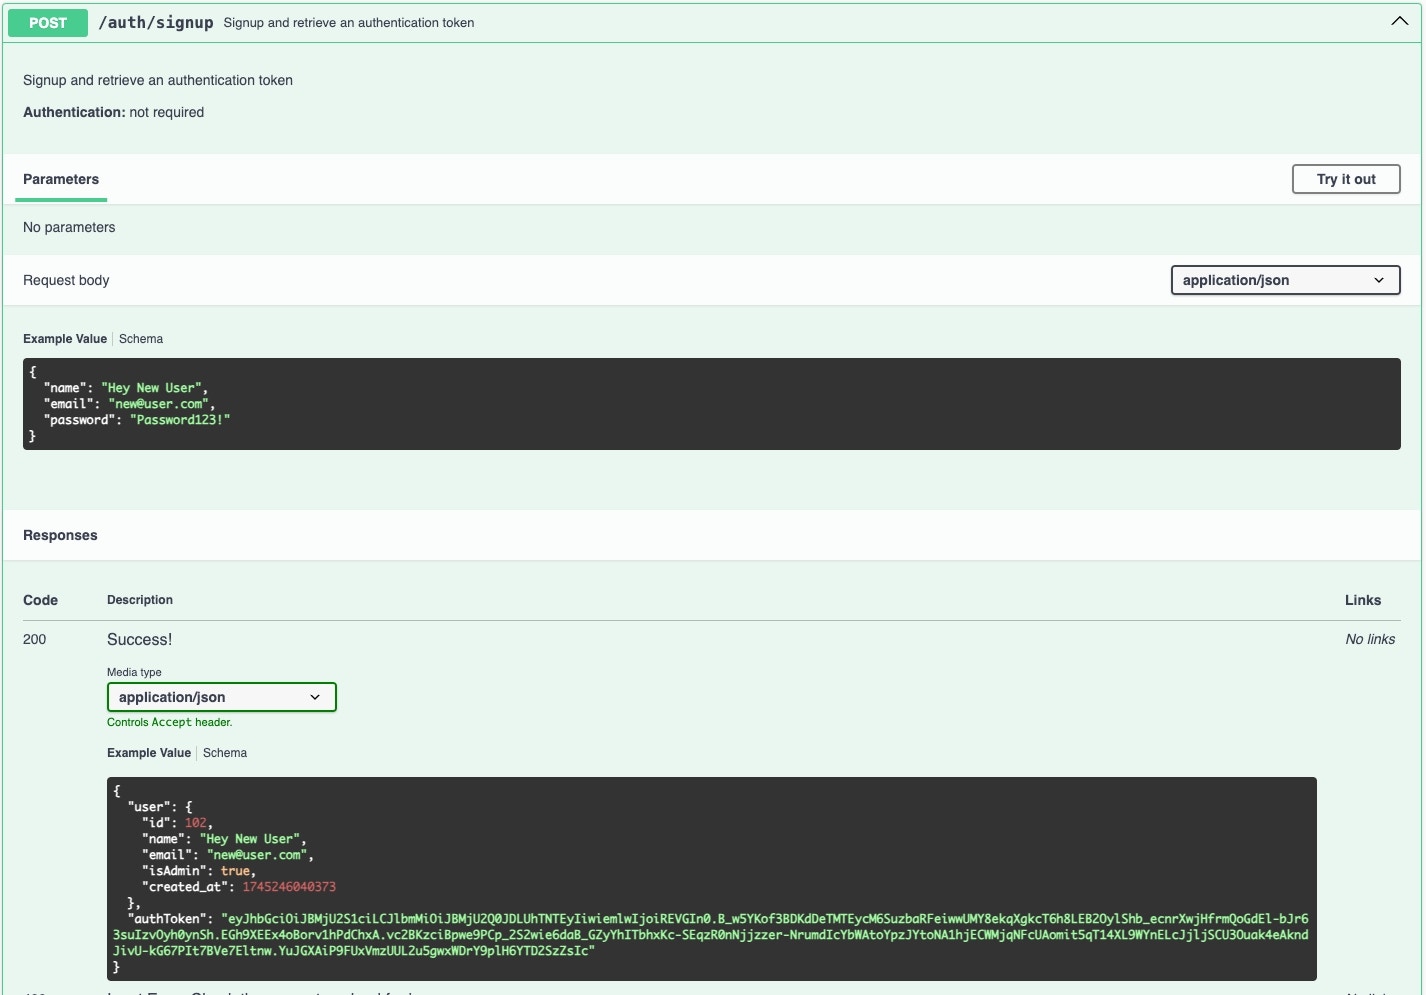
Review the API information shown.
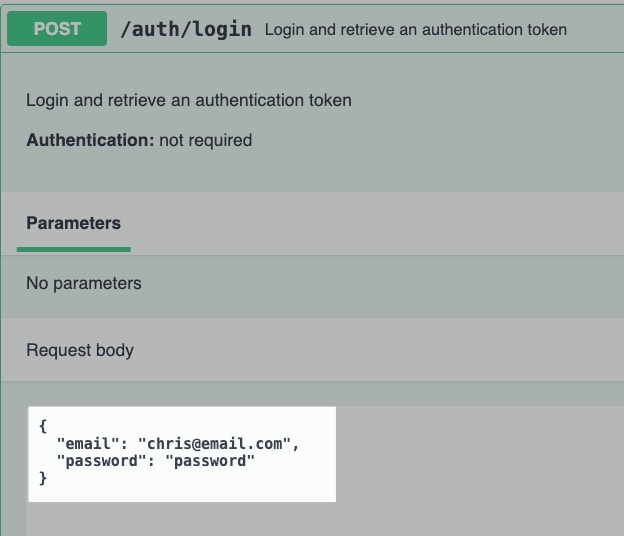
Each API will show you the method, the API name, and the description on the left side.

V to interact with your API of choice.2
Sending Authenticated Requests
If any of the API(s) you want to interact with require authentication, click  at the top of the page to supply an authentication token.
3
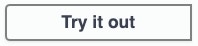
Click 'Try it out' to send a request to that API.
4
Fill in any request body values or parameters necessary.
5
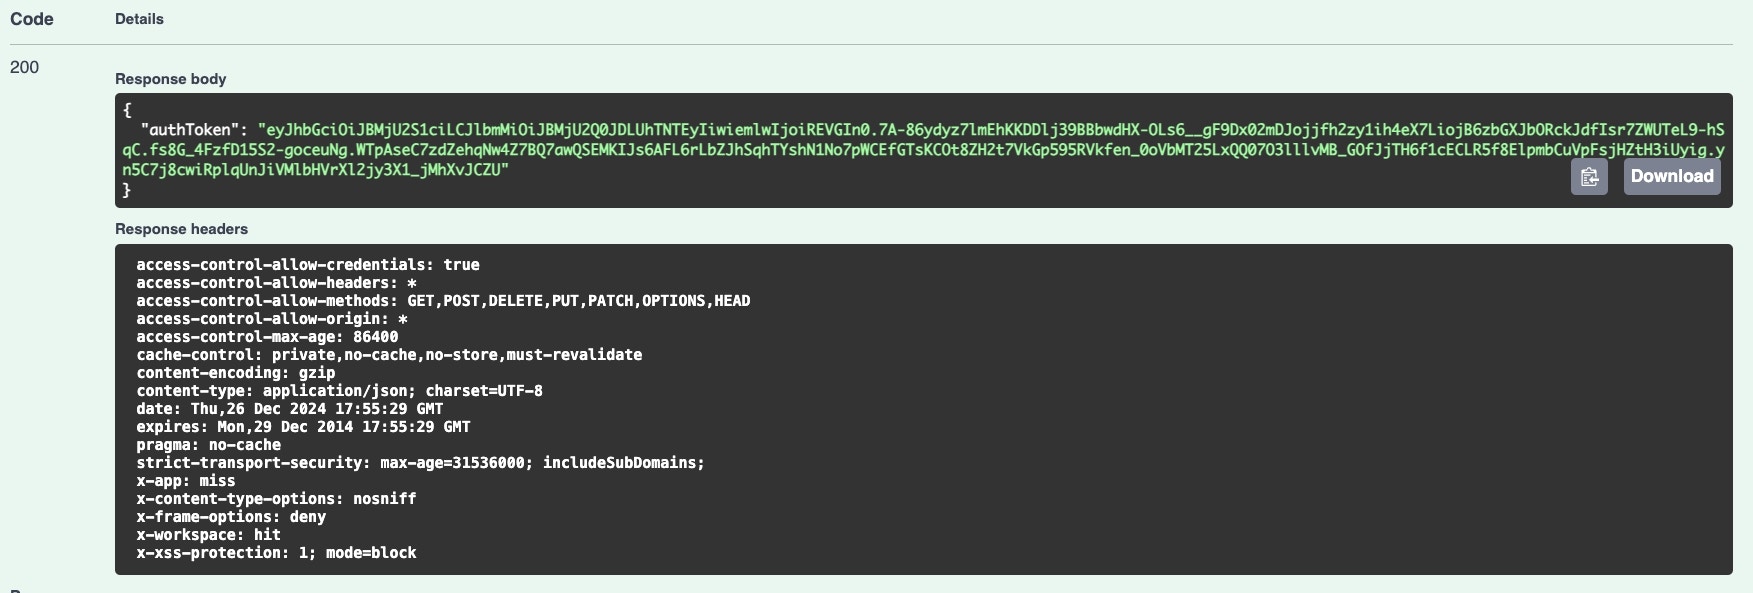
Click 'Execute' to send the test request.

Additional Features
Defining Sample Inputs and Responses
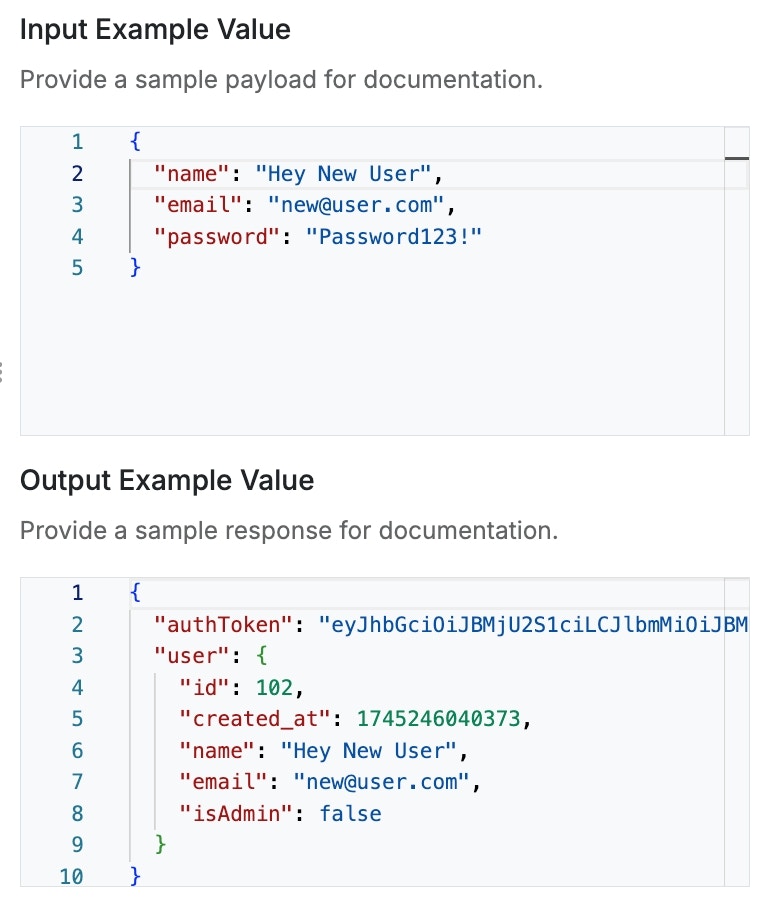
When testing your function stacks in Xano, you can define sample input and output examples for your Swagger documentation. It is important that you do this to ensure that your documentation is as effective as possible, as well as for helping AI models understand what’s expected when interacting with your APIs.1
In the 'response' section of the Run panel, click Set As Example
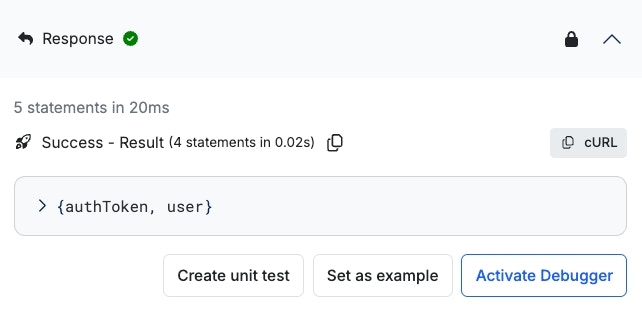
2
Review the sample input and response, and make any necessary adjustments
3
Click Save and you will see these defined in your Swagger documentation.
Copy / Copy as cURL
Throughout the documentation, you’ll seeJSON OpenAPI Spec