- Build your backend with AI using Xano Agent, code-first tools like Claude Code and Cursor, or the built-in AI assistants
- Power your entire backend — APIs, workflows, database, runtime, CI/CD, and observability
- Maintain complete visibility into your business logic with visual validation, audit trails, and standardized architecture
- Deploy and scale on enterprise-grade infrastructure with HIPAA compliance, SOC 2 certification, GDPR readiness — without managing DevOps
Build your first backend
Xano gives you multiple ways to build — pick whichever fits how you like to work. Everything you create in one mode is fully visible and editable in the others, so you can switch freely at any time.- Xano Agent
- CLI or IDE
- Visual editor
Xano Agent is an AI assistant built into Xano that can build your entire backend from a prompt. Describe what you need — tables, APIs, auth, business logic — and Xano Agent writes the XanoScript, presents a plan, and lets you review every change before publishing.
1
Open Xano Agent
Open Xano Agent from inside your workspace by clicking Xano Agent. You’ll see a chat interface where you can describe what you want to build.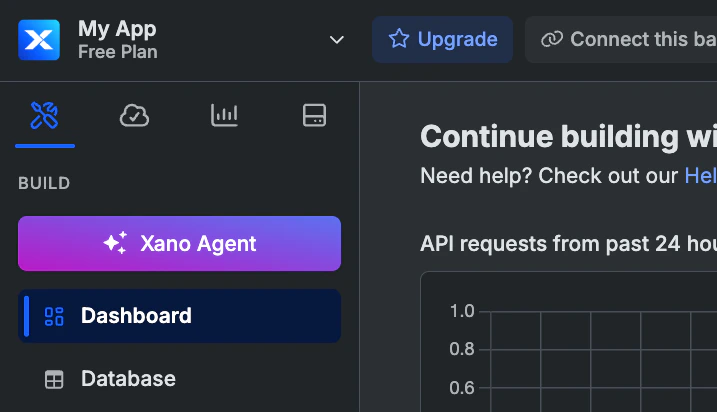
2
Describe your backend
Tell Xano Agent what you need. Be as specific as you like — it handles everything from simple CRUD to complex multi-table schemas with auth, relationships, and business logic.For example: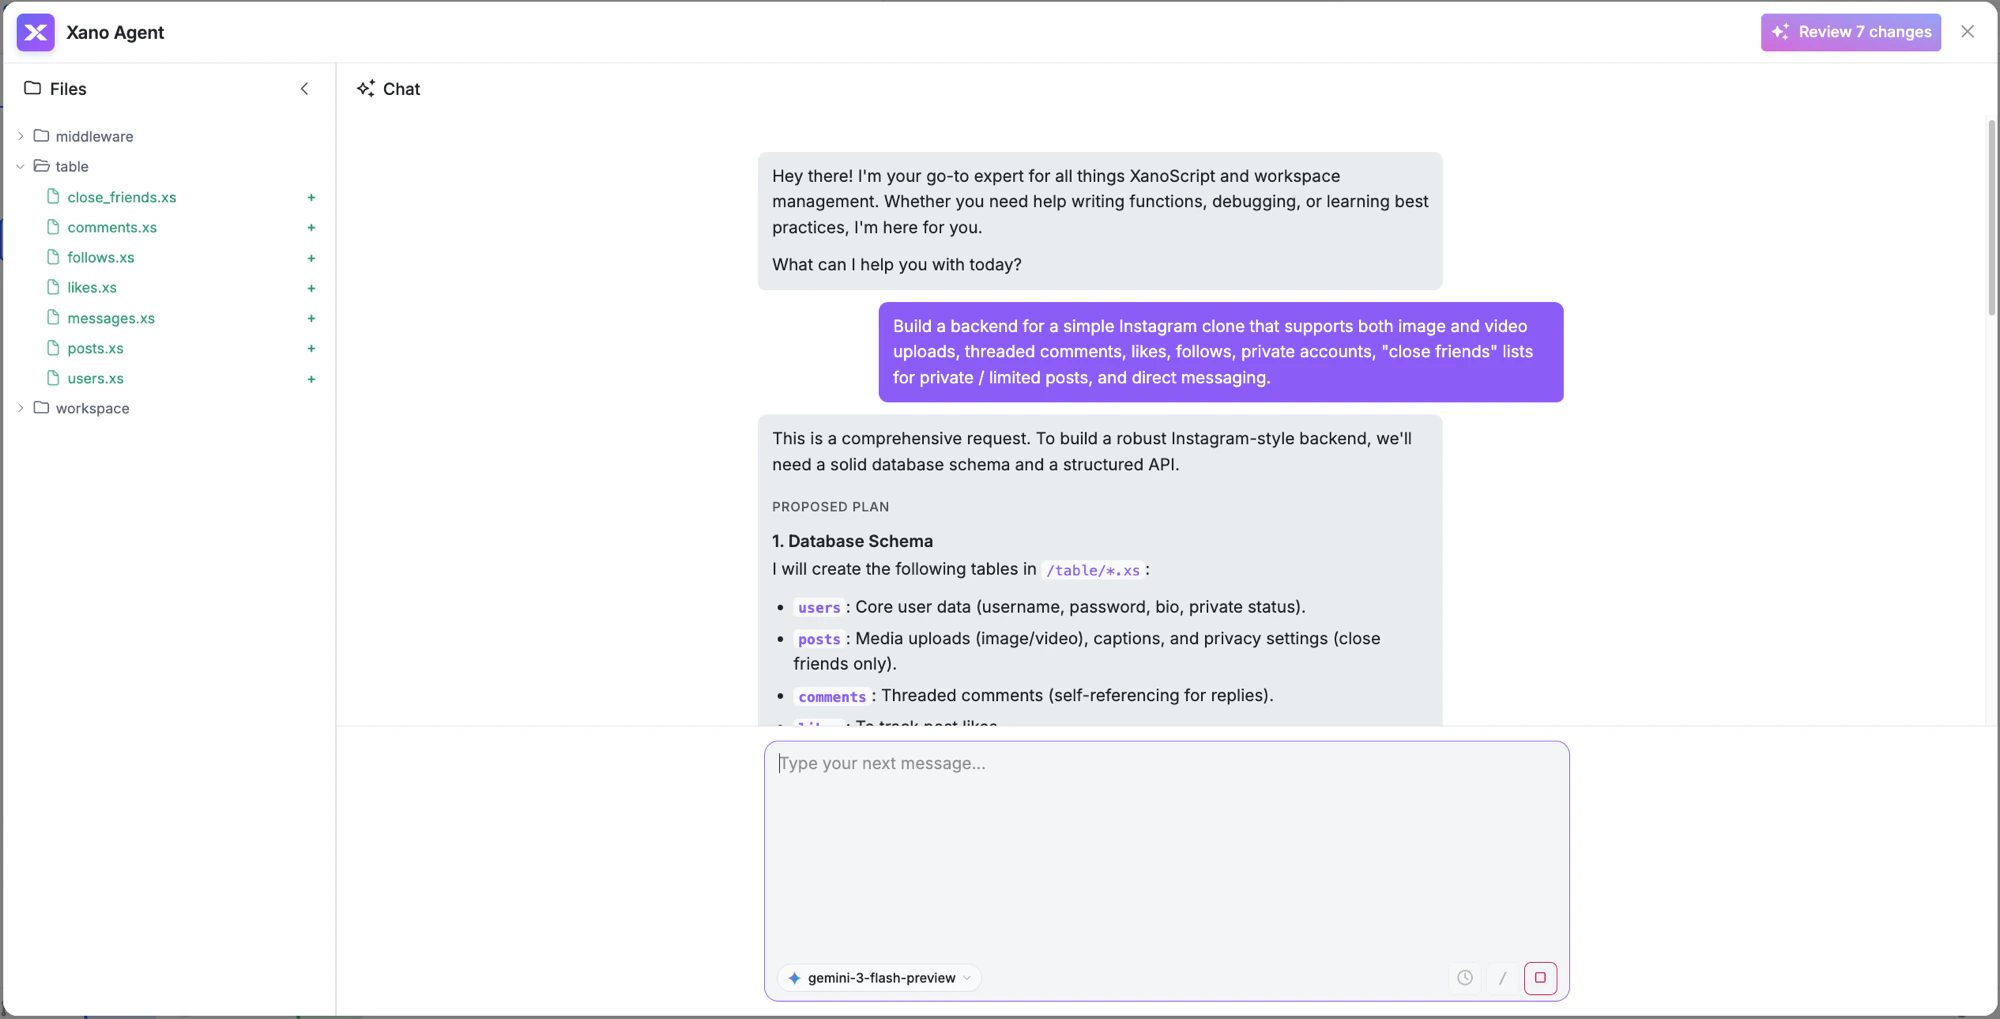
Build a backend for a simple Instagram clone that supports both image and video uploads, threaded comments, likes, follows, private accounts, “close friends” lists for private / limited posts, and direct messaging.
3
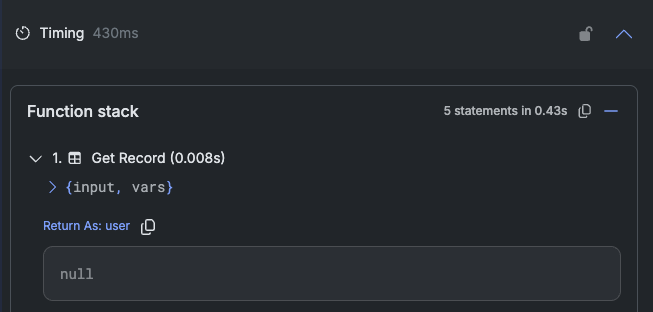
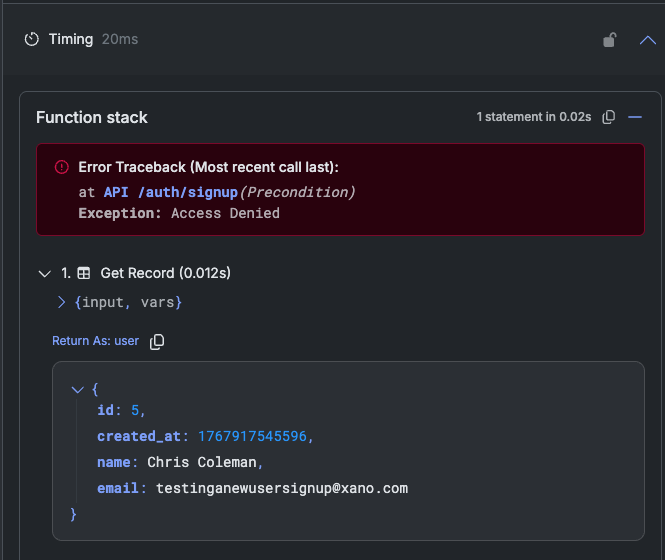
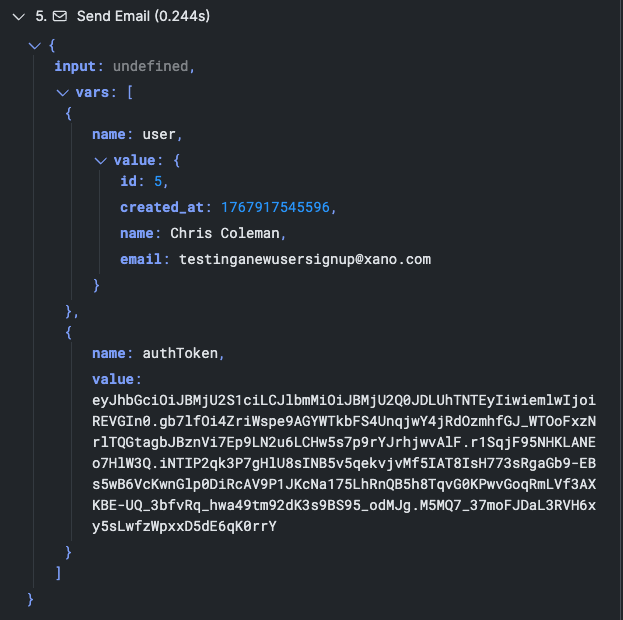
Review the output
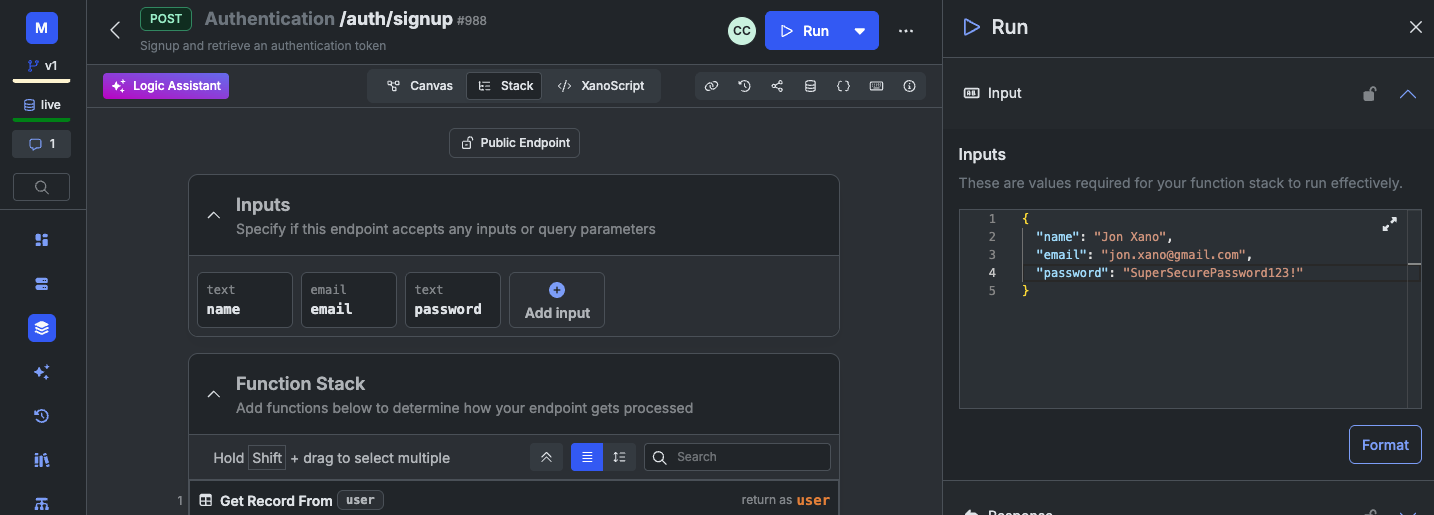
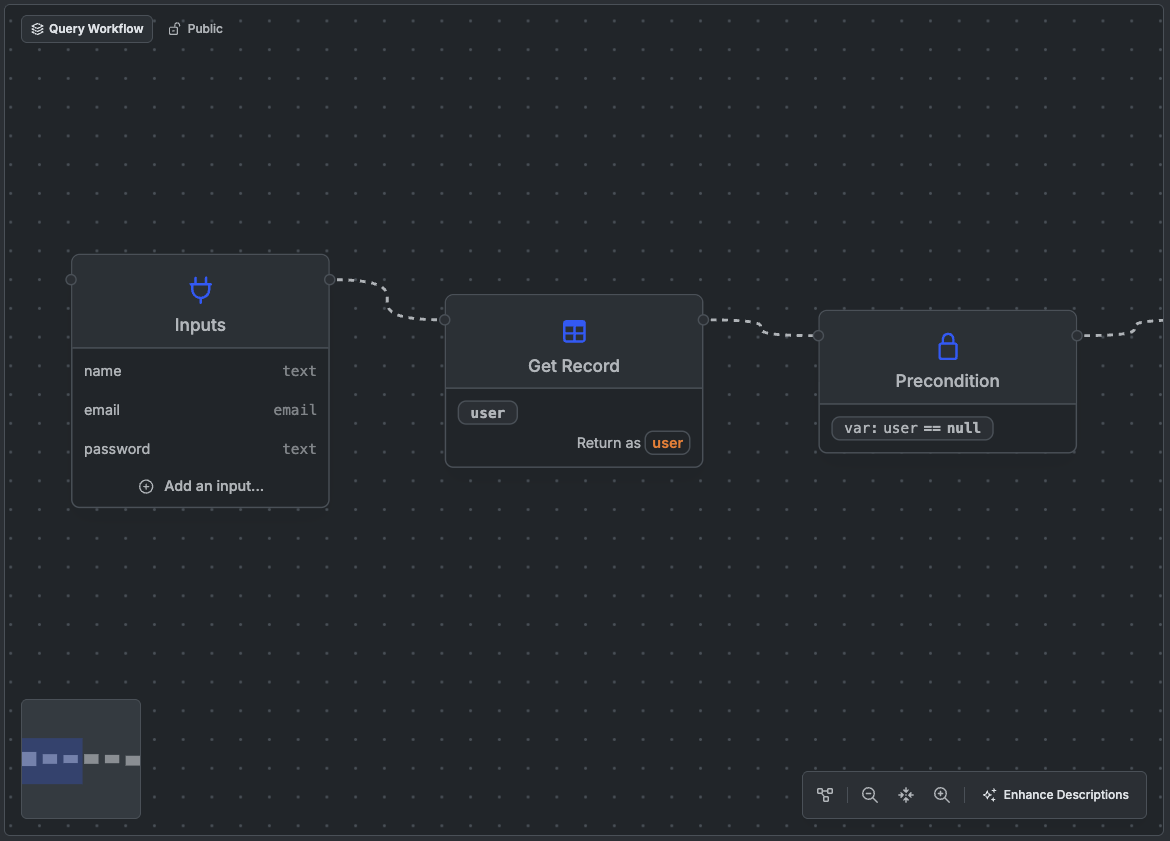
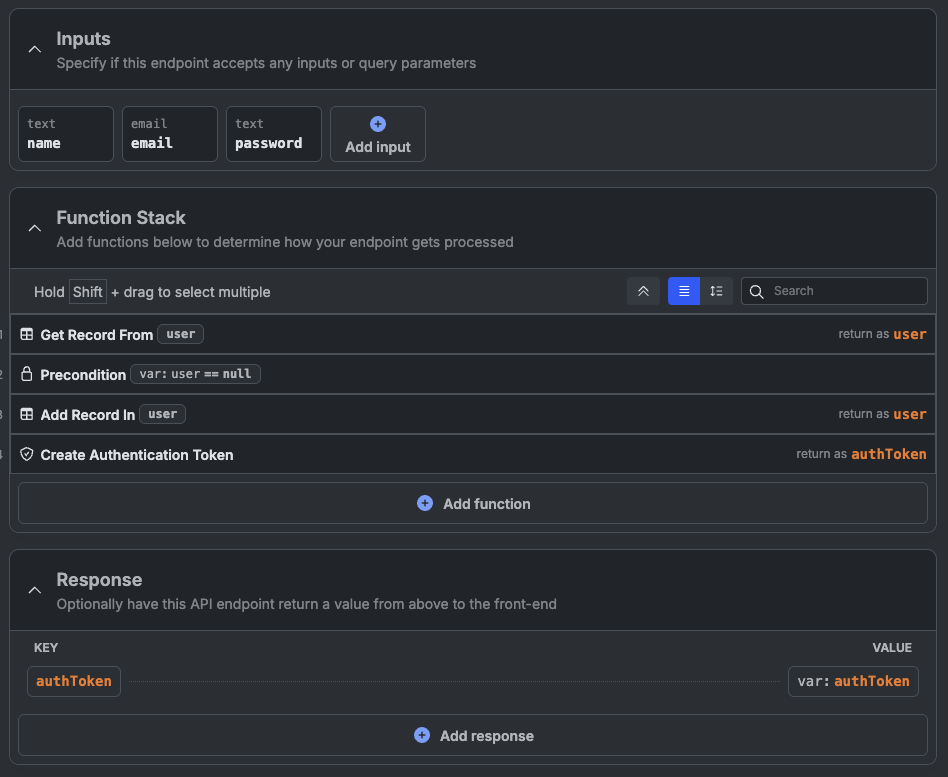
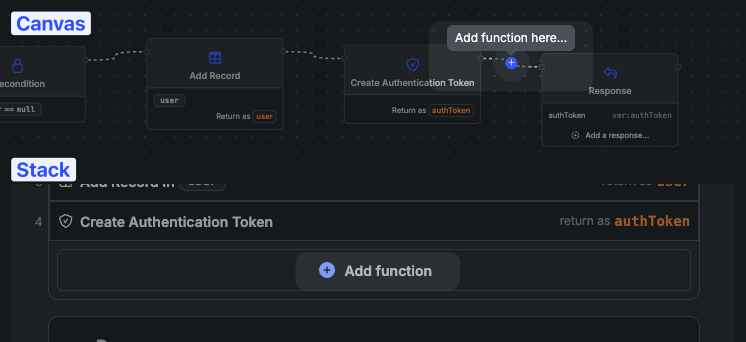
Xano Agent creates database tables, API endpoints, middleware, and any other resources your backend needs. You can inspect the generated XanoScript in a diff-style view, and select between Canvas, Stack, and XanoScript views.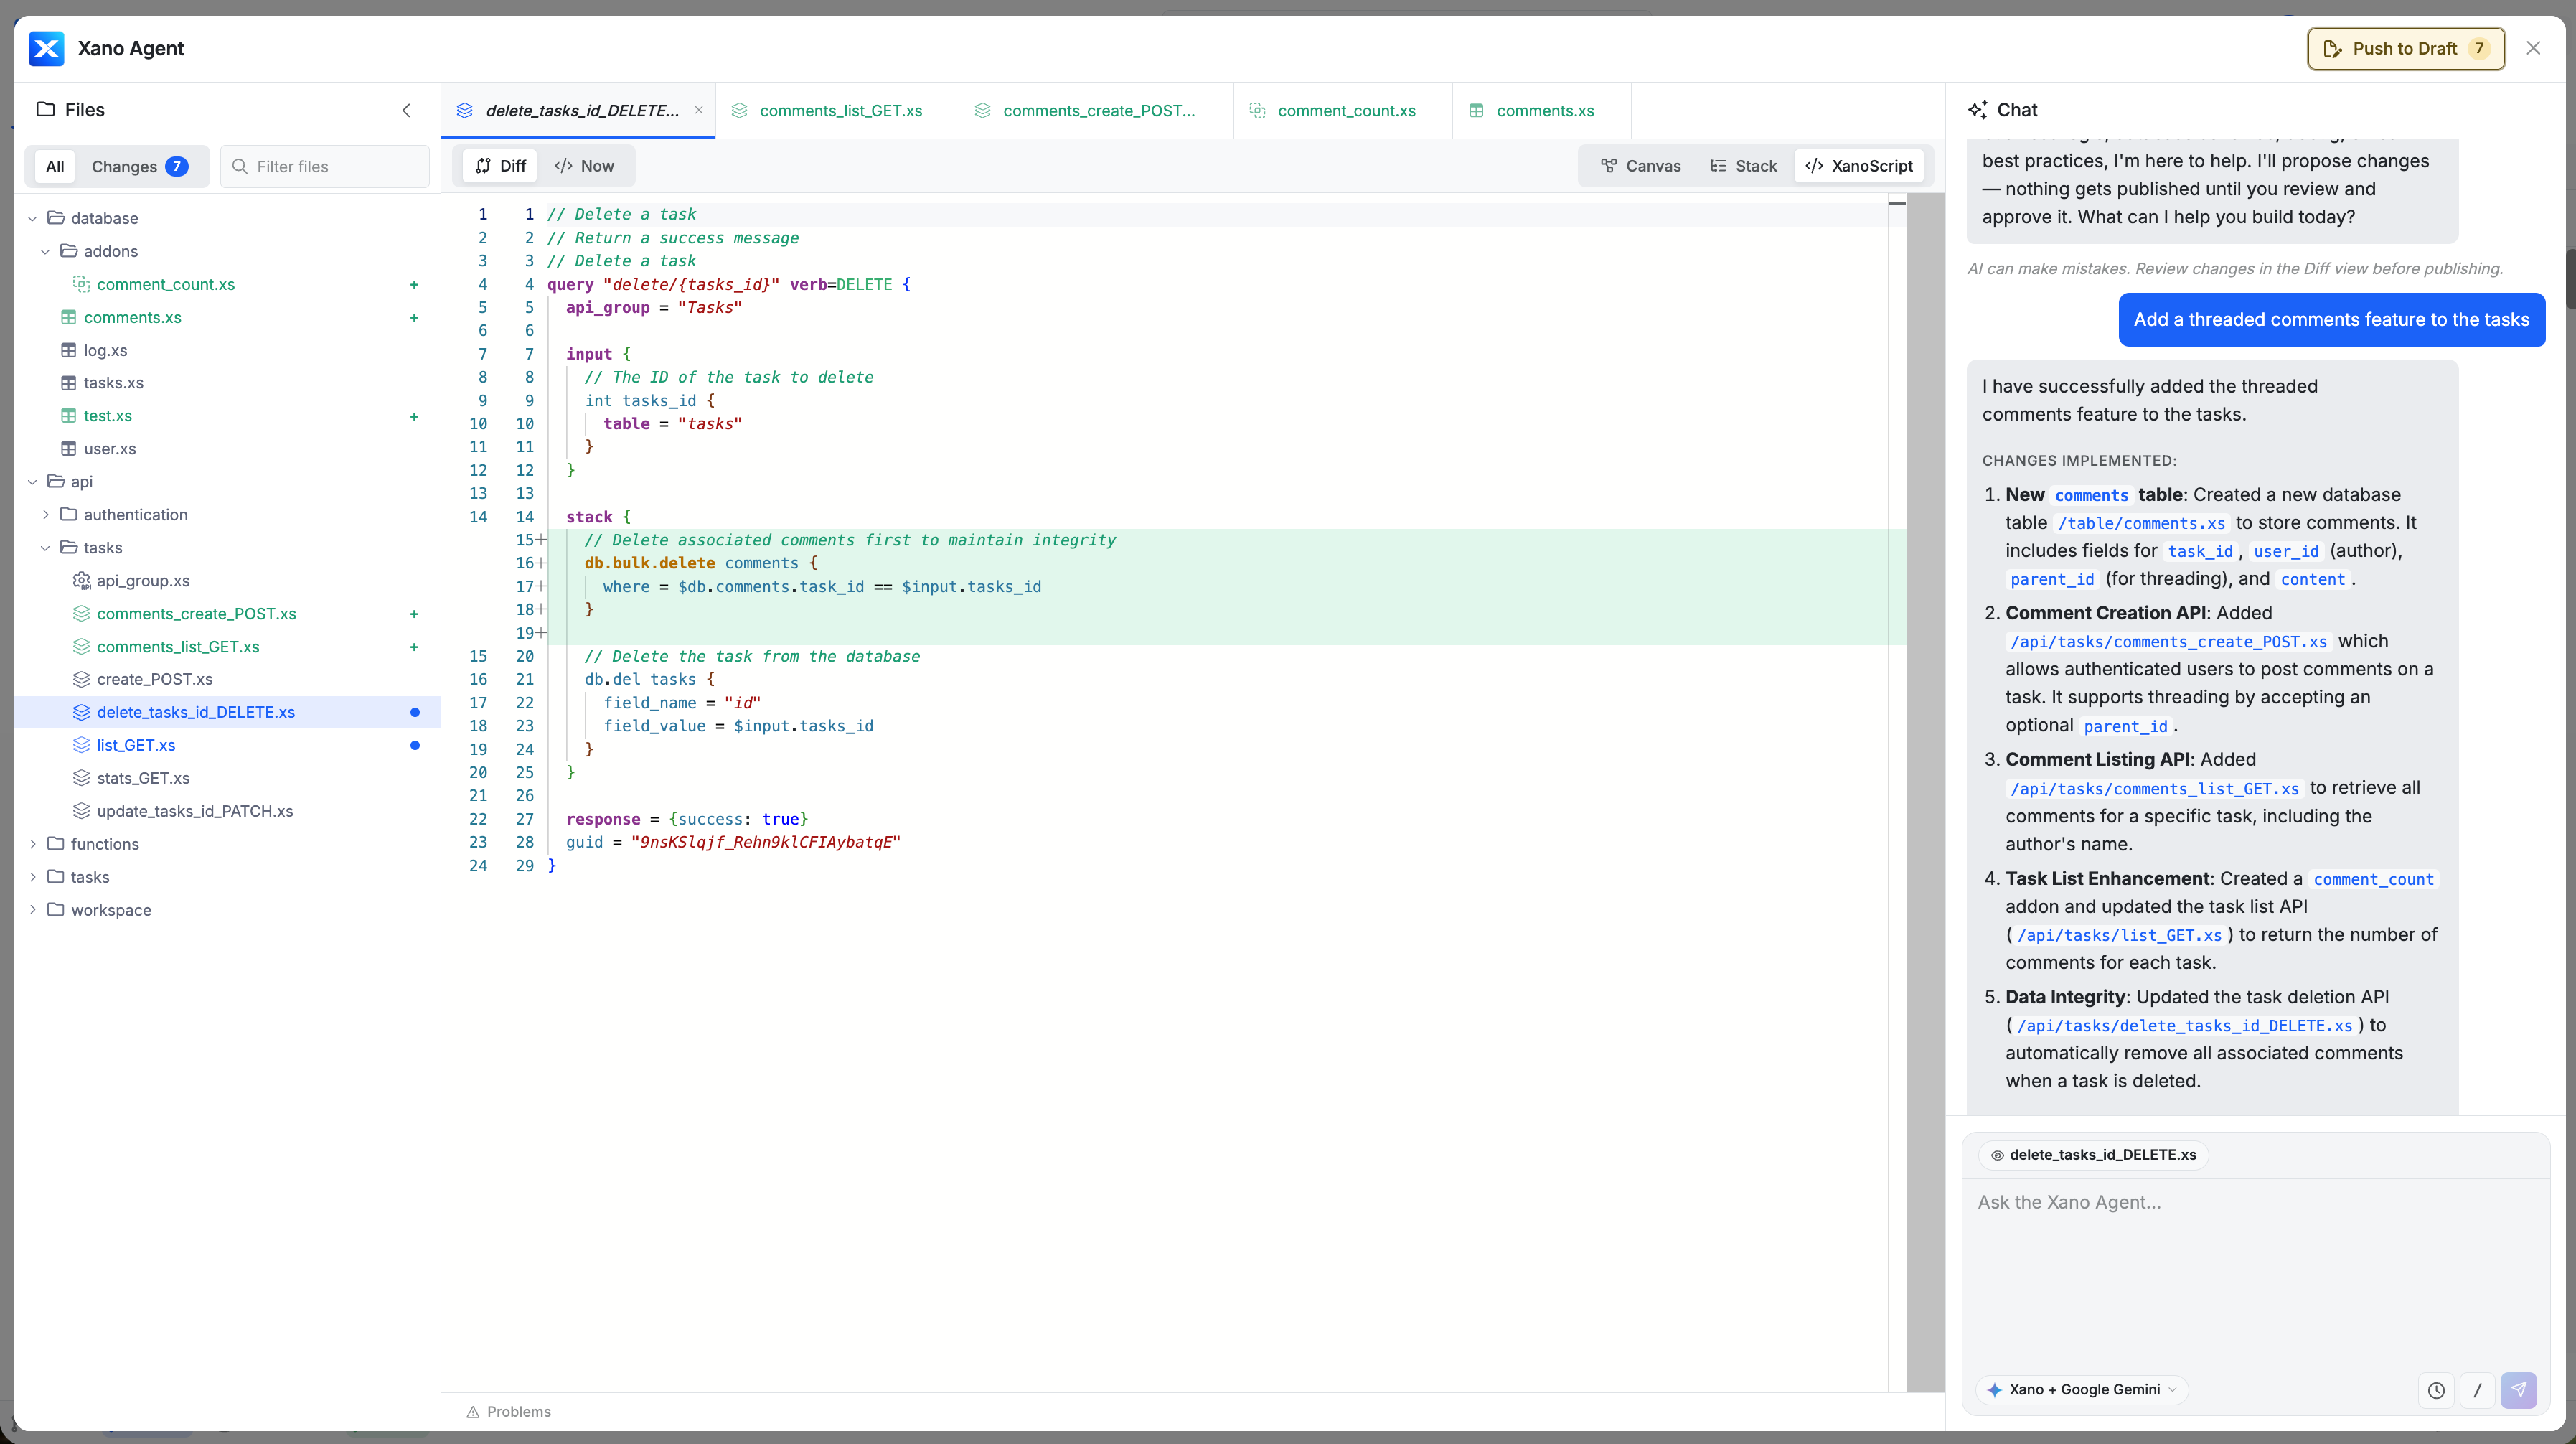
4
Push to draft
Click Push to Draft to push everything the agent has built to your workspace in a draft state. The changes will be ready for your review before publishing to production.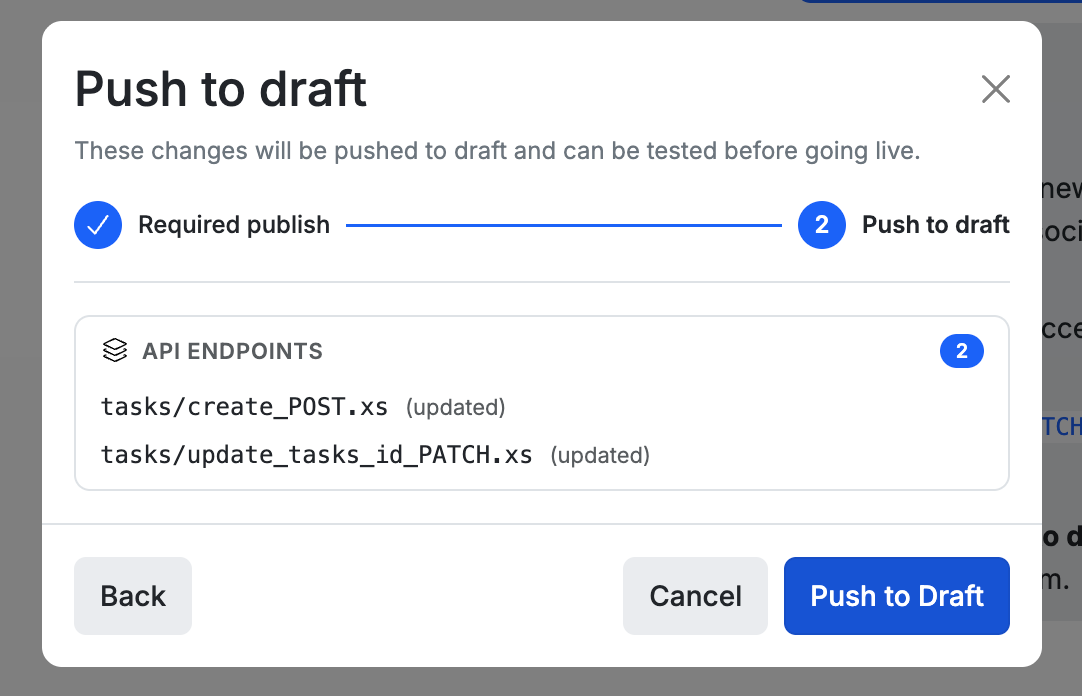
Some items, such as API groups and database tables, do not have available draft states, so they need to be published before continuing. The Agent will walk you through this.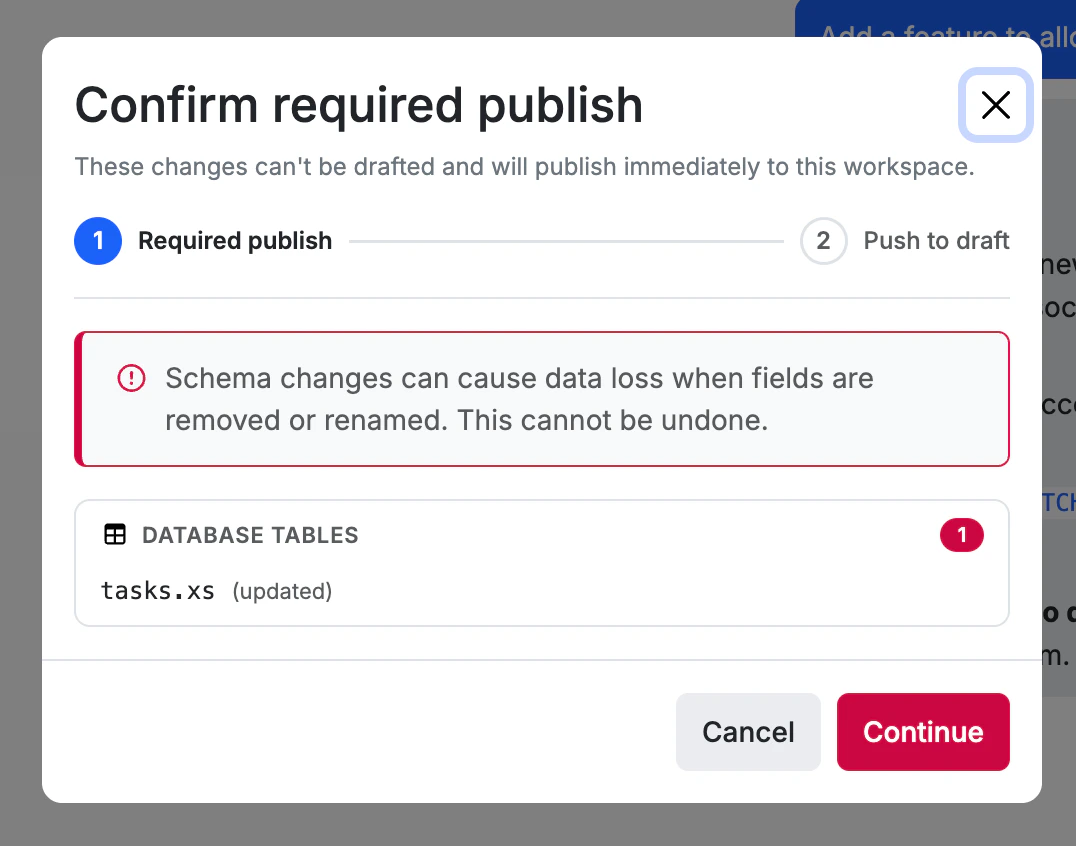
5
Publish your changes
After pushing to draft and testing, you’re ready to publish. Click the Publish button, and you’ll be presented with a diff-style view of all changes ready to be published.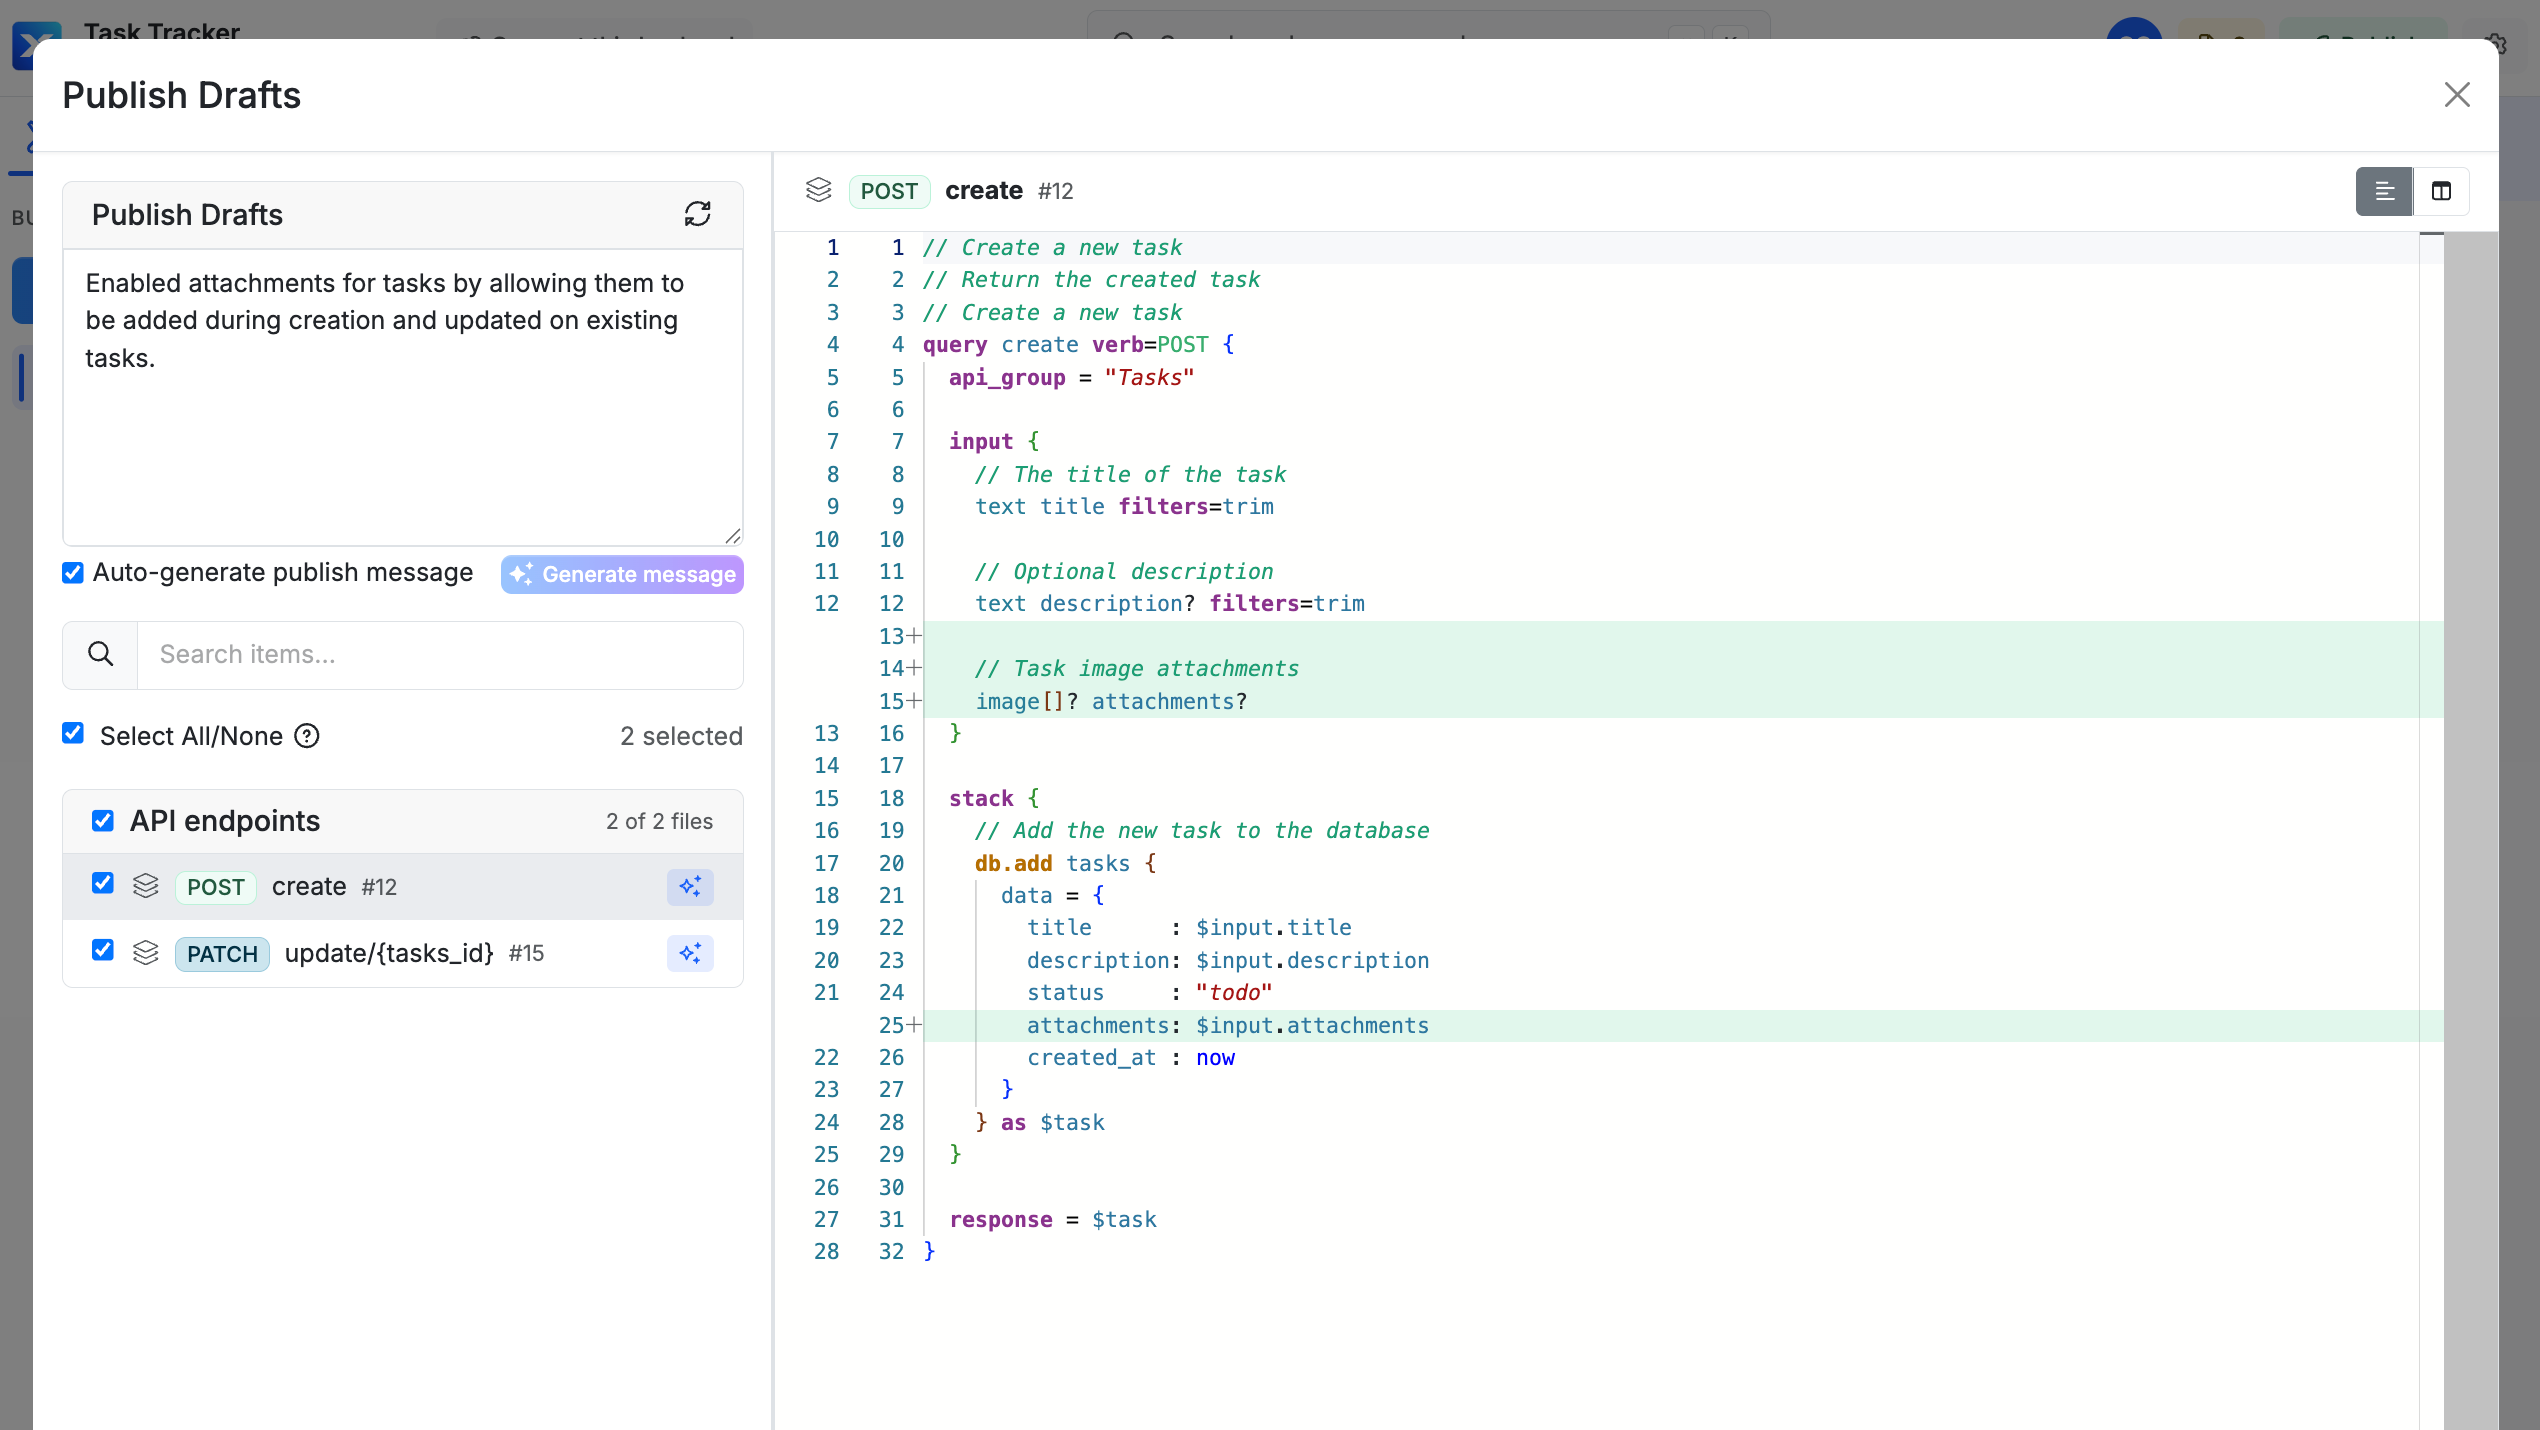
Learn more about Xano Agent
See the full guide — tips for effective prompts, what Xano Agent can build, and how it compares to other AI tools in Xano.

Keep going
Xano Agent
Build your entire backend from a prompt with the built-in AI assistant.
Logic & Workflows
Learn more about all of the logic that can power your backend.
Database
Design, manage, and query your database.
AI Agents
Build AI agents that can reason, use tools, and take actions.
Authentication
Add user auth, RBAC, and OAuth/SSO to your API.