The Anatomy of the Visual Builder
The builder will be comprised of up to three different sections — inputs, the function stack, and the response. Different function stack types may not contain all of the available sections listed below.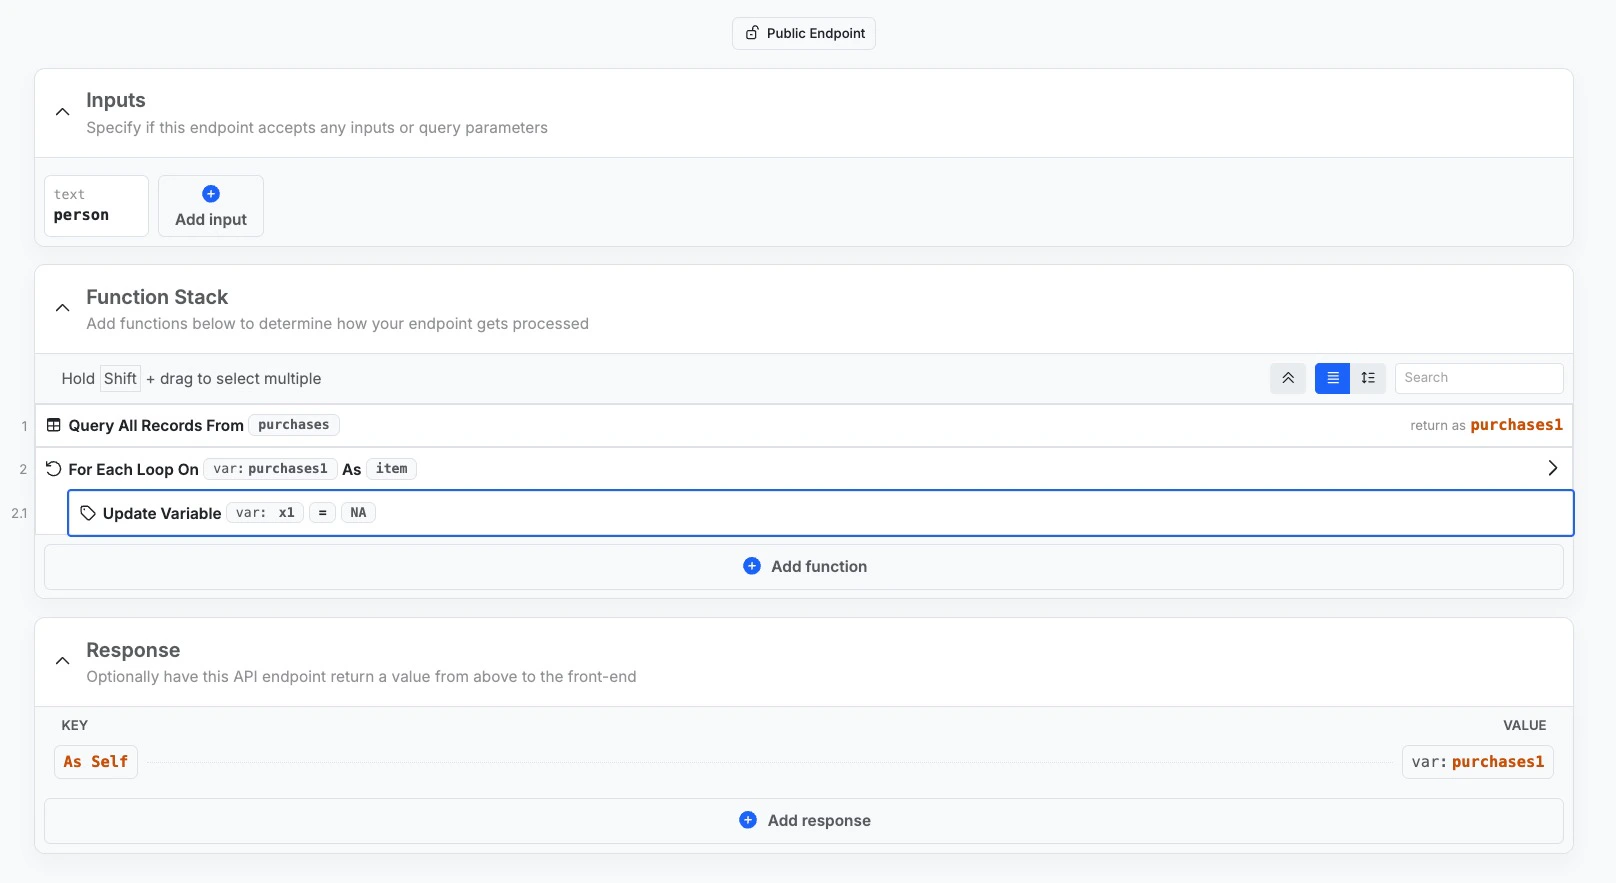
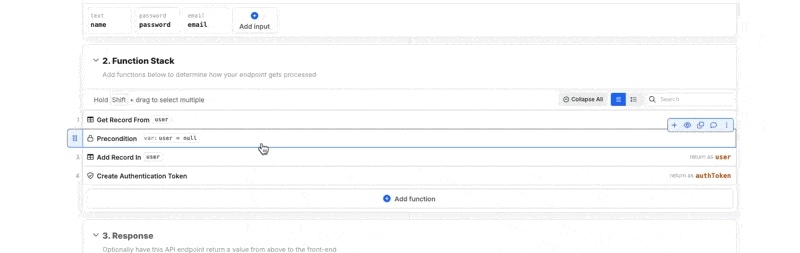
⬇️ Inputs
The inputs are anything that a function stack needs to run. For example, a function stack that logs in a user probably needs a username or email and a password; these would be the inputs.🔄 Function stack
This is where all of the magic happens. All of the business logic that is performed lives here. As you add functions to your function stack, it will suggest next steps based on most popular user activity.⬆️ Response
Once the function stack has done its job, it needs to know what to return. This lives in the Response section.What can I build?
APIs
An API is a piece of logic or a workflow that can be called to run from external sources. Think about when you tap a button or link anywhere in an application; there are API calls happening behind the scenes to make sure those taps perform the expected action. 📖 Learn more about APIsAI Agents
An AI Agent is like a custom-built robot designed to take a set of tools and perform an action, or a set of actions. Powered by the LLM of your choice, like OpenAI’s ChatGPT or xAI’s Grok, you can use Agents to build powerful and truly dynamic workflows, supercharged with the thinking and reasoning of an AI model. 📖 Learn more about AI AgentsMCP Servers
An MCP Server is a collection of tools that you can connect to using your favorite MCP client of choice, such as Anthropic’s Claude, Cursor, or Windsurf, to chat with your Xano backend. Use it to generate high-quality sample data or perform tasks inside of your workspace. Xano offers its own MCP server to control your workspace programmatically, and you can build your own custom MCP server as well inside of Xano. 📖 Learn more about Xano’s MCP Server 📖 Learn more about building your own custom MCP ServerCustom Functions
A custom function is similar to an API, but it is reusable logic that you can insert into any other function stack. Build and maintain that logic in a single location, and use it everywhere. 📖 Learn more about custom functionsBackground Tasks
A background task is a workflow that runs automatically based on a schedule that you define. 📖 Learn more about background tasksTriggers
A trigger is a workflow that runs every time something else happens. Xano supports many different kinds of triggers for the database, realtime connections, AI agents, and more. 📖 Learn more about triggersMiddleware
Think of middleware as an extra security guard at the entrance and exit of your other function stacks. You can build and deploy middleware to run either before a function stack, or right before it delivers a response. This is useful for things like input or output sanitization, custom error logging, security, and more. 📖 Learn more about middlewareUsing the Visual Builder
You can use both mouse and keyboard navigation when working in the builder.Adding Functions
Click + Add Function to add functions to your function stack. You can search for, choose, and favorite functions in the panel that appears on the right. You can also hover over an existing function and click the + sign to add a new function directly under it.Creating a Draft
Once you start editing your API, a draft will automatically be created. Drafts keep track of each micro-change you (or your team members) make to a Function Stack called Revertible Changes, which you can easily roll back.Revertible Changes
Revertible changes show each micro-change, when they were made, what the change was, and who made it.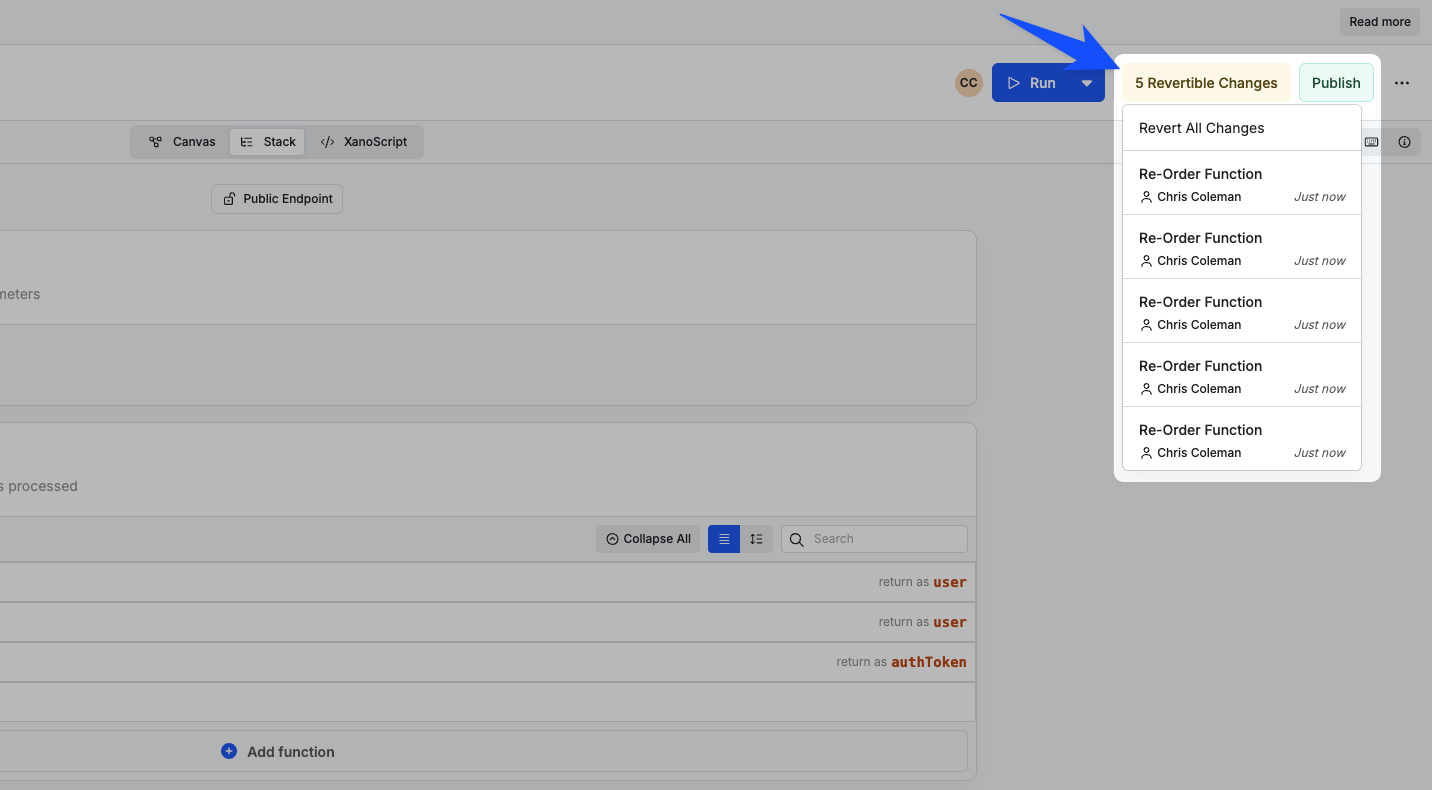
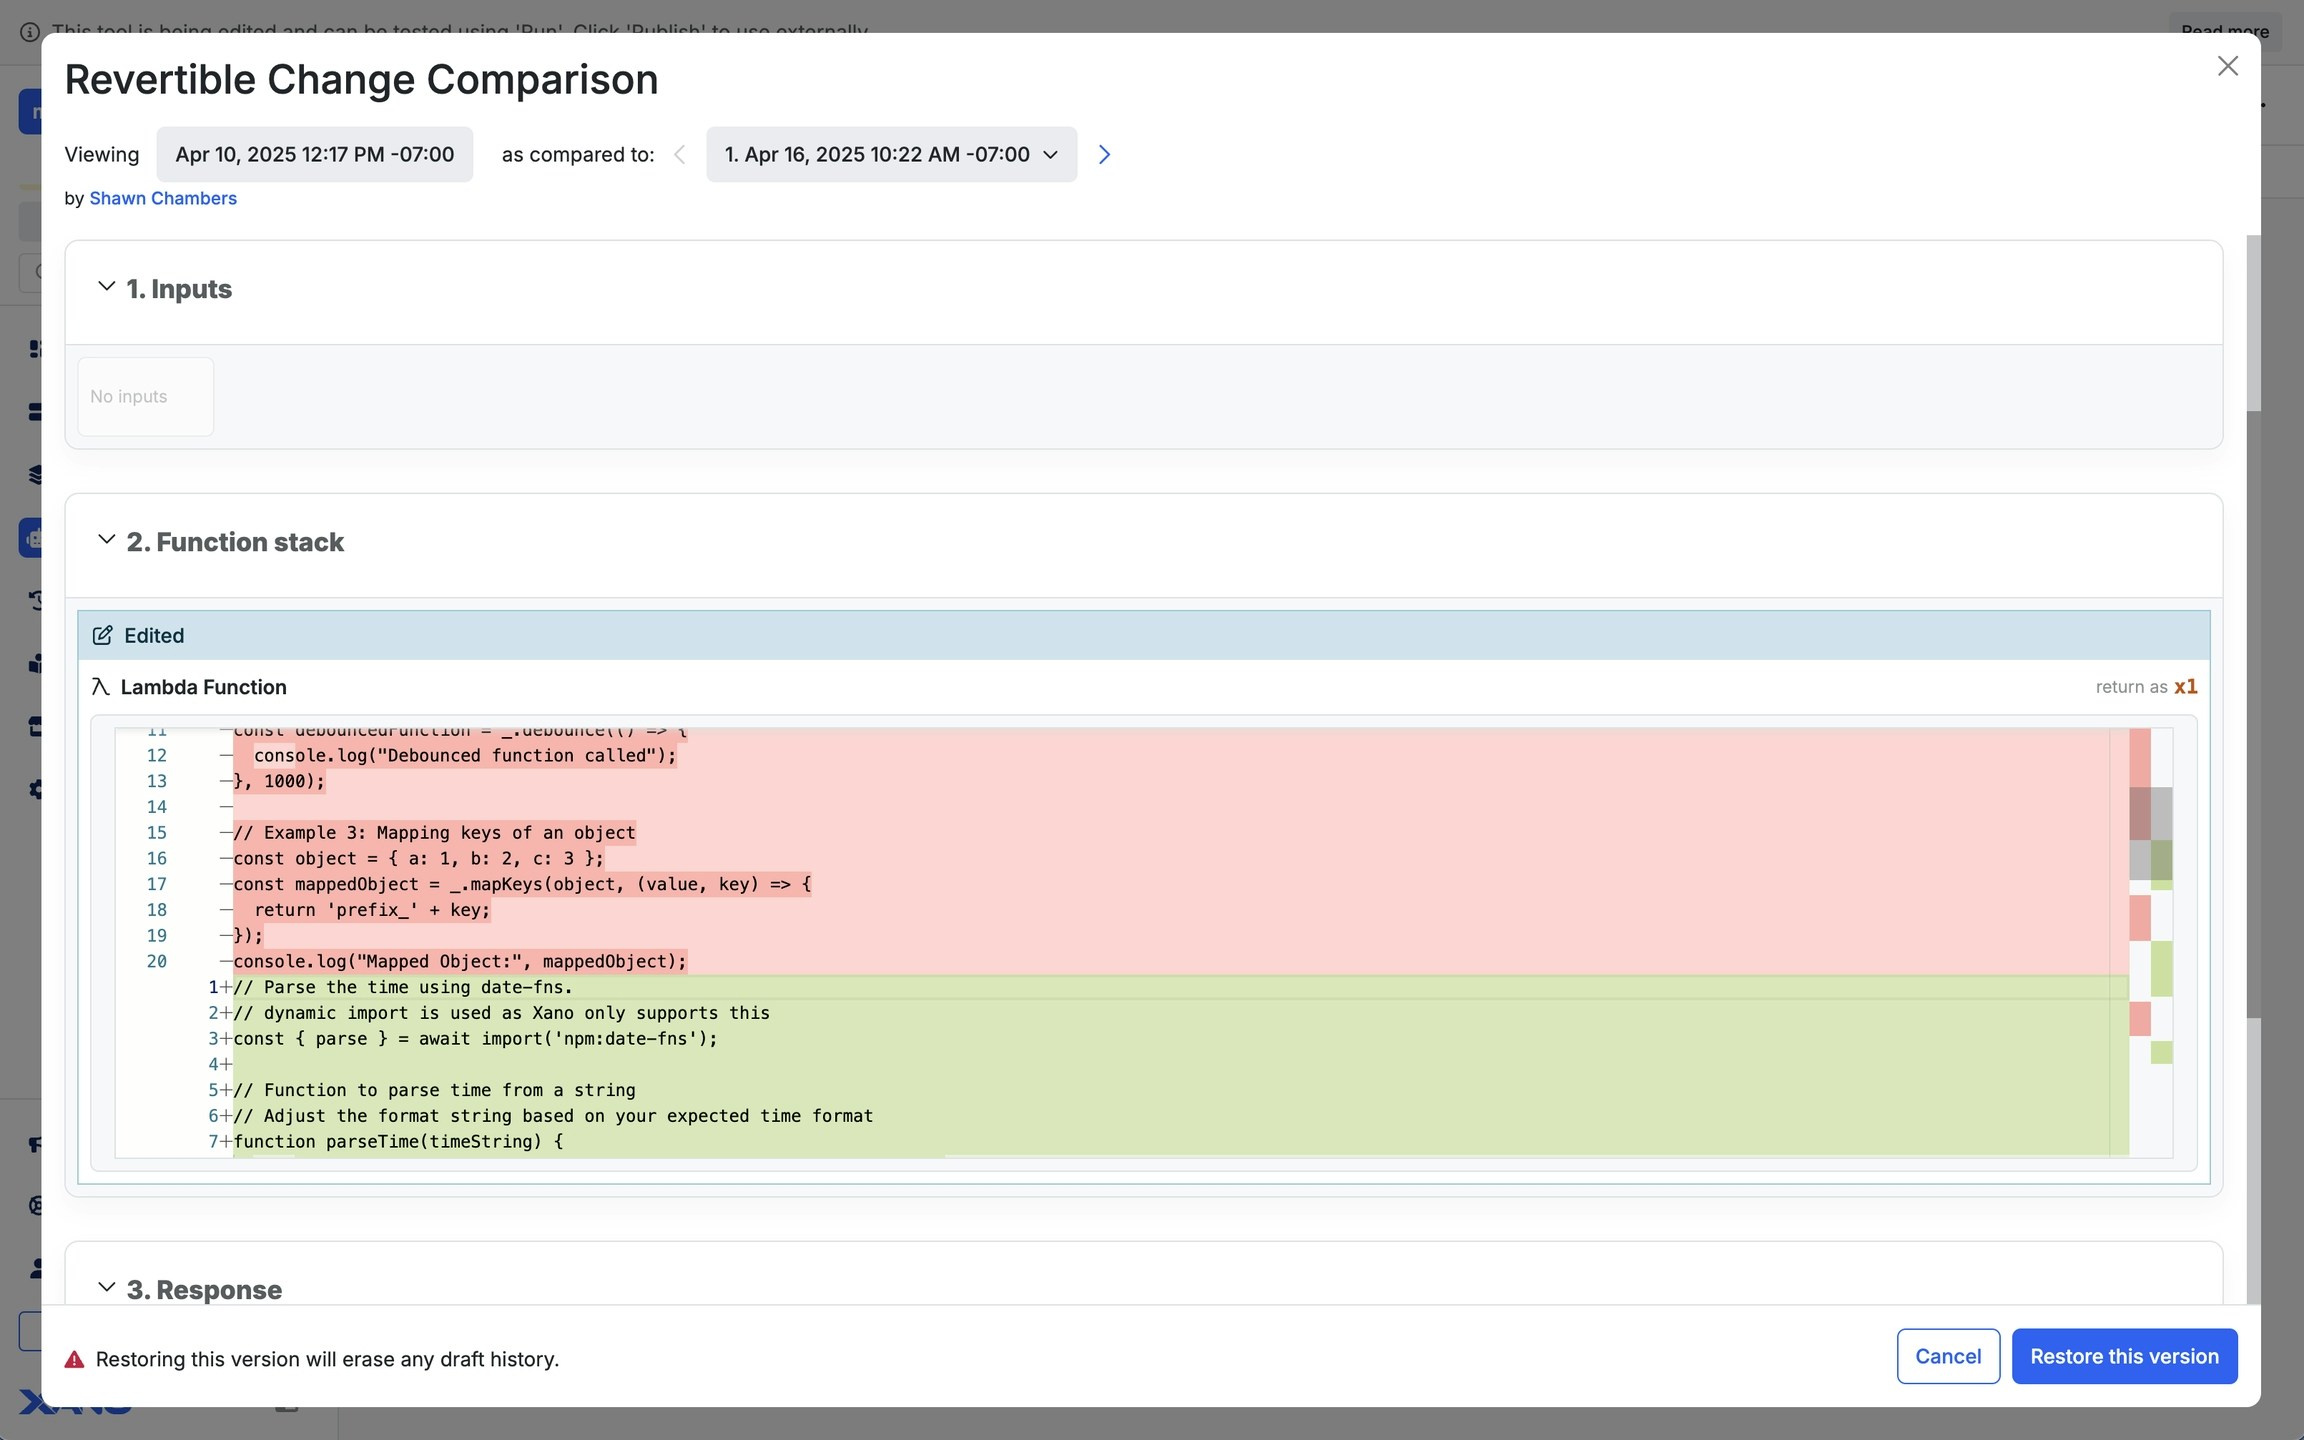
Compare Differences
Before reverting a change, you are able to see a difference comparison snapshot of the previous draft version. This provides context in the differences of the previous version compared to the current draft you are on.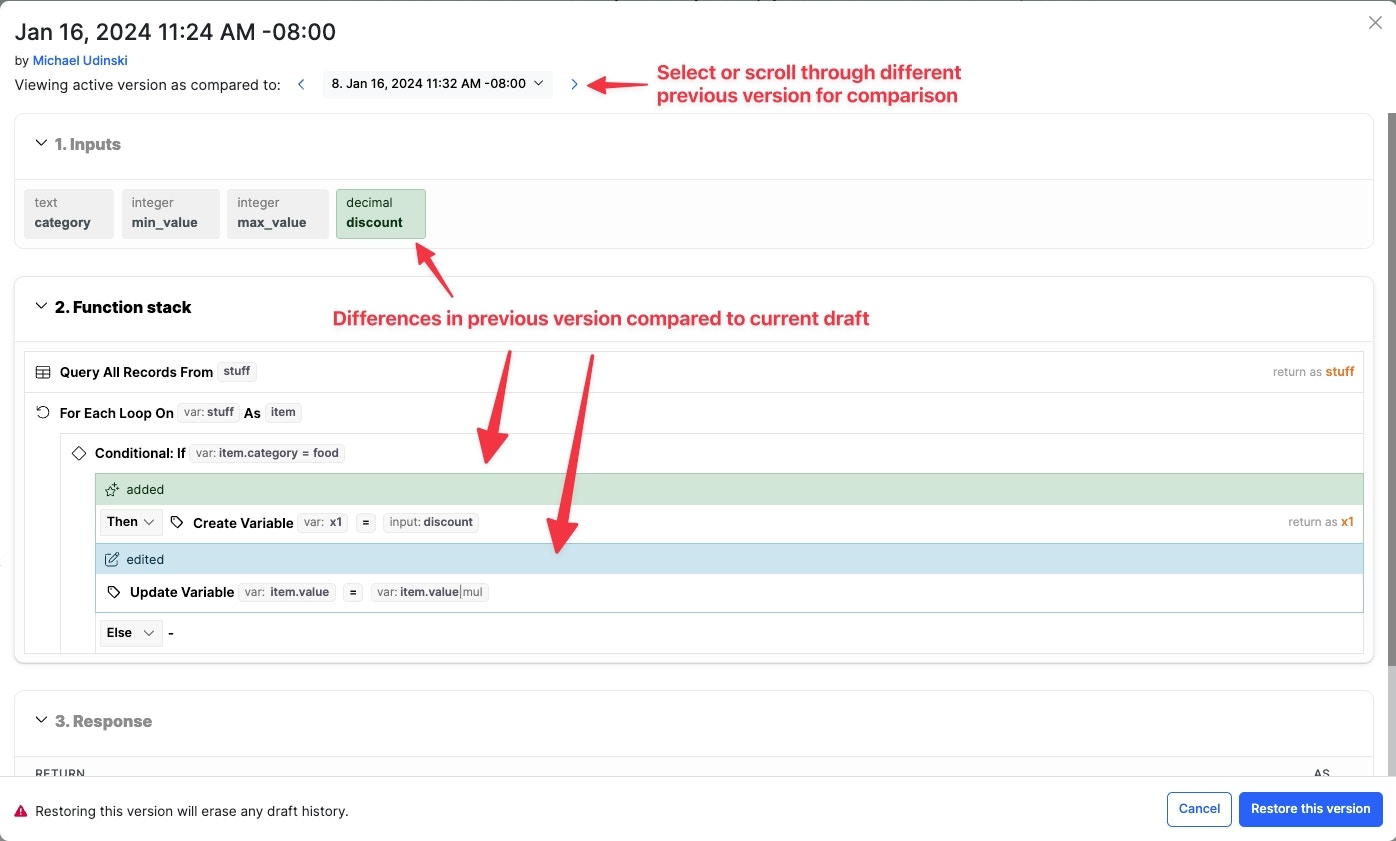
Comparing differences of a previous version to the current draft.
Testing a Draft
Testing the API with Run & Debug will use the draft you are editing while calling the API from the front-end will use the live (published version) of the API. If you have other drafts across your workspace that may interact with the current API or Function Stack you are editing, you can include the relevant drafts while testing in Run & Debug.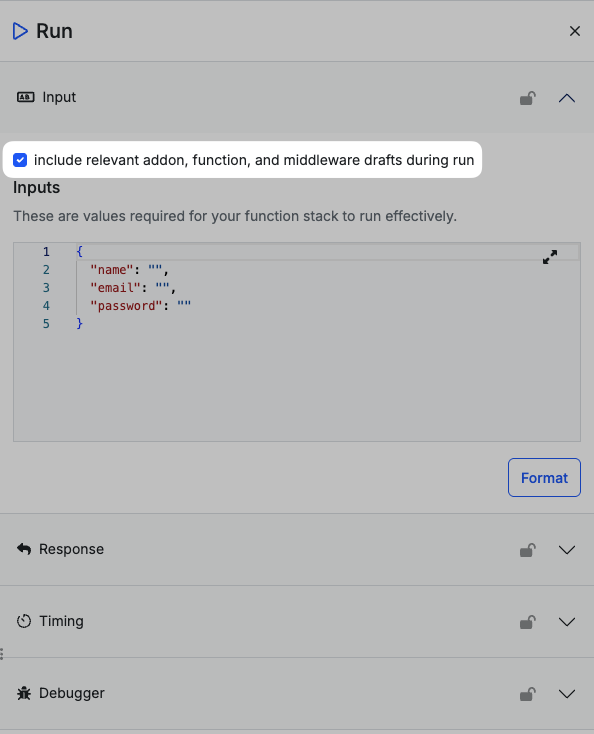
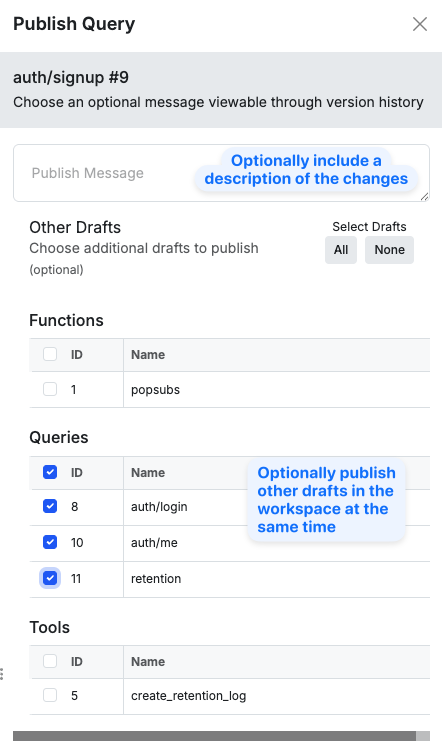
Publishing
Once you’re ready to publish the changes, you can simply select publish.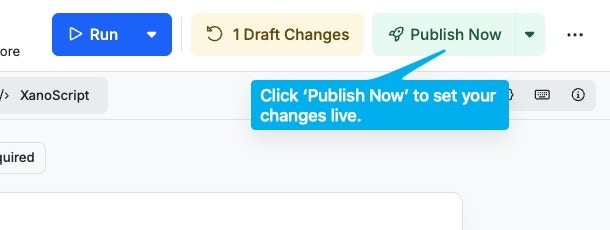
Working with Data
Filters
Filters are additional functions that can be applied directly to other pieces of data in Xano. For example, a filter could be used for a mathematical operation, adjust text formatting, create new datasets from existing data, and more. To apply a filter, just hover over a value box and click Add Filter.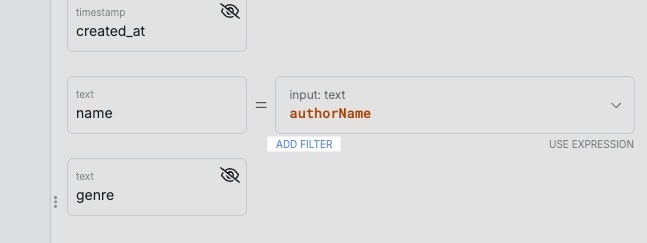
Dot Notation
Dot Notation is used to navigate inside of variables and target specific pieces of data. Let’s use the following object as an example. This object is contained in a variable called author.name field with whatever our adjustments are.
Auto-Complete / Subpath
Xano keeps an understanding of the contents inside of your variables once you’ve run your workflow, which makes targeting data inside them easy. In this example, we have a customer variable that contains data from our database. If you want to target a specific piece of information inside of that variable, such as the customer’s email or name, you can click “x properties” next to the variable name.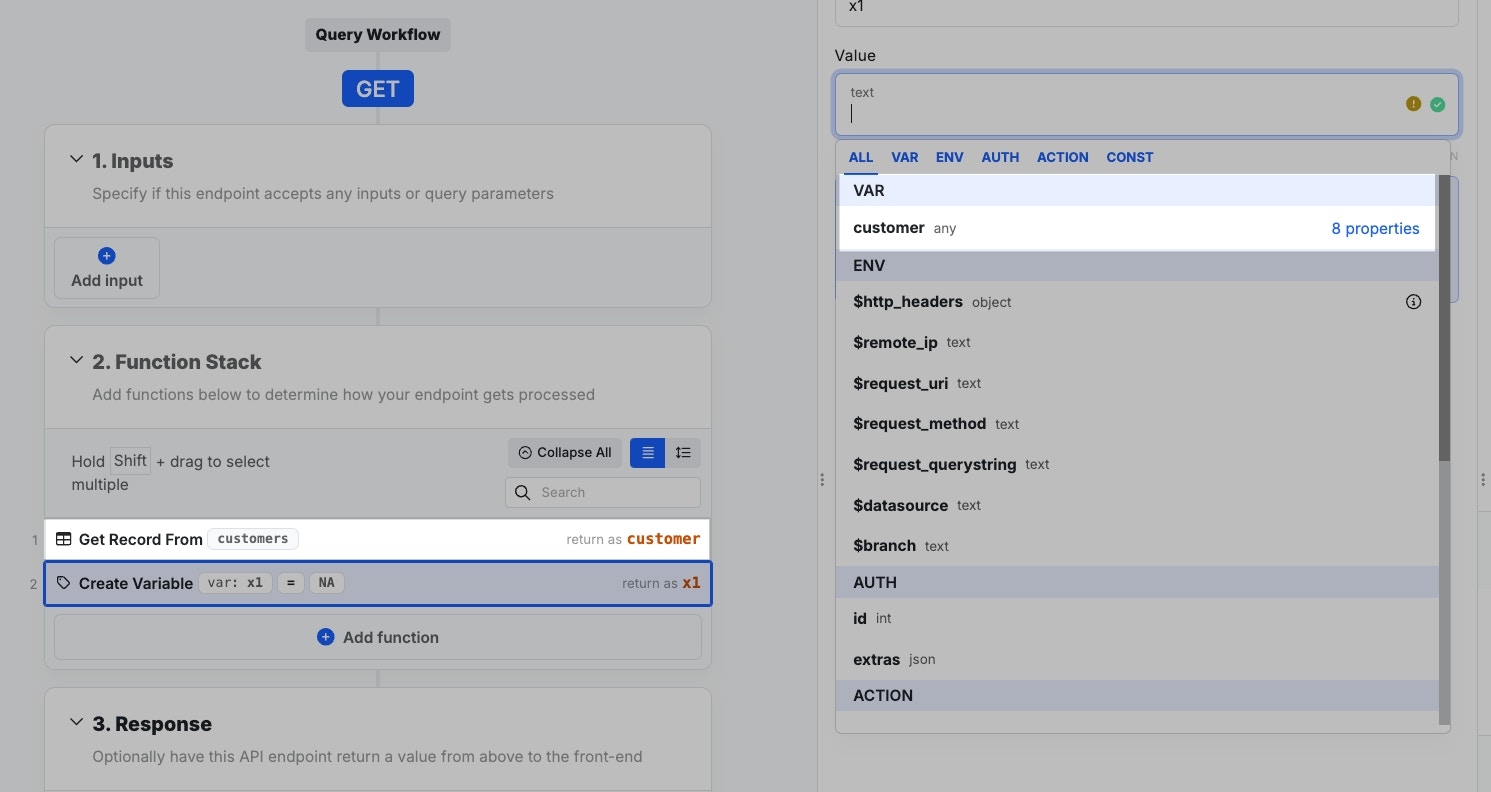

Copy and Paste
You can copy and paste function stacks in Xano, enabling speedy development across environments. Copy and paste works inside of your own function stacks, as well as copying and pasting between workspaces and instances.Selecting Functions
You can hold Shift and click on individual functions to select them.