Getting Started Shortcuts
When entering the database in Xano, you’re presented with some quick shortcuts to get started faster. This section of our documentation is designed to accompany those shortcuts.✨ Modify your table schema with AI
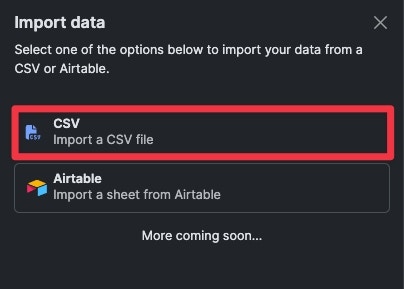
📔 Import data from a CSV
Import data from Airtable
🪄 Generate test records for table
💡 Create flows from database triggers
Modify your table schema with AI
1
Choosing this option opens our AI Database Assistant.
The database assistant can be used to modify your database schema. You can prompt it to add or edit existing tables, delete tables, and help you design your database while following best practices.
2
Prompting the AI Database Assistant
Your prompts to the assistant can be as simple or as complex as necessary. Here’s a quick example: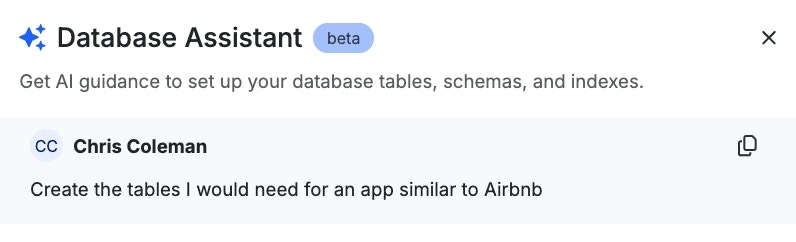
3
Approving Changes
Each change that the assistant suggests will need to be approved individually. This ensures that no changes are made that you do not explicitly review first. In addition, some changes rely on the previous change being completed — the assistant will notify you of this as you continue.For each table being created, you can choose to just create the table, or create the table and default CRUD API endpoints at the same time.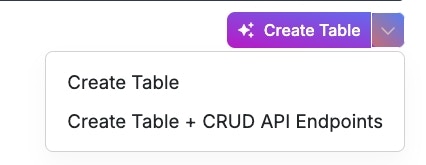
4
Review and Iterate
You can leave and return to the Database Assistant at any time. Here’s the final schema we ended up with using the above example of an Airbnb-style application.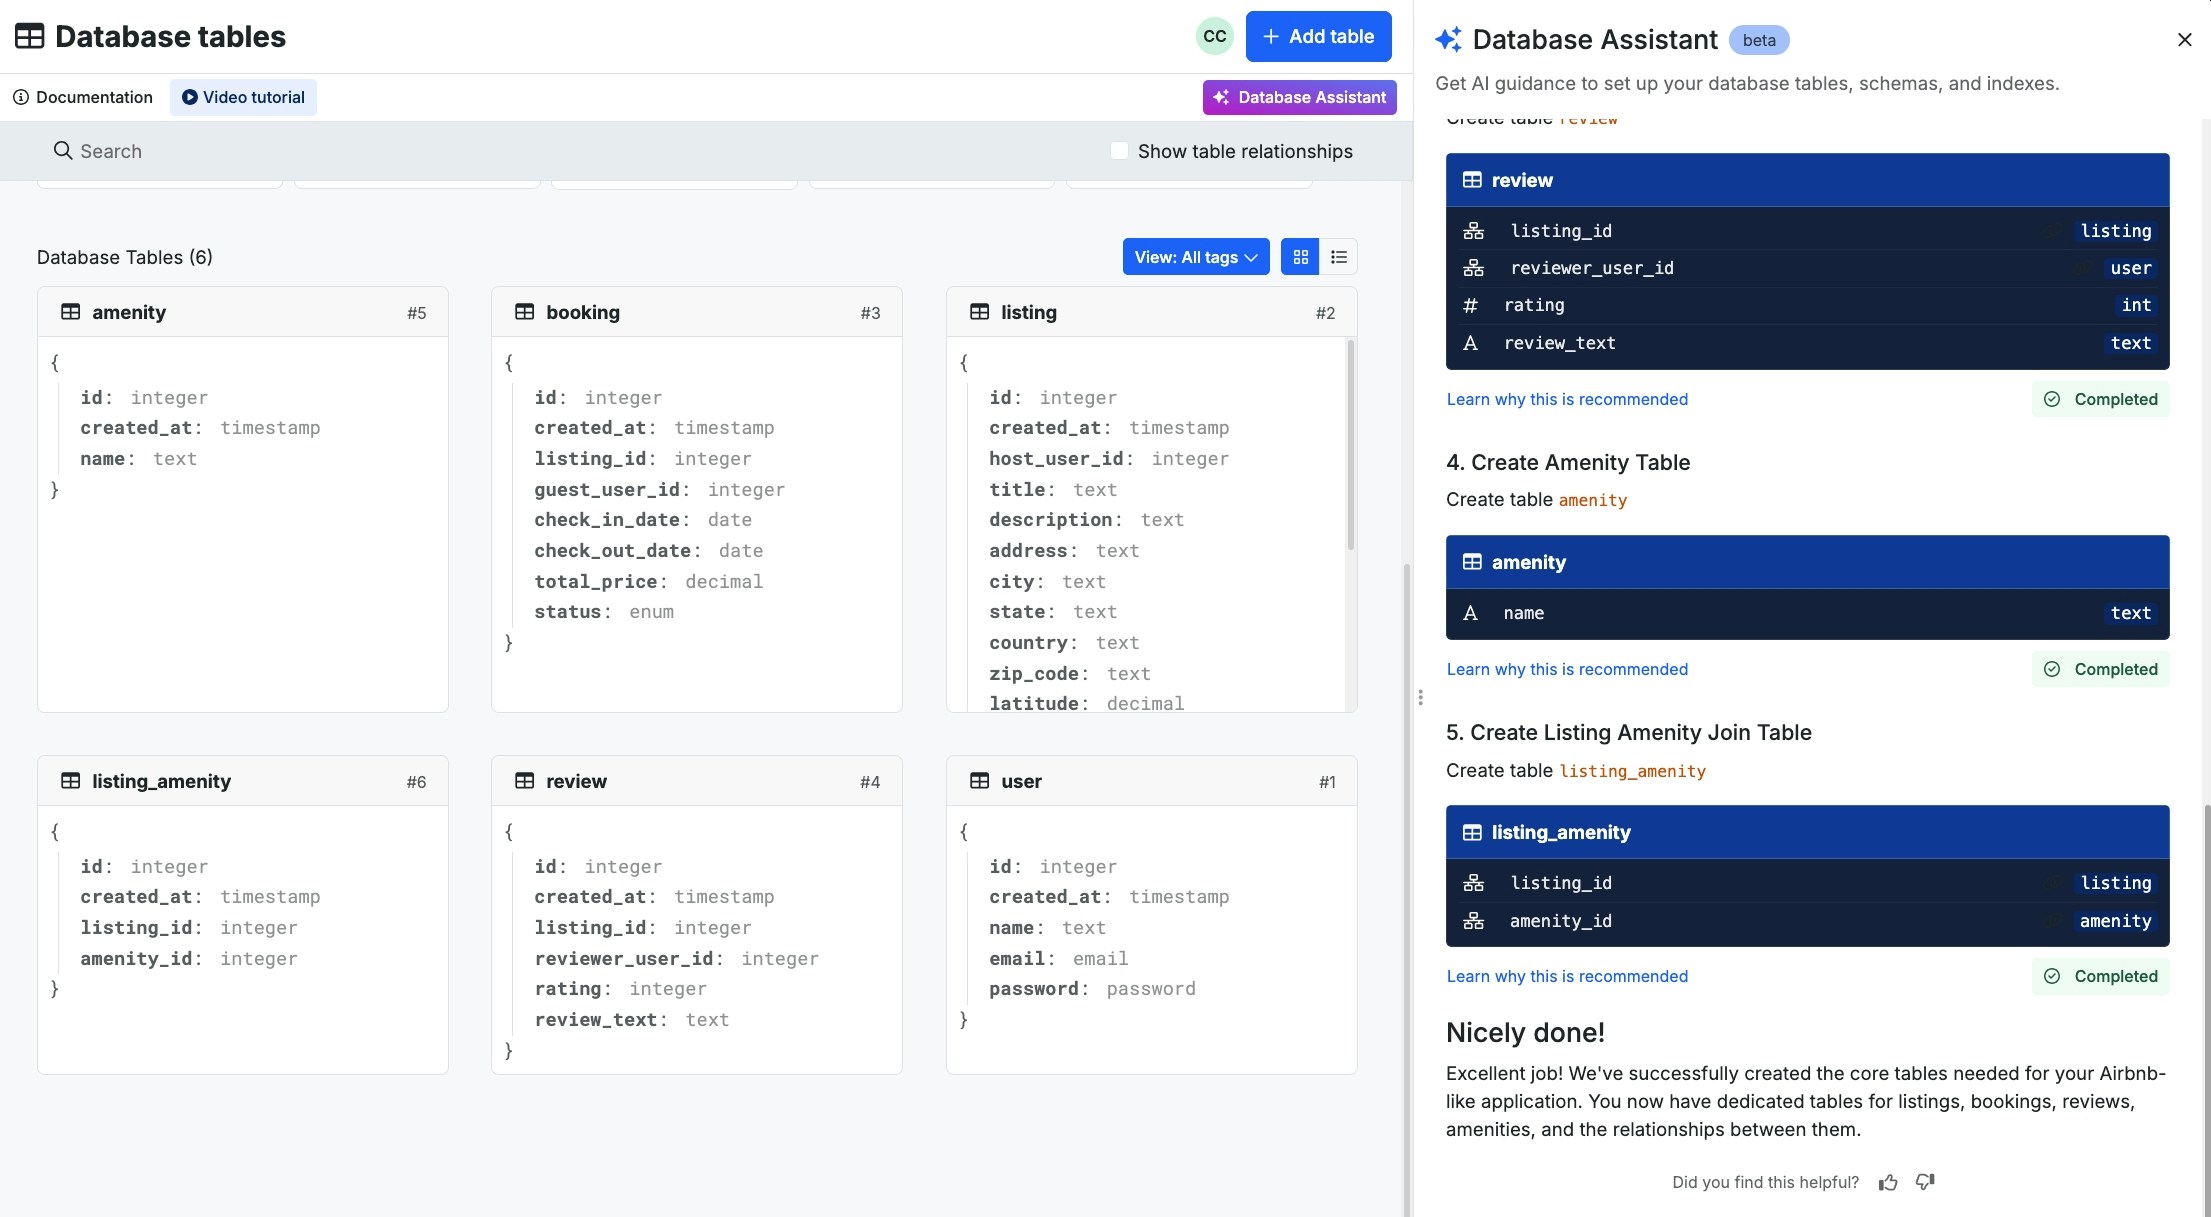
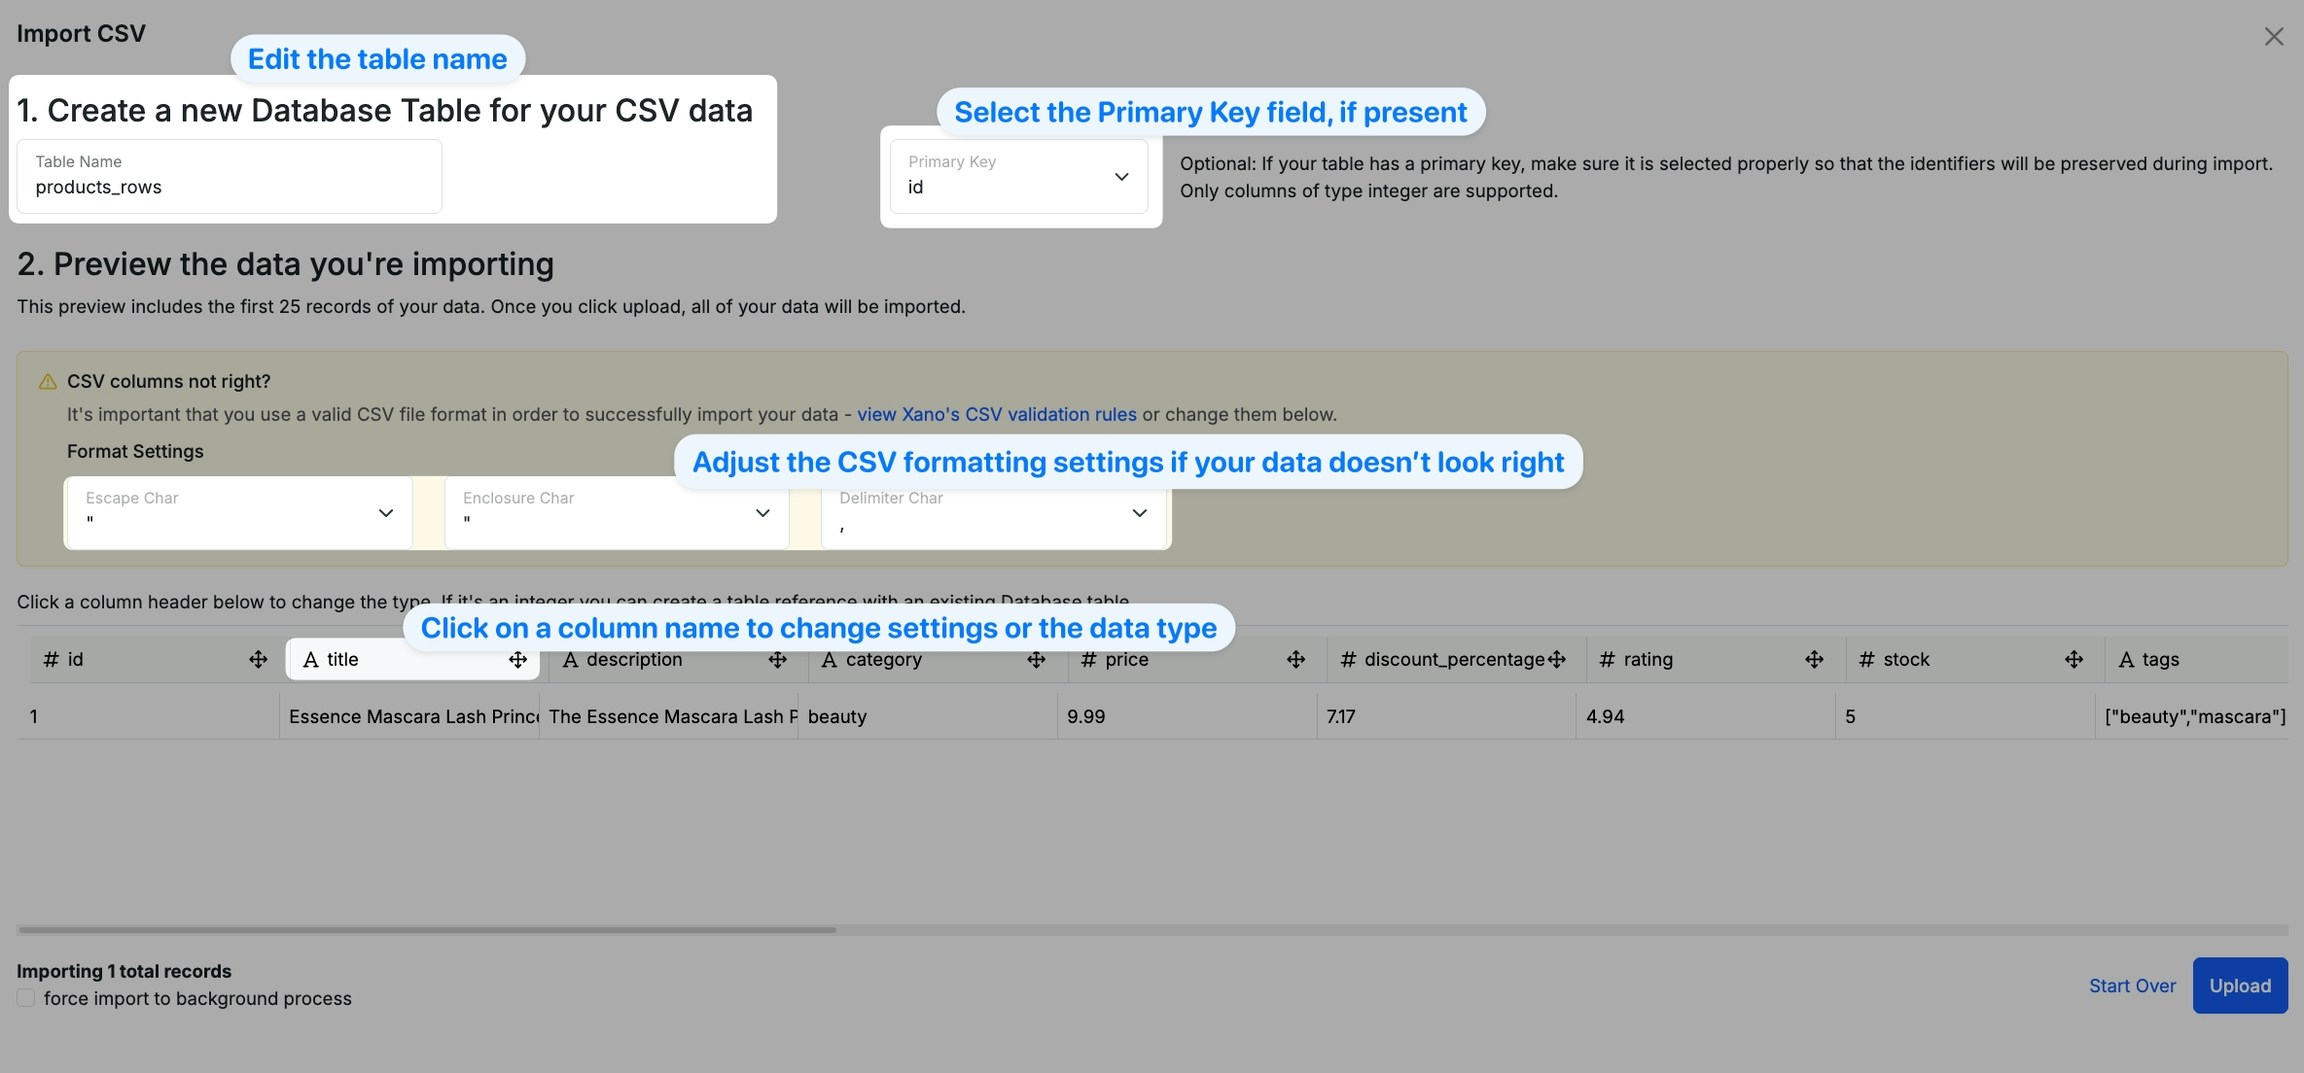
Import data from a CSV
Xano’s CSV file import is ultra-robust. Import your file with confidence, even if you have millions of records. The import process runs on Xano’s special import service, which has dedicated resources separate from your instance, so it can handle all of your data no matter how large it is. The CSV file import allows you to create a brand new table from scratch and will generate the schema automatically. Additionally, you can edit existing records if the file can be mapped to a primary key or append data to an existing table. Uploads of over 5,000 records will be performed in the background. You can easily monitor the import’s progress in the settings of your workspace and will be notified on Xano and via email when the import is complete.Add a New Table
From the database select Add Table.
Add to an Existing TableYou can import a CSV to an existing table if you’d like to add records to it. The process is the same as importing to a new table — just access the import option from inside of the database table you want to add to.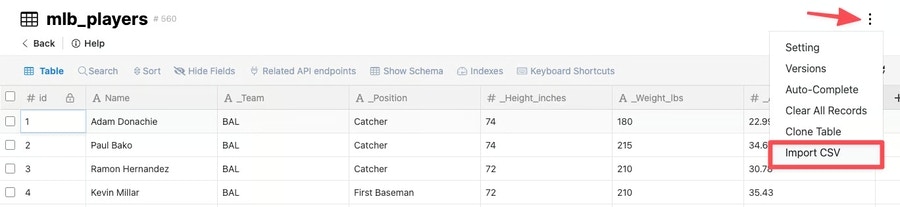
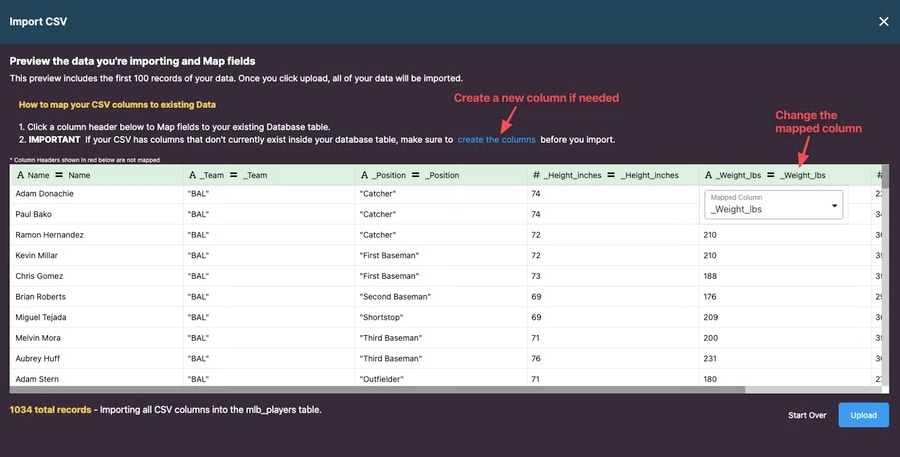
Edit Records in an Existing TableJust like adding records to an existing table, you can also use a CSV upload to edit records in a table.The only difference between adding a new table or adding to an existing table is that you’ll need to make sure your CSV contains an
id field. This is what Xano will use to find the records to apply changes to.Valid CSV Format
It’s important that you use a valid CSV file format in order to successfully import your data. If there is an issue with initiating the upload then this could likely be the issue.What is a valid CSV file format?
A CSV stands for a comma-separate file, which is a delimited text file that uses a comma to separate values. The importer does not support other separators, such as semicolons. Each line of the file is a data record. Each record consists of one or more fields, separated by commas.- The first row must contain the column names - not the file name or any other data.
- The second row begins the values. They should be in the same order as the columns they belong to.
- Each row should have the same amount of values as there are columns.
- Enclosure characters are required when working with text strings that contain quotation marks. This is because if a quotation mark is detected, this is typically something that would mark the beginning or end of a value. You can use a double quote ("") to dictate if a value should contain this quotation mark somewhere inside the value.
- CSV files should be UTF-8 encoded. If you’re having trouble importing your CSV properly in Xano and have determined you are using both the proper separator and enclosure characters, please make sure your file us UTF-8 encoded. This ensures that there are no special characters that might not be supported in Xano.
UTF-8 Encoding in Notepad (Windows)
UTF-8 Encoding in Notepad (Windows)
- Open your file in Notepad.
- Click File > Save As…
- Click “Save As Type”, and choose All Files.
- Click “UTF-8” in the Encoding dropdown.
- Save the file.
UTF-8 Encoding in Google Sheets (All platforms)
UTF-8 Encoding in Google Sheets (All platforms)
- Open your file in Google Sheets
- Click File > Download > Comma separated values (CSV)
- The file will be downloaded in CSV format using UTF-8 encoding.
UTF-8 Encoding in Numbers (Mac)
UTF-8 Encoding in Numbers (Mac)
- Open your file in Numbers
- Click File > Export To… > CSV
- In the “Text Encoding” dropdown, choose UTF-8
- Save the file.
Xano-Sample-CSV.csv
160BHere is a sample CSV file demonstrating both the proper separator and enclosure characters.
How can I check my CSV file format?
You can review the format of your CSV file format in a number of ways. Open the file in Text Editor, Visual Studio Code, or another code editor. You can also do an online search for CSV file format validators and use an online service. How can I edit my CSV file format? Tools like Text Editor, Visual Studio Code, and other code editors allow you to make any necessary edits to your file and save the changes. When opening the file from your computer, right click and choose open with to choose from the different options available on your computer.Import data from Airtable
1
Head to the database and click + Add table
2
In the new table menu, choose Import Data > Import From Airtable
3
Provide your Airtable personal access token
You can generate a personal access token in Airtable by heading to your account settings, and from there visiting the Developer Hub.Choose Personal Access Tokens from the left-side navigation, and create a token with the following scopes:
4
Select the tables and/or views you want to import into Xano, and confirm your selection
Rebuilding Automations
While there is no direct migration of your Airtable automations to Xano, we want to make it as easy as possible to rebuild. Please see the table and linked resources below for common Airtable -> Xano functionality translations. Click on the Xano Function name to be taken to Xano’s documentation, or review the video examples provided.Generate test records for table
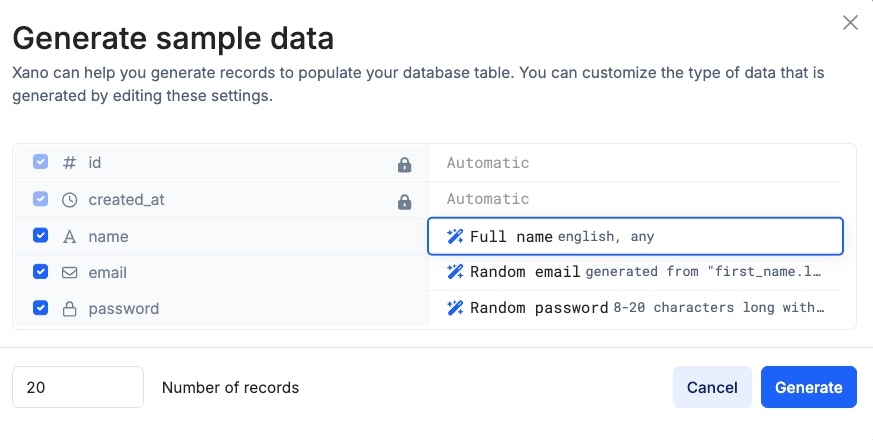
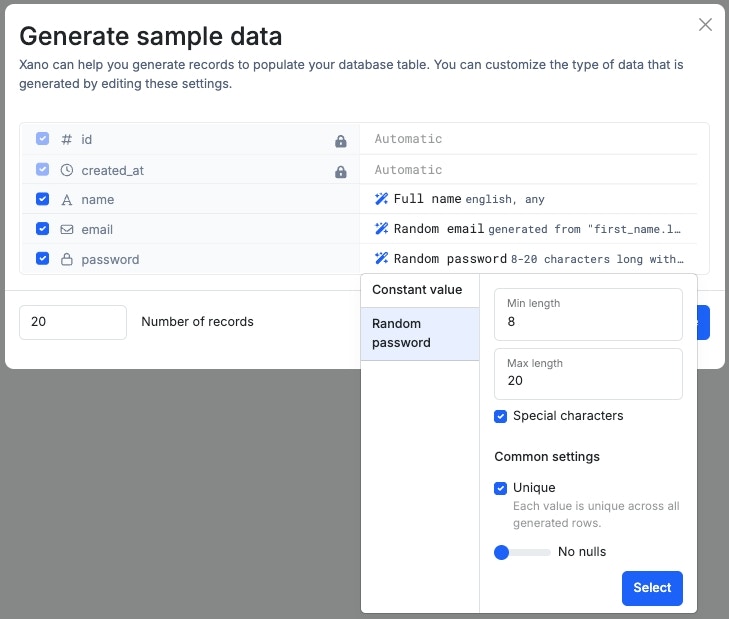
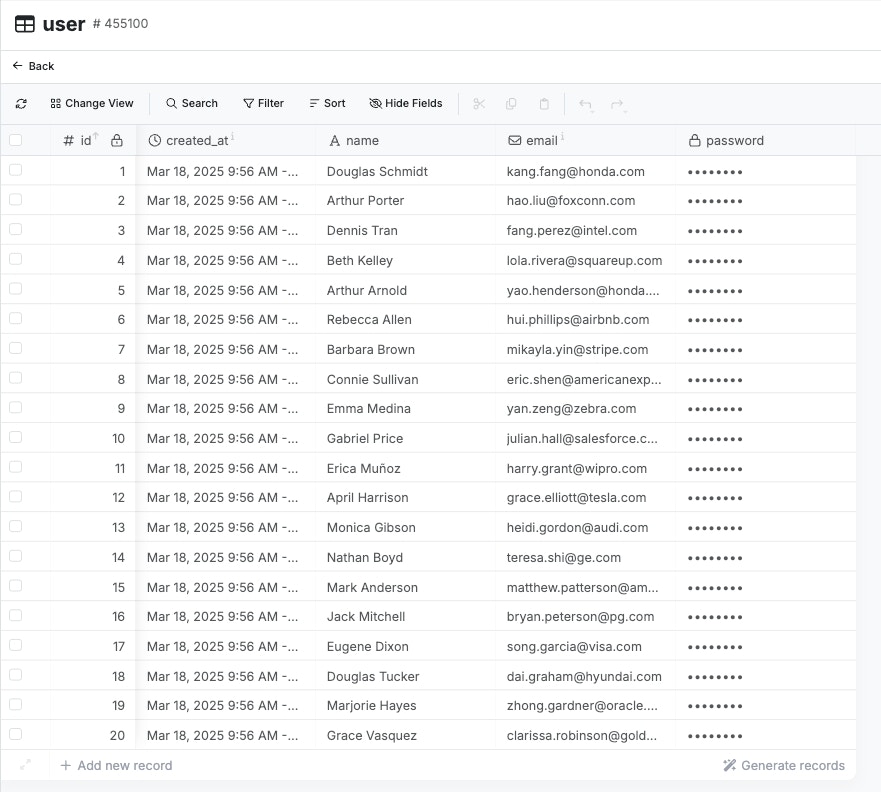
After you’ve created your database schema, you can generate some sample data to use right away by clicking 🪄Generate Records This option is located at the bottom of your database records — so, if you have no records, you should see it right at the top.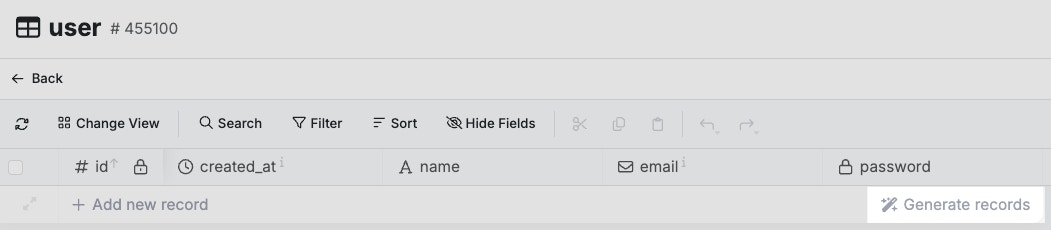
HintWant to clear out all of the sample data? There’s a quick “Clear All Records” shortcut in the upper-right settings menu. This will delete all records in the table in one swing.
Create flows from database triggers
You can find database triggers on each table by clicking the settings icon in the top-right corner. Click + Add Database Trigger to create a new database trigger. You can specify what Data Sources the trigger will execute on. If no data source is set, then it will execute on all data sources. Select the actions that will activate this trigger. Inserts Any time a record is added to the table Updates Any time a record is edited Deletes Any time a record is deleted Truncates When the content of the database table is cleared Finally, you can set up custom filters so that the trigger only runs if the record matches certain conditions. For example, if you only want the trigger to run if a new order is created for a user, or a new user is created with a certain role.Database triggers have predefined inputs that contain all of the information you’ll need to build a workflow based on the database event.
new This is the contents of the new record — if you’re adding a record, this will contain the contents of the new record, and if you’re updating a record, this will contain the contents of the updated record. On deletes and truncates, this will be empty.
old This is the contents of the old record — if you’re deleting or editing a record, this will contain the contents of the record before the change. On inserts and truncates, this will be empty.
action The action that activated the trigger
data source The datasource this trigger has been executed against