 Xano
XanoBuilding a Unit Test
The fastest way to create a unit test is by using Run & Debug. Once you are achieving the desired result by running your function stack, you can click Create Unit Test under the result.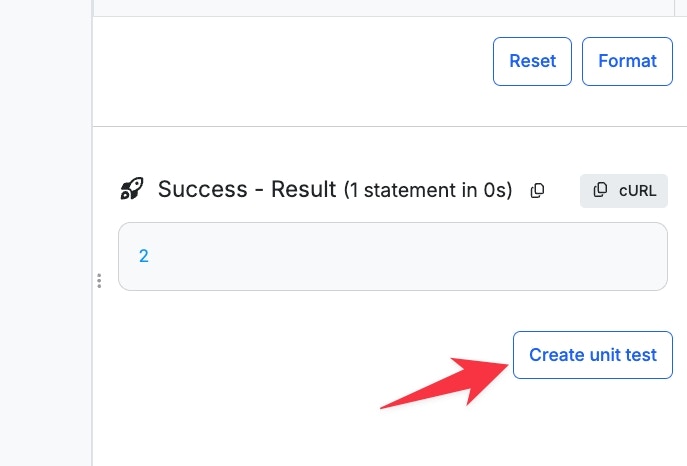
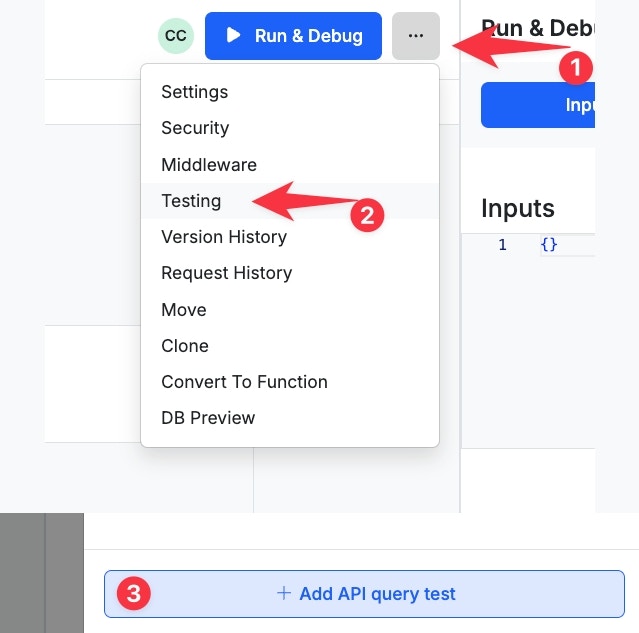
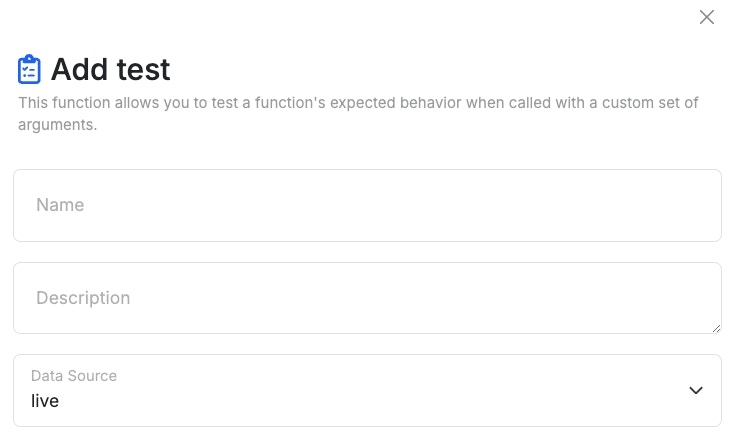
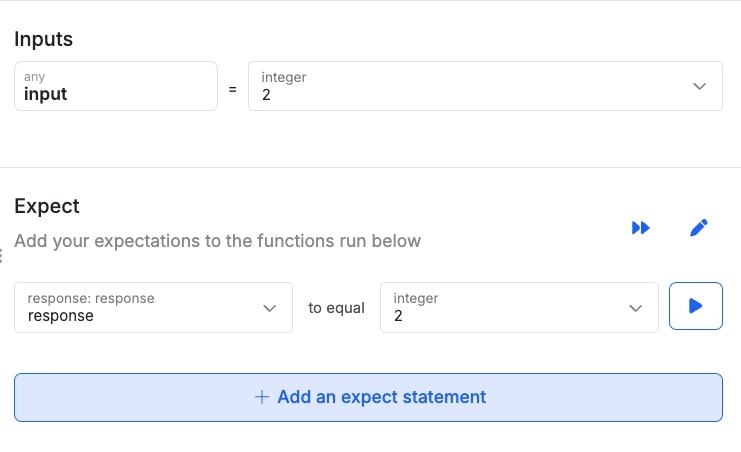
- Inputs align with the inputs that your function stack expects. You can fill out any desired values here that you would like to use to run the test. If you used the Create Unit Test option in Run & Debug, this should already be populated for you.
- Expects are the statements that are used to validate your test. These could be anything from a simple equals statement, or use more complex operators based on your needs.
- Use the ✏️ button to delete expect statements.
- Use the ⏩ button to check all expect statements, or you can run them selectively with the ▶️ button.
Using the Testing Suite
Once you have your unit tests built, you can always run them individually from that API’s testing panel. If you want to run all of your tests at once, you can use the testing suite. In the sidebar, switch to the Test & Deploy tab and click Unit Tests.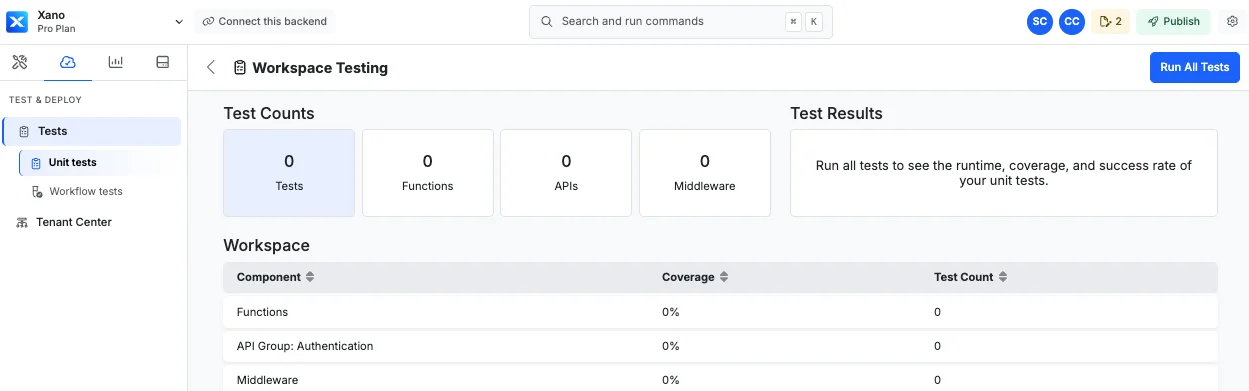
- Review where your application has and is missing coverage.
- Run all tests at once, run a single group, or run only the tests currently matching your filters.
- Open an existing test in place from its row, or create one where none exists yet.
Watching a run
Rows move through Untested → Running → Passed or Failed, updating in place as the run progresses. While a run is going, the header shows an n of total count and a control to stop it. When a test fails, expand its row to see the error and the number of failed expectations under the endpoint column. A test that is rejected before it can execute reports a distinct Couldn’t run outcome. This is deliberately not a failure — it never overwrites a previous pass and never counts toward either your pass or fail totals. You can filter on it to find tests that need attention for reasons unrelated to your assertions.Run results are stored per workspace and survive navigation, a page refresh, and switching workspaces — including the full error string and the failing expectations. Leaving a testing page mid-run and coming back shows live progress, and an interrupted run reconciles when you return.
Coverage and success rate
Coverage is the share of objects that have tests authored against them — it tells you where you have no tests at all, not whether the tests you have are passing. Success Rate is the pass/fail metric. For complex applications with a significant number of objects, you can check coverage and tests for functions, APIs, and middleware separately, and filter by tested / untested, failed, or couldn’t run.Building tests with AI
You can have Xano author unit tests for you, starting from the whole workspace, a single group, or an individual endpoint. When a test is failing, you can also hand it to AI to debug — the test name and the error string are passed along as context. Adding a test updates the page immediately, including counts and the empty state.Mocking Responses
For each of the functions in your function stack, you can add mock responses to assist in the consistency of your unit tests.1
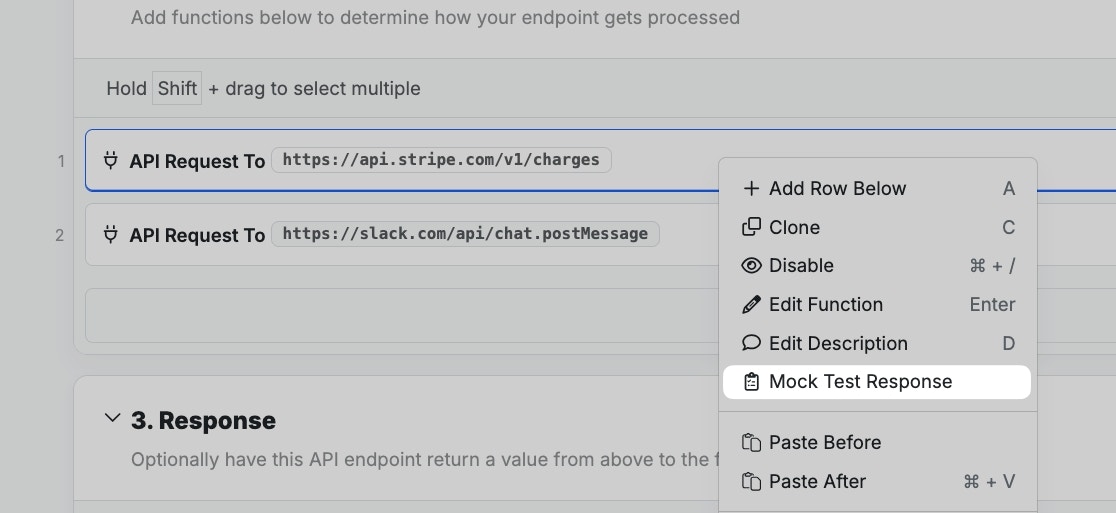
Right-click on a function and choose Mock Test Response
2
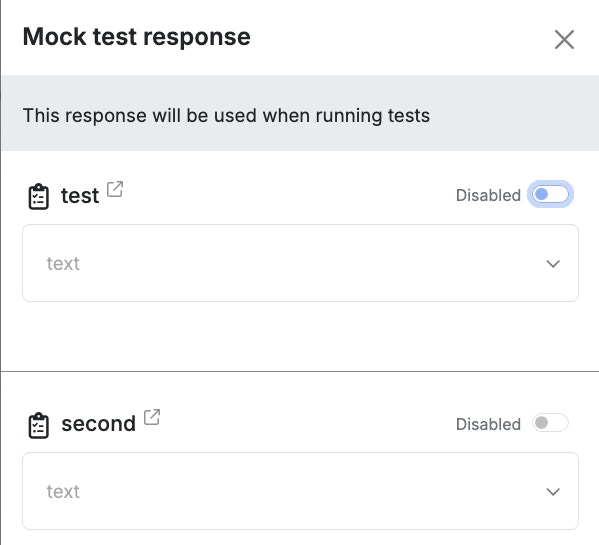
In the panel that opens on the right, you can add mock data for this function that will be used during your unit test.
You can specify different pieces of data for each individual unit test you’ve built for this function stack.