Enable Authentication for a Table
Authentication starts with enabling the function on a table that contains user data. Typically, this would just be youruser table. You can also enable authentication on multiple tables if you want separate authentication methods for different user groups, such as normal users and administrators.
1
Click the ⋮ icon in the database table view and choose Settings.

2
Use the dropdown to enable authentication.
Enable Authentication on an API Request
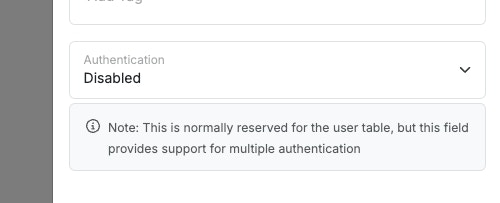
Once you’ve enabled authentication on a table, you can use each API endpoint’s settings to note whether or not it requires authentication. When a request is sent to API endpoints that require authentication, an authorization token is sent in the headers of the request, which Xano checks against the table with authentication enabled, before allowing the request to continue.Still need a primer on the basics of an API? Read more
here.
1
Click … to access the settings of the API you'd like to enable authentication on.

2
Enable authentication for the endpoint in the dropdown.
This dropdown will list each table that you have authentication enabled on. Select the table you enabled authentication on.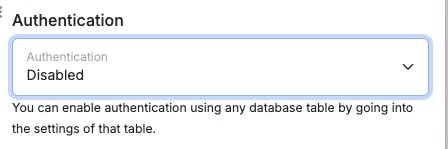
How does authentication work?
Authentication in Xano is powered by industry-standard JWE (JSON Web Encryption) tokens. Once a token is generated (after login or signup), your app or website will send that token back to Xano for requests that require authentication. A token is generated using the Create Authentication Token function, and is typically used in conjunction with a standard login or signup authentication flow.Adding Pre-built Authentication Endpoints
1
Create an API group to hold your authentication endpoints.
2
Click '+ Add API Endpoint' and choose Authentication to pick from the pre-built API endpoints.

3
Choose the API that you'd like to add.
-
Login
- Accepts an email or username and password, and allows a user to log in
-
Signup
- Accepts user information and creates an account for them
-
auth/me
- Checks an authentication token and returns user information
Building Sign-up and Login APIs
Below, you can review a typical login and signup flow — you are free to modify them to suit your needs. These are the same that Xano can add for you during signupLogin

1
Get Record From user
First, we need to retrieve the record of the user trying to login.
2
Precondition: user ≠ null
We use a precondition step to check if a user record was returned in step 1.
If it wasn’t, we return an error and halt execution.
3
Validate Password
Because passwords stored in a Xano database are hashed and not human
readable, we use a Validate Password function to check what the user has
submitted against the password stored in the database. This function returns
a
true or false depending on the result.4
Precondition: pass_result = true
We use another precondition step to check if the password was successfully
validated. If not, we return an error and halt execution.
5
Create Authentication Token
Finally, all checks are passed, and we create and return the authentication
token.
Signup
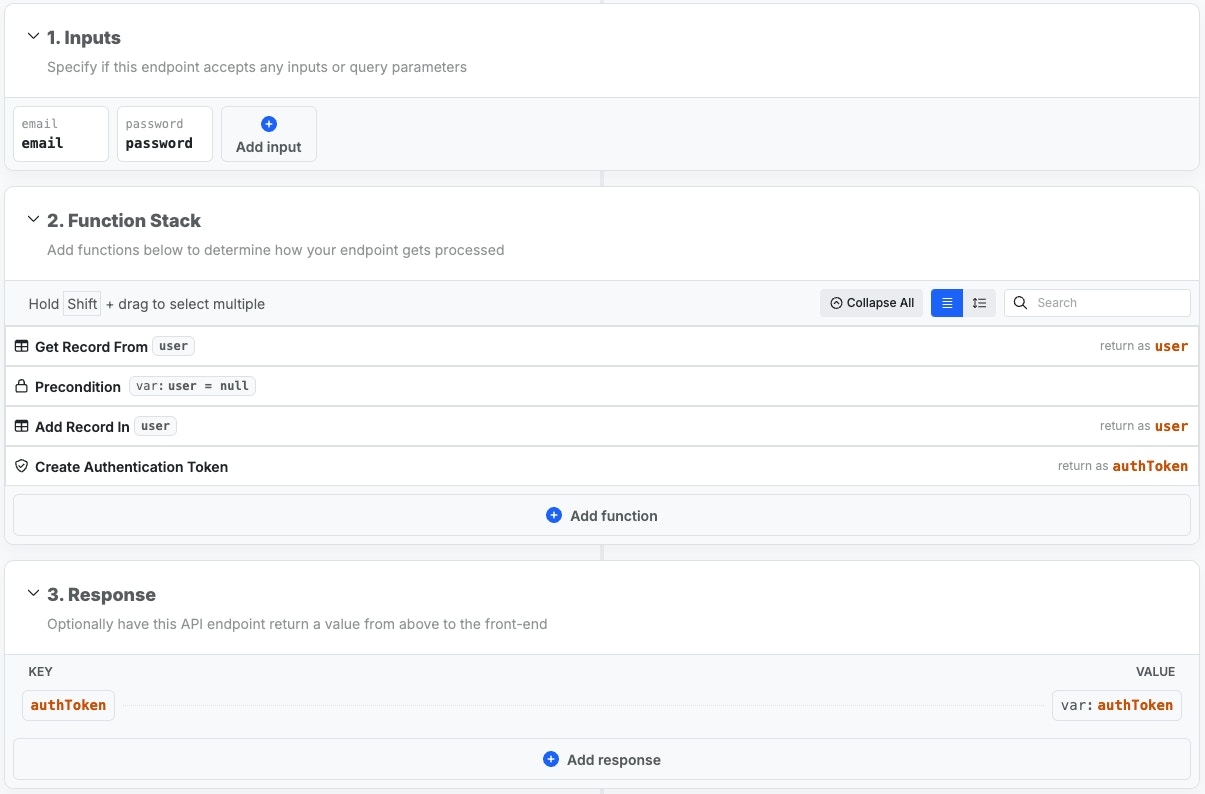
1
Get Record From user
Checks if a user record already exists with the provided information.
2
Precondition: user = null
Checks to see if there is a user record returned in step 1. If so, we halt
execution and return an error
3
Add Record In user
Add a new record for the user in the
user table4
Create Authentication Token
Creates an authentication token to be used in future API requests.
Extras
The extras payload is an optional setting that allows you to store additional information securely inside the token, such as a user role or other additional information.When testing endpoints with authentication enabled, the quick token generator
will not include extras or any other customization present in your login or
signup endpoints.