Xano Documentation
  • 👋Welcome to Xano!
  • 🌟Frequently Asked Questions
  • 🔐Security & Compliance (Trust Center)
  • 🙏Feature Requests
  • 💔Known Issues
  • Before You Begin
    • Using These Docs
    • Where should I start?
    • Set Up a Free Xano Account
    • Key Concepts
    • The Development Life Cycle
    • Navigating Xano
    • Plans & Pricing
  • The Database
    • Designing your Database
    • Database Basics
      • Using the Xano Database
      • Field Types
      • Relationships
      • Database Views
      • Export and Sharing
      • Data Sources
    • Migrating your Data
      • Airtable to Xano
      • Supabase to Xano
      • CSV Import & Export
    • Database Performance and Maintenance
      • Storage
      • Indexing
      • Maintenance
      • Schema Versioning
  • 🛠️The Function Stack
    • Building with Visual Development
      • APIs
        • Swagger (OpenAPI Documentation)
      • Custom Functions
        • Async Functions
      • Background Tasks
      • Triggers
      • Middleware
      • Configuring Expressions
      • Working with Data
    • Functions
      • AI Tools
      • Database Requests
        • Query All Records
          • External Filtering Examples
        • Get Record
        • Add Record
        • Edit Record
        • Add or Edit Record
        • Patch Record
        • Delete Record
        • Bulk Operations
        • Database Transaction
        • External Database Query
        • Direct Database Query
        • Get Database Schema
      • Data Manipulation
        • Create Variable
        • Update Variable
        • Conditional
        • Switch
        • Loops
        • Math
        • Arrays
        • Objects
        • Text
      • Security
      • APIs & Lambdas
        • Realtime Functions
        • External API Request
        • Lambda Functions
      • Data Caching (Redis)
      • Custom Functions
      • Utility Functions
      • File Storage
      • Cloud Services
    • Filters
      • Manipulation
      • Math
      • Timestamp
      • Text
      • Array
      • Transform
      • Conversion
      • Comparison
      • Security
    • Data Types
      • Text
      • Expression
      • Array
      • Object
      • Integer
      • Decimal
      • Boolean
      • Timestamp
      • Null
    • Environment Variables
    • Additional Features
      • Response Caching
  • Testing and Debugging
    • Testing and Debugging Function Stacks
    • Unit Tests
    • Test Suites
  • CI/CD
  • File Storage
    • File Storage in Xano
    • Private File Storage
  • Realtime
    • Realtime in Xano
    • Channel Permissions
    • Realtime in Webflow
  • Maintenance, Monitoring, and Logging
    • Statement Explorer
    • Request History
    • Instance Dashboard
      • Memory Usage
  • Building Backend Features
    • User Authentication & User Data
      • Separating User Data
      • Restricting Access (RBAC)
      • OAuth (SSO)
    • Webhooks
    • Messaging
    • Emails
    • Custom Report Generation
    • Fuzzy Search
    • Chatbots
  • Xano Features
    • Snippets
    • Instance Settings
      • Release Track Preferences
      • Static IP (Outgoing)
      • Change Server Region
      • Direct Database Connector
      • Backup and Restore
      • Security Policy
    • Advanced Back-end Features
      • Xano Link
      • Developer API (Deprecated)
    • Metadata API
      • Master Metadata API
      • Tables and Schema
      • Content
      • Search
      • File
      • Request History
      • Workspace Import and Export
      • Token Scopes Reference
  • Xano AI
    • Building a Backend Using AI
    • Get Started Assistant
    • AI Database Assistant
    • AI Lambda Assistant
    • AI SQL Assistant
    • API Request Assistant
    • Template Engine
    • Streaming APIs
  • AI Tools
    • MCP Servers
      • Connecting Clients
      • MCP Functions
  • Xano Transform
    • Using Xano Transform
  • Xano Actions
    • What are Actions?
    • Browse Actions
  • Team Collaboration
    • Realtime Collaboration
    • Managing Team Members
    • Branching & Merging
    • Role-based Access Control (RBAC)
  • Agencies
    • Xano for Agencies
    • Agency Features
      • Agency Dashboard
      • Client Invite
      • Transfer Ownership
      • Agency Profile
      • Commission
      • Private Marketplace
  • Enterprise
    • Xano for Enterprise
    • Enterprise Features
      • Microservices
      • Tenant Center
      • Compliance Center
      • Security Policy
      • Instance Activity
      • Deployment
      • RBAC (Role-based Access Control)
      • Xano Link
  • Your Xano Account
    • Account Page
    • Billing
    • Referrals & Commissions
  • Troubleshooting & Support
    • Error Reference
    • Troubleshooting Performance
      • When a single workflow feels slow
      • When everything feels slow
      • RAM Usage
      • Function Stack Performance
    • Getting Help
      • Granting Access
      • Community Code of Conduct
      • Community Content Modification Policy
  • Special Pricing
    • Students & Education
    • Non-Profits
  • Security
    • Best Practices
Powered by GitBook
On this page

Was this helpful?

  1. Building Backend Features

Chatbots

Last updated 21 days ago

Was this helpful?


Building a Chatbot with OpenAI/ChatGPT and Xano

This guide will walk you through building a chatbot using ChatGPT and Xano.

Before we begin, it's important that you understand the following key concepts:

Database Basics

Building with Visual Development

APIs & Lambdas

User Authentication & User Data

You should know how to build a database table, build basic function stacks, work with user authentication, and utilize the External API Request function.


1

Understanding the OpenAI Chat Completions Endpoint

Objective: To create a chatbot, you'll primarily use OpenAI's chat completions API endpoint.

Endpoint: The specific endpoint is /v1/chat/completions. You'll make POST requests to this endpoint.

Authentication: All requests to the OpenAI API require authentication. This is done by including an Authorization header with a bearer token (your OpenAI API key).

Request Body:

  • messages: This is a crucial part. It's an array containing the entire conversation history. Unlike interacting directly with ChatGPT, the API requires you to send all previous messages in each request.

  • Message Object Structure: Each object in the messages array needs a role and content:

    • role: Defines who sent the message.

      • system: Sets the initial context or persona for the chatbot (the first "training" prompt).

      • user: Represents messages sent by the end-user interacting with the bot.

      • assistant: Represents messages sent by the chatbot (responses from the API).

    • content: The actual text of the message.

Benefits of Sending Full History: This allows for fine-tuning or guiding the conversation by potentially modifying or constructing messages within the history you send to the API.

Other Parameters: There are optional parameters like temperature, but they aren't required to get started.

2

Define Database Schema

User Table: Create at least one test user for authentication purposes later.

Conversation Table (conversation): This acts as the parent table. Add the following fields:

  • name (Type: text): To easily identify conversations.

  • model (Type: text): To store which OpenAI model is used for this conversation (e.g., "gpt-3.5-turbo").

  • user_id (Type: Table Reference -> user): To link the conversation to the user who initiated it.

Messages Table (messages): This stores individual messages. Add the following fields, mirroring the structure needed for the OpenAI API request:

  • role (Type: text): Stores "system", "user", or "assistant".

  • content (Type: text): Stores the actual message text.

  • index (Type: integer): A number to track the order of messages within a conversation (0, 1, 2, ...). This is crucial for sorting messages correctly for display and for sending them in the right order to the API.

  • conversation_id (Type: Table Reference -> conversation): To link the message back to its parent conversation.

3

Create an endpoint to call OpenAI

API Group: Navigate to your API groups in Xano. You can use the default group or create a new one.

New API Endpoint: Add a new API endpoint. Choose "Start from scratch" or "Custom". Name it something descriptive, like send_message_to_openai.

Inputs: Define the necessary inputs for this endpoint. You'll likely need:

  • conversation_id (Input Type: Table Reference -> conversation): To know which conversation this message belongs to.

  • user_message (Input Type: text): The new message typed by the user.

Function Stack: This is where the logic happens using Xano's visual builder.

  1. Get Conversation History:

    • Add a Query All Records step for the messages table.

    • Filter by the input conversation_id.

    • Sort by the index field in ascending order. This ensures messages are retrieved chronologically.

  2. Add User's New Message to History (Temporary): Add the incoming
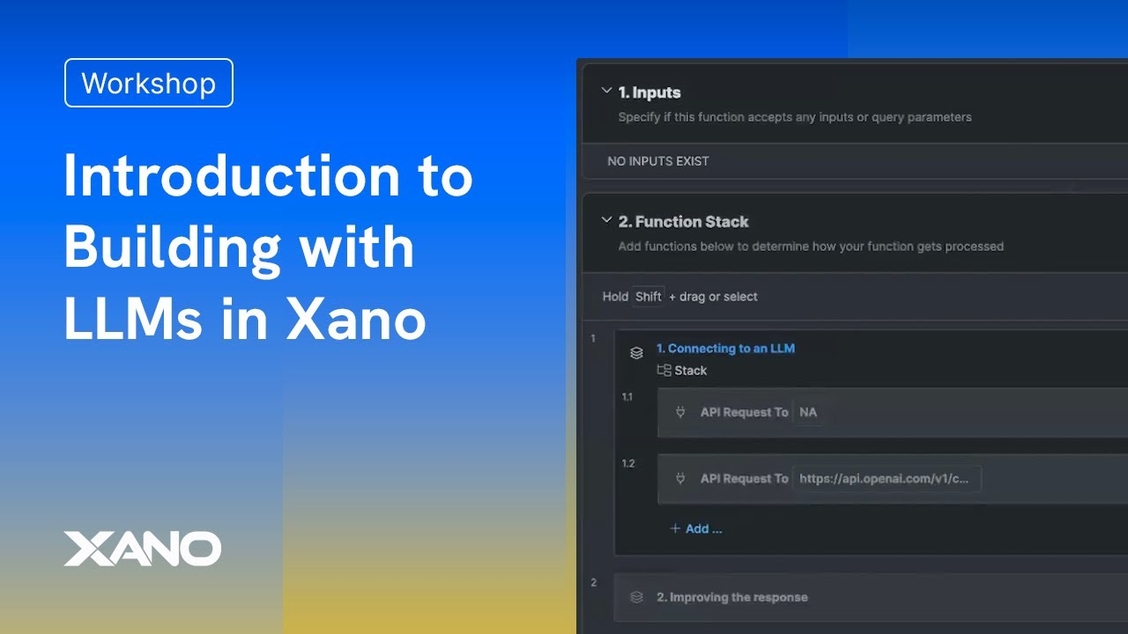
 user_message to the list/array of messages retrieved in the previous step. Make sure it has the correct format: { "role": "user", "content": user_message }.

  3. Add External API Request: This is the core step to call OpenAI.

    • Click the "+" button in the function stack and select "External API Request".

    • Import cURL: Use the OpenAI documentation's cURL example for the chat completions endpoint. Copy the cURL command and use Xano's "Import cURL" feature. This will pre-fill most settings.

    • URL: Should be https://api.openai.com/v1/chat/completions.

    • Method: POST.

    • Headers:

      • Ensure Content-Type is application/json.

      • Add the Authorization header. The value should be Bearer YOUR_API_KEY, replacing YOUR_API_KEY dynamically using the environment variable retrieved in step 1. Use Xano's concatenation filters or sprintf for this.

    • Parameters/Body:

      • Set model to your desired model (e.g., "gpt-3.5-turbo"). You could make this dynamic based on the conversation record if needed.

      • Set messages to the full conversation history array you prepared in step 3 (including the new user message).

  4. Process API Response: The response from OpenAI will contain the assistant's reply. You'll typically find it in response.result.choices[0].message.content. Add steps to extract this content.

  5. Store Messages in Database:

    • Add a Add Record step for the messages table to save the user's new message. Include conversation_id, role ("user"), content (user_message), and the next index number.

    • Add another Add Record step for the messages table to save the assistant's response. Include conversation_id, role ("assistant"), content (the extracted response), and the subsequent index number.

  6. Response: Define what the Xano API endpoint should return to your frontend (e.g., the assistant's message content, or the updated full conversation).

4

Calling from a Frontend

Call the Xano API endpoint (send_message_to_openai) from your frontend application whenever a user sends a message.

Pass the conversation_id and the user_message.

model: Specifies which OpenAI model to use (e.g., gpt-3.5-turbo). You can find compatible models in the .

Get OpenAI API Key: Securely retrieve your OpenAI API key. Store it in Xano's for security rather than hardcoding it.

Display the conversation history, potentially fetching it separately using the auto-generated Xano for the messages table, ensuring you sort by the index field.

OpenAI documentation
Environment Variables
CRUD endpoints
Cover
Cover

Intro to LLMs in Xano

Build a Chatbot with ChatGPT & Xano