HintUse the ✨AI Database Assistant to create and update tables for you!
👨🏭 Create a Database Table
1
Head to the database
Click Database in the left hand menu.
2
Add a new table
Click Add Table in the top right corner.Choose Import Data to import data from a CSV file, or Enter Data Manually to start with an empty table where you can add your own data later, or generate sample data automatically.In the panel that opens, give your table a and a
3
Give your table a name and a description.
When naming your table, it’s considered best practice to use camelCase for multiple words, and to not use plurals in the table name. For example, a table of dog breeds would be named
dogBreedThe description is just for you to make notes on what this table will contain, notable data constraints, or any other information you’d like to store.4
Choose your primary key type.
The primary key is the ID of each record. Xano offers two types of primary keys to choose from.
When should you use Sequential, and when should you use UUID?When designing your database structure in Xano, choosing the right identifier type is an important decision. Here’s a straightforward guide to help you decide:Sequential IDs are best for:
- Performance-sensitive operations - they’re faster to index and query
- Human-friendly references - easier to communicate (“Please check record #42”)
- Storage efficiency - they consume less space in your database
- When chronological order matters - the sequence reveals creation order
- Single-database applications where centralized ID generation works well
- Systems that benefit from predictable numbering patterns
- Distributed systems where multiple services create records independently
- Data synchronization across different databases or systems
- Preventing ID guessing or enumeration attacks
- Frontend-first workflows where IDs need to be generated before server contact
- Multi-region deployments with separate databases
- When you don’t want to expose information about record counts
- Scenarios where data privacy is paramount
Please note that there is no support for converting tables to / from different primary key types. However, this can be done with a manual migration to a new table.
Sequential (1, 2, 3...)
Sequential (1, 2, 3...)
A sequential identifier is just a sequence of whole numbers (1, 2, 3, etc…).Think of sequential IDs like numbered tickets at a deli counter. They start at 1 and count up one by one (2, 3, 4…). Just like how the first customer gets ticket #1, the first row in your database gets ID #1. This system is straightforward but requires coordination - just as you can’t have two deli counters giving out the same numbers (it would confuse customers), you need to ensure you’re not creating duplicate IDs across different parts of your system.
UUID
UUID
A UUID is like the serial number on your electronics - something like “550e8400-e29b-41d4-a716-446655440000”. It’s longer and looks random, similar to how no two iPhone serial numbers are alike, even if they were made in different factories. This makes UUIDs particularly useful when you have data coming from multiple sources or need to merge databases - you don’t have to worry about ID conflicts, just like how Apple doesn’t need to check with Samsung about what serial numbers they’re using.Some users feel that using UUIDs is also more secure. UUIDs do provide some security benefits through obscurity - you can’t easily guess other valid IDs by simply incrementing a number. If a website shows you order #1234, you might guess that order #1235 exists. But if you see order 550e8400-e29b-41d4-a716-446655440000, you can’t easily guess other valid orders.However, it’s crucial to understand that using UUIDs is not a replacement for proper security measures. You should never rely on the difficulty of guessing IDs as your only security mechanism. Proper authentication and authorization should be in place regardless of ID type.
5
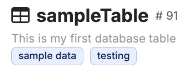
Add some tags.
Tags in Xano can be applied to any object (tables, APIs, functions, etc…) and are used to easily find related objects when searching your workspace.
6
Choose to add basic CRUD endpoints.
Xano can provide you with some standard pre-built APIs for basic operations against this table. If you choose this option, you’ll also want to supply an API Group for those endpoints to live in. You can always choose to generate these endpoints later, too.
7
Confirm your choices.
Once you’ve confirmed all of your settings are as you want them to be, click Add Table.
ℹ️ Navigating the Table View
Let’s start with the top control bar.


🔎 Searching, Filtering, and Sorting
🔎 Searching, Filtering, and Sorting


🧰 Tools and Advanced Controls
🧰 Tools and Advanced Controls


.gif)


➕ Adding a new field
Click the plus sign to add a new field, and choose the type of field you want to add from the panel that opens. After you’ve selected your desired field type, you will be presented with a number of options. You can review each one of them and what they mean below.NoteThe settings listed below only impact your API endpoints that utilize the database link feature. This means that it is possible to make changes that break these rules via the database table view.
Custom Rules & Filters
For each field, you can apply various rules and filters to ensure that the data is stored in the format that you expect.##⚙️ Field Options Right-click on the header of a field to access field-related settings and make adjustments to the options already detailed above, as well as some additional controls.

Please note that renaming a field should be handled with care, as it may impact any function steps that reference that field.You can click the plug icon when viewing a database table to open Referenced By and view any database operations that utilize that column first to understand where changes need to be made. In the screenshot below, we know we want to update the name column, so we can use Referenced By to find where it’s used beforehand.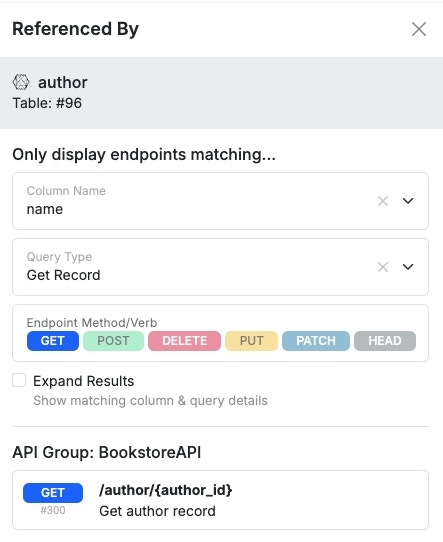


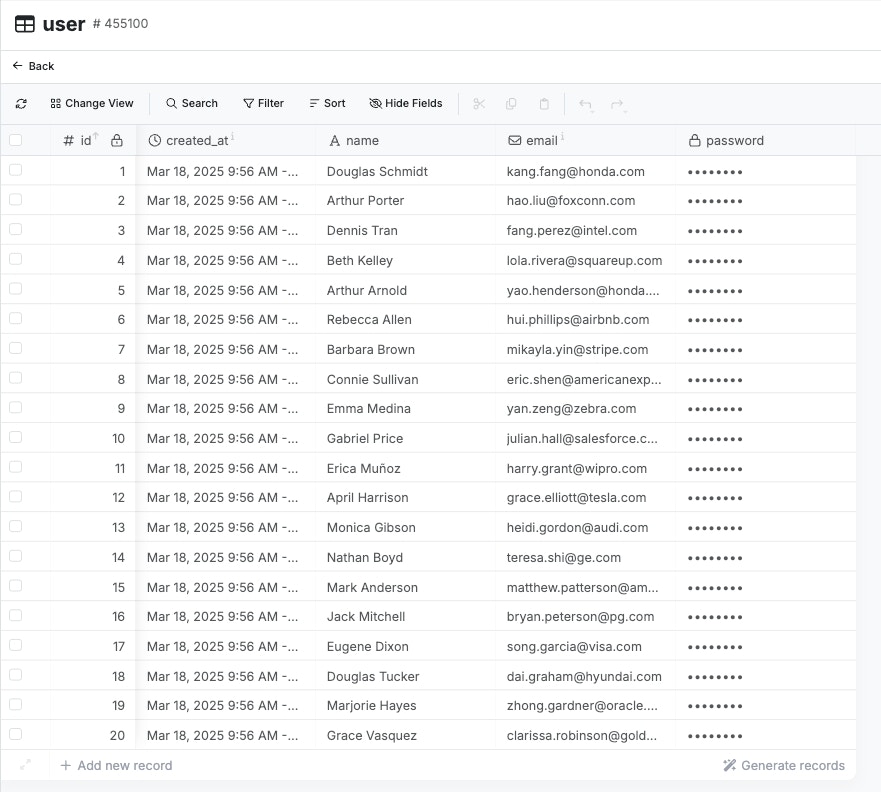
🔢 Adding Data
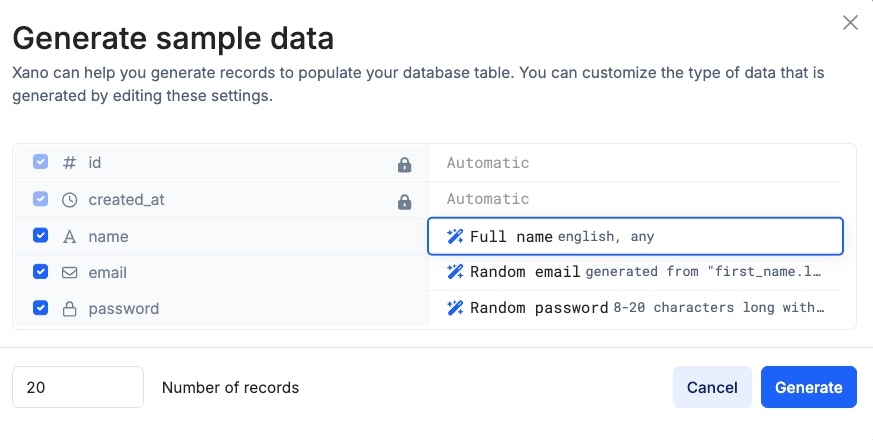
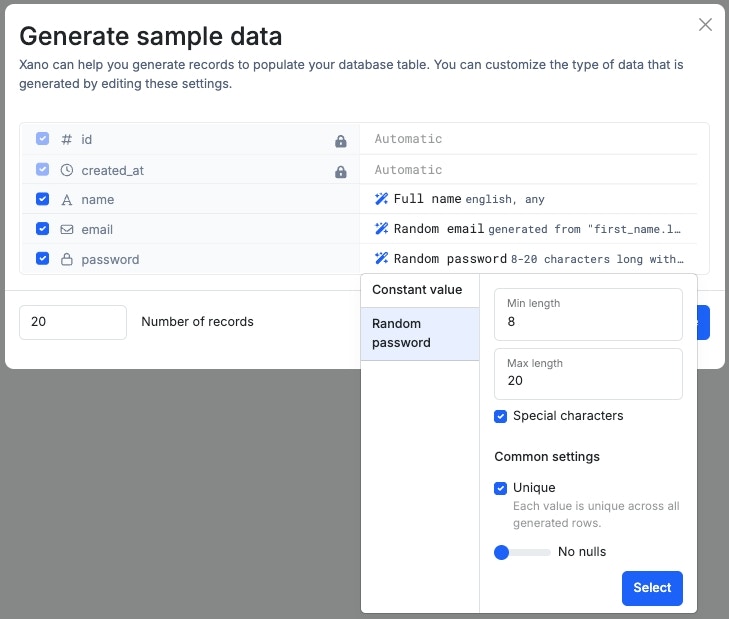
Generate Test Data using AI
After you’ve created your database , you can generate some sample data to use right away by clicking Generate Records. This option is located at the bottom of your database records — so, if you have no records, you should see it right at the top.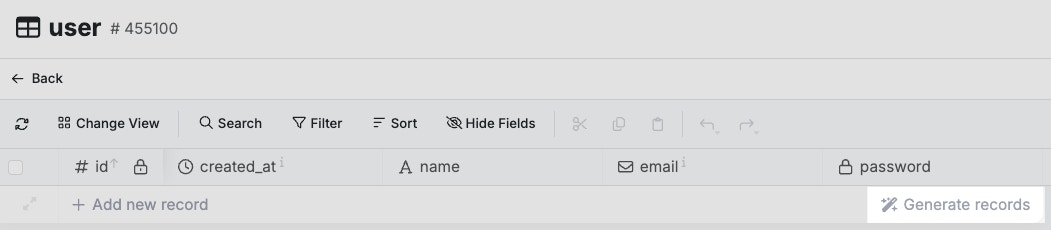
Adding Data Manually
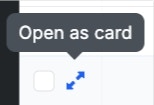
Click **Add New Record **at the bottom of your existing records (if any) to add a new record. The record will be created using any default values you’ve specified in the field options, and you can click on each cell to fill it in manually. You can also click the two arrows icon to open up the card view and fil in multiple, or all fields at once when creating a new record.##⚙️ Additional Table Settings Click the settings icon in the top-right corner to access table settings after creation, including both settings detailed earlier in this document, as well as some additional options.
Table Format
Table Formats - Only relevant for direct database connectionsAs of our 1.68 release (5/27/25), all new workspaces will default to the standard SQL column format for tables. For all workspaces created prior to that, read below.
- JSONB format
- This creates your tables with two columns:
id- the ID of the recordjsonb- contains a JSON representation of the entire record
- This creates your tables with two columns:
- Standard SQL format
- This creates a more standard table layout. Instead of a jsonb column, each column is written separately.
When to Convert to Standard SQL Format:
- You need direct database connections with third-party tools that aren’t friendly to JSONB format, such as Tableau or PowerBI
- You want faster performance for non-indexed queries
- You’re frequently adding new fields (faster column additions)
- You plan to use SQL analytics tools or run complex reports directly against your database
When to Keep JSONB Format:
- You’re satisfied with current performance
- You don’t need direct database connections
Converting Tables from JSONB to standard SQL
1
Click the gear icon in the upper-right corner to access your workspace settings.
2
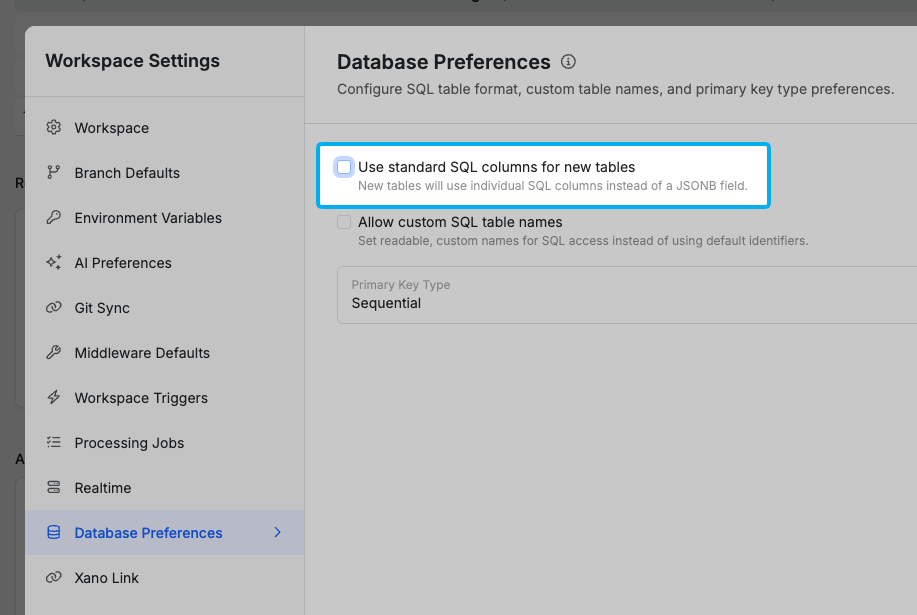
Select Database Preferences, and check the option to 'Use standard SQL columns for new tables'
3
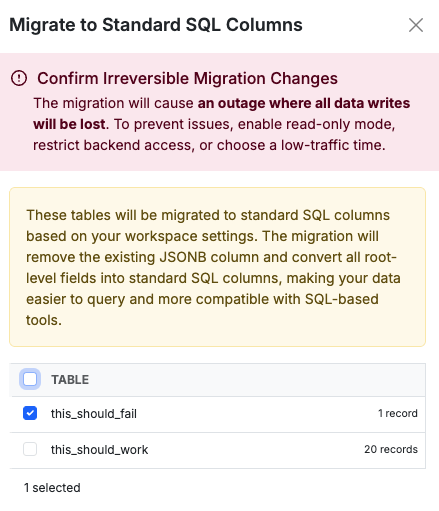
Convert your tables to the new format from table settings
From inside any table, click the ⋮ icon in the top-right corner and choose Migrate Column Format.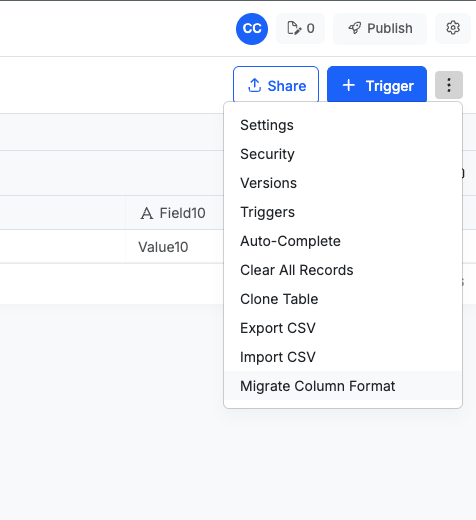
Custom SQL Table Names
From your Workspace settings, you can enable Custom SQL Table Names. By default, Xano assigns each table a SQL name in the format mvpw_ (e.g., mvpw1_3). This identifier works for direct access, but can be difficult to read or use with direct queries and database tools. You can replace this with a custom SQL name to make queries more intuitive and improve compatibility with external connectors. If you change a table’s SQL name, be sure to update any queries that reference the old name to avoid breaking functionality. Once you’ve enabled Custom SQL Table Names, head to any database table’s settings, and click Manage next to SQL Table Name.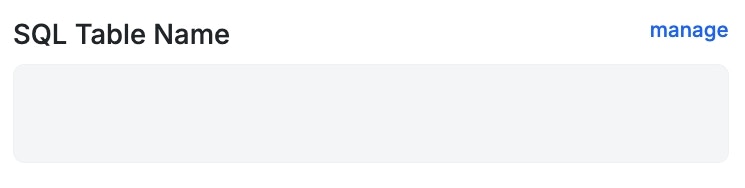
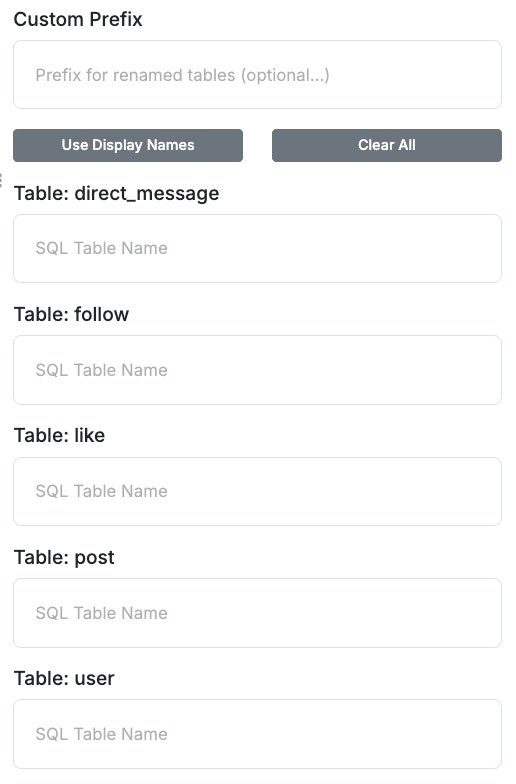 | - Leave the SQL Table Name field blank to use Xano’s default SQL table name, which follows the format mvpw<workspaceID>_<tableID> (e.g., mvpw1_3). - SQL table names must be globally unique across all workspaces. Hint: Use the Custom Prefix to ensure uniqueness across workspaces. - Datasources automatically add a suffix based on their environment. For example, users becomes users_test in the test datasource.* To reuse the same base name across workspaces, use a workspace -specific prefix (e.g., projA_users, projB_users). |