Quick SummaryData sources are like separate versions of tables that contain different data sets — typically, they are separated into live or production data, and test data. The advantage to using separate data sources is so when you are building or iterating on your backend functionality, your actual live data stays safe. All data sources share the same database schema. They only differ by allowing different copies of the database records.
Creating Data Sources
1
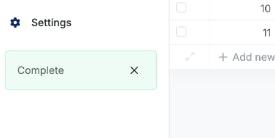
Access your data sources from the status footer at the bottom of the screen. Click it and choose **Manage Data Sources**

2
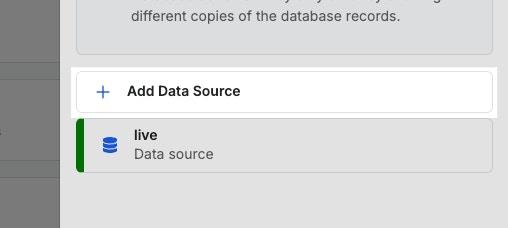
Add a new data source from the panel that opens
3
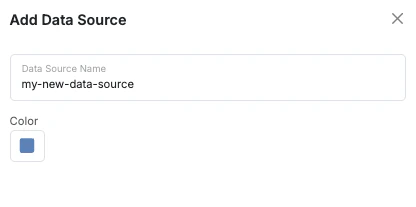
Customize the new data source
Using Data Sources
Switching Data Sources
When you switch data sources, any action you take in Xano such as running and debugging a function stack will target the selected data source. It is recommended to use a test data source whenever possible to avoid accidentally impacting live application data. Switch your data source at any time by clicking the data source indicator in the status footer at the bottom of the screen.This does not impact your live application; only the work you are performing inside of Xano.
Setting a Data Source as Active
If you want your backend to use a different data source by default, select it from the data sources panel and choose Set As Active Data Source. All future activity, unless otherwise specified using one of the alternative methods below, will use the active data source.Targeting Specific Data Sources
When running function stacks in Xano or calling them externally, you can target a specific data source a number of ways. If you do not specify a data source, Xano will use the1
Use the Set Data Source function
The Set Data Source function, located under Utility Functions, allows you to manually set a data source at any time. Any future database operations, such as reads and writes, will use the defined data source.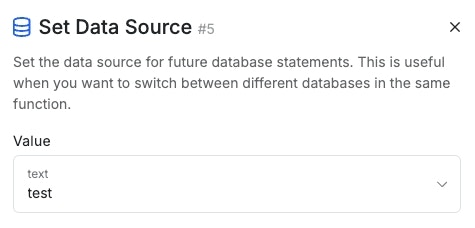
2
Send a data source header in your request
If you’re calling one of your Xano APIs externally, you can specify the data source to use in the request headers.The header to send is as follows. Replace ‘test’ with the name of the data source you wish to target.
3
Send a URL argument in your request
If you don’t have the ability to modify the request headers but still want to specify the data source in an external request, you can use a URL argument.
4
Change the settings of the function stack
In some function stack types, such as background tasks, you can set the data source to target if you would like it to be different from the live data source.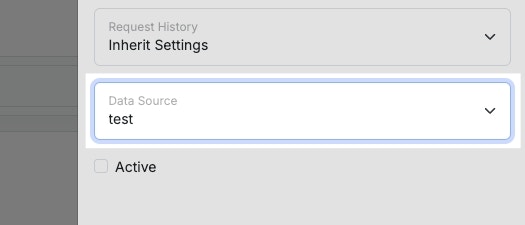
Migrating Data Between Data Sources
1
Access the Migration panel
Click the data sources indicator and choose Manage Data Sources In the panel that opens, click Migrate.
2
Select the source and destination data source.

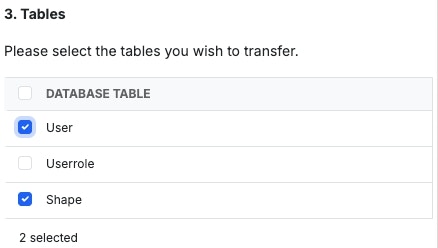
3
Select the tables to migrate.
4
Confirm your changes to begin the migration.
You can check the progress of the migration via the indicator in the status footer. You’ll also see a banner at the top of the screen once the migration has completed.