What is an external API request?
The External API Request function is used to send requests to external APIs. You’ll use this anytime you want to interact with a third party service, such as a payment platform or email provider.Using the External API Request Function
Add an External API Request function
Use the AI Assistant to help you build your API request
Add an External API Request function to your function stack.
Click 'API Request Assistant' from the panel that opens.

Tell the AI Assistant about the API you want to access, and any specifics about the request you want to make.
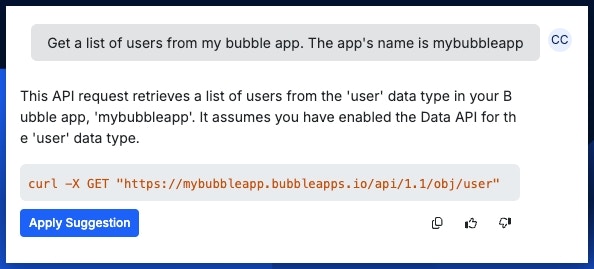
You can either choose to apply the AI's suggestion, or continue to converse with the AI to iterate or make changes.
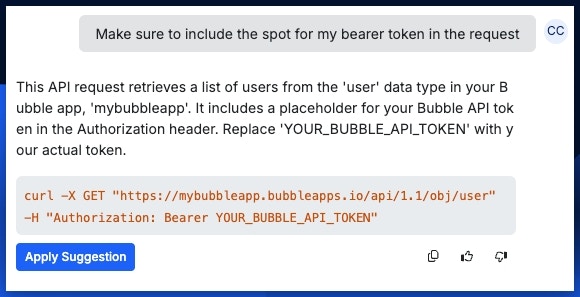
For things like API keys, you can either pass them to the AI or fill them in manually after you've applied the suggestion.
Or, build the request manually or with a cURL command
| Option | Description |
|---|---|
| url | The URL of the API you’re calling, such as: https://api.service.com/send_message |
| method | The verb the API is designed to respond to, such as GET, POST, DELETE, etc… |
| params | Also known as “query parameters”, these are options sent along with the request, such as searching and filtering options, or other data that the request needs to execute. You may also see this referred to as request body. Hover over the params value space and click set to add a new parameter.  |
| headers | Any headers you need to send with the request, such as authentication. Add headers by hovering over the value space and click push  |
| timeout | How long Xano should allow the request to take before considering it timed out (failed) |
| follow_location | Determines if you wish to automatically follow the redirects (if there are any) in the API call.An example of this would be an API that generates a file for you, then gives you a redirect to get that file. |
Understanding API Documentation
Start by evaluating the four key sections that almost every API documentation has.
Finding the endpoint(s) you need
- What URL you’ll be calling
- What parameters or data you need to send
- What the response will look like
Multipart (File) Support
Sending a single image as the whole request body
To send a single image as a part of a whole request body, send a file resource via the ‘params’ option. You may also need to set the Content-Type in the headers to the type of file you’re sending, depending on the API.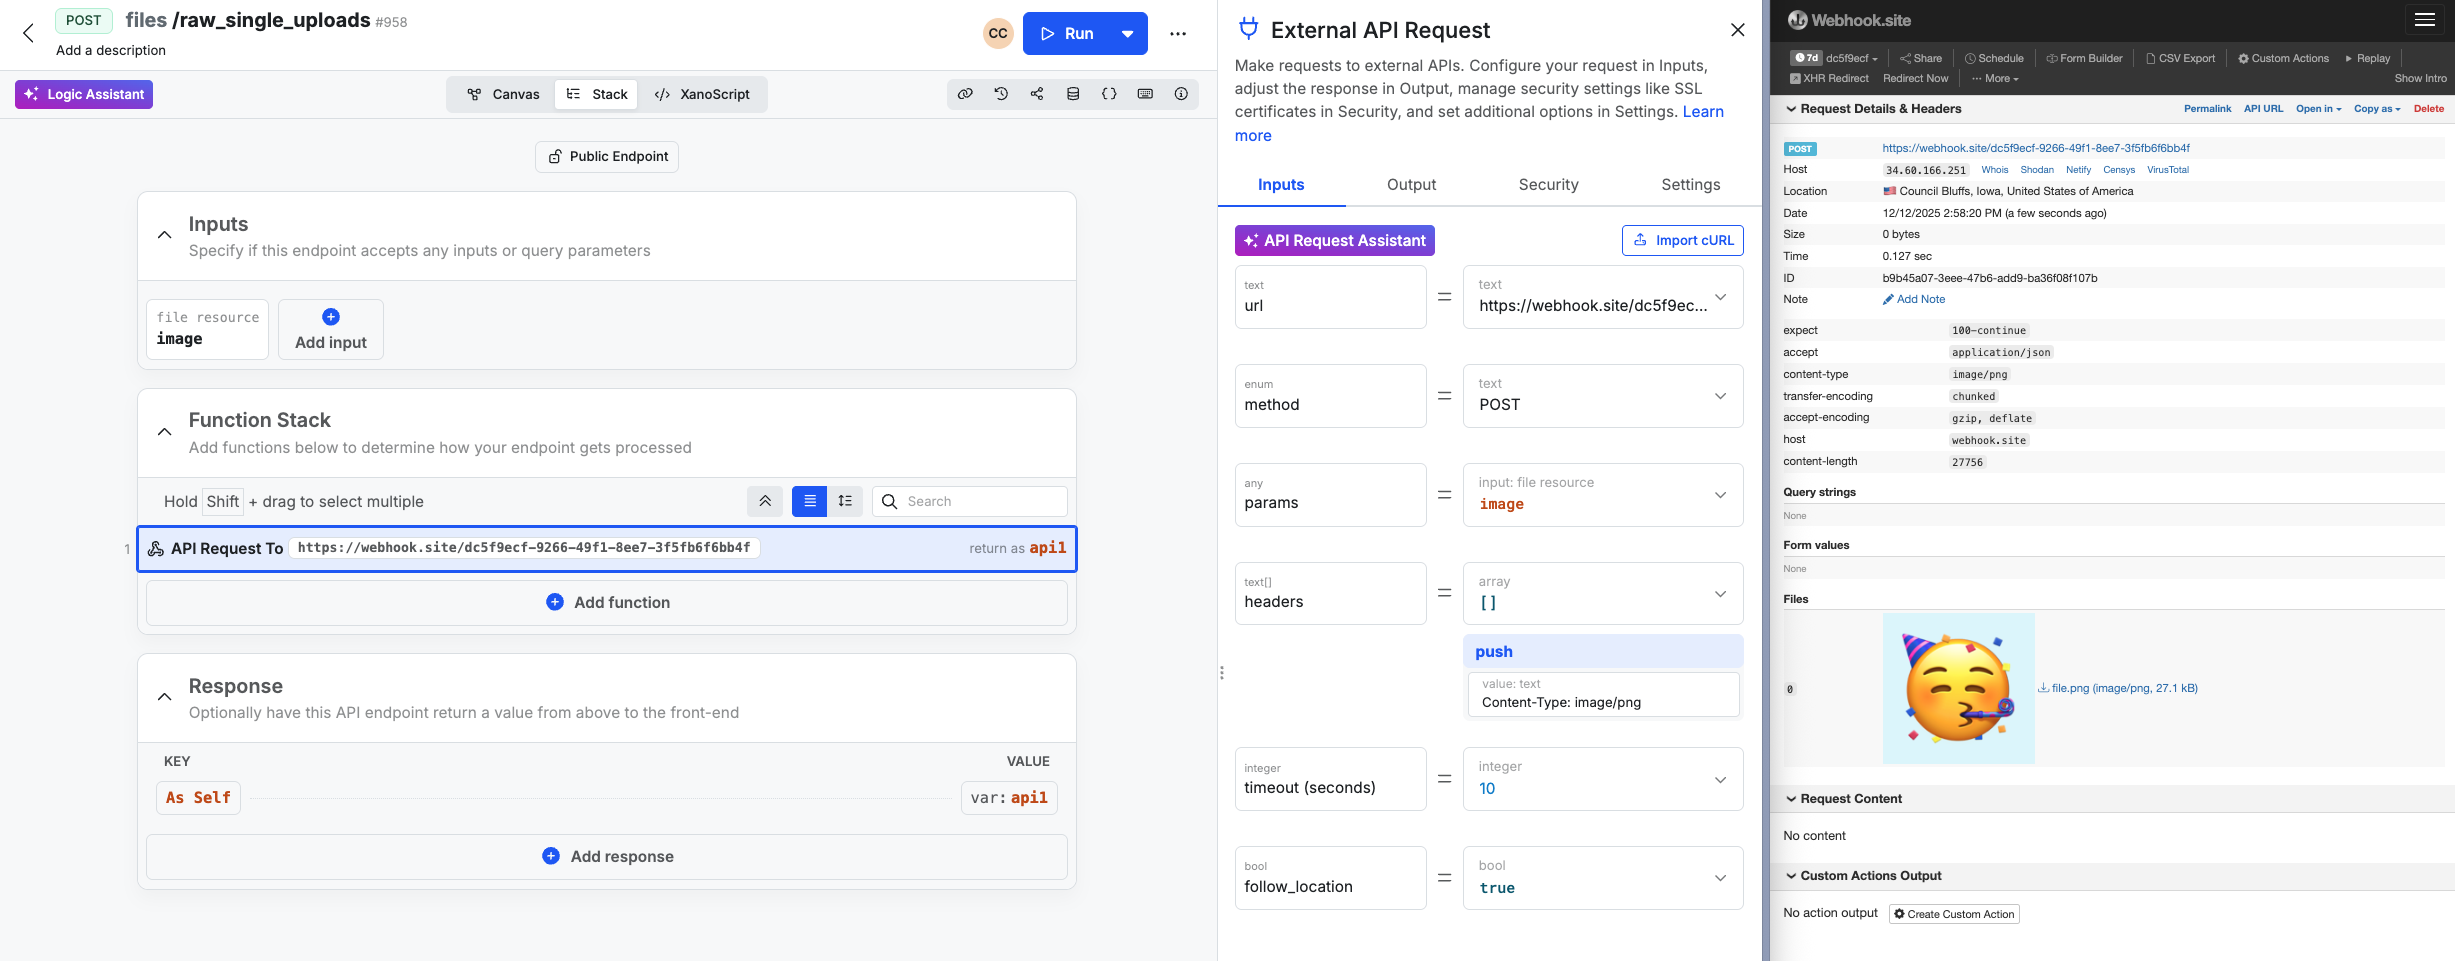
In this example, we've built an API request to send a single image as the entire request body.
Sending mixed data (files and text)
Some APIs will ask for mixed content, such as a file plus a text field with a description. In this case, you can use the ‘set’ filter to add multiple key:value pairs to the params, with the file resource as the value for the file field, and text for the other fields.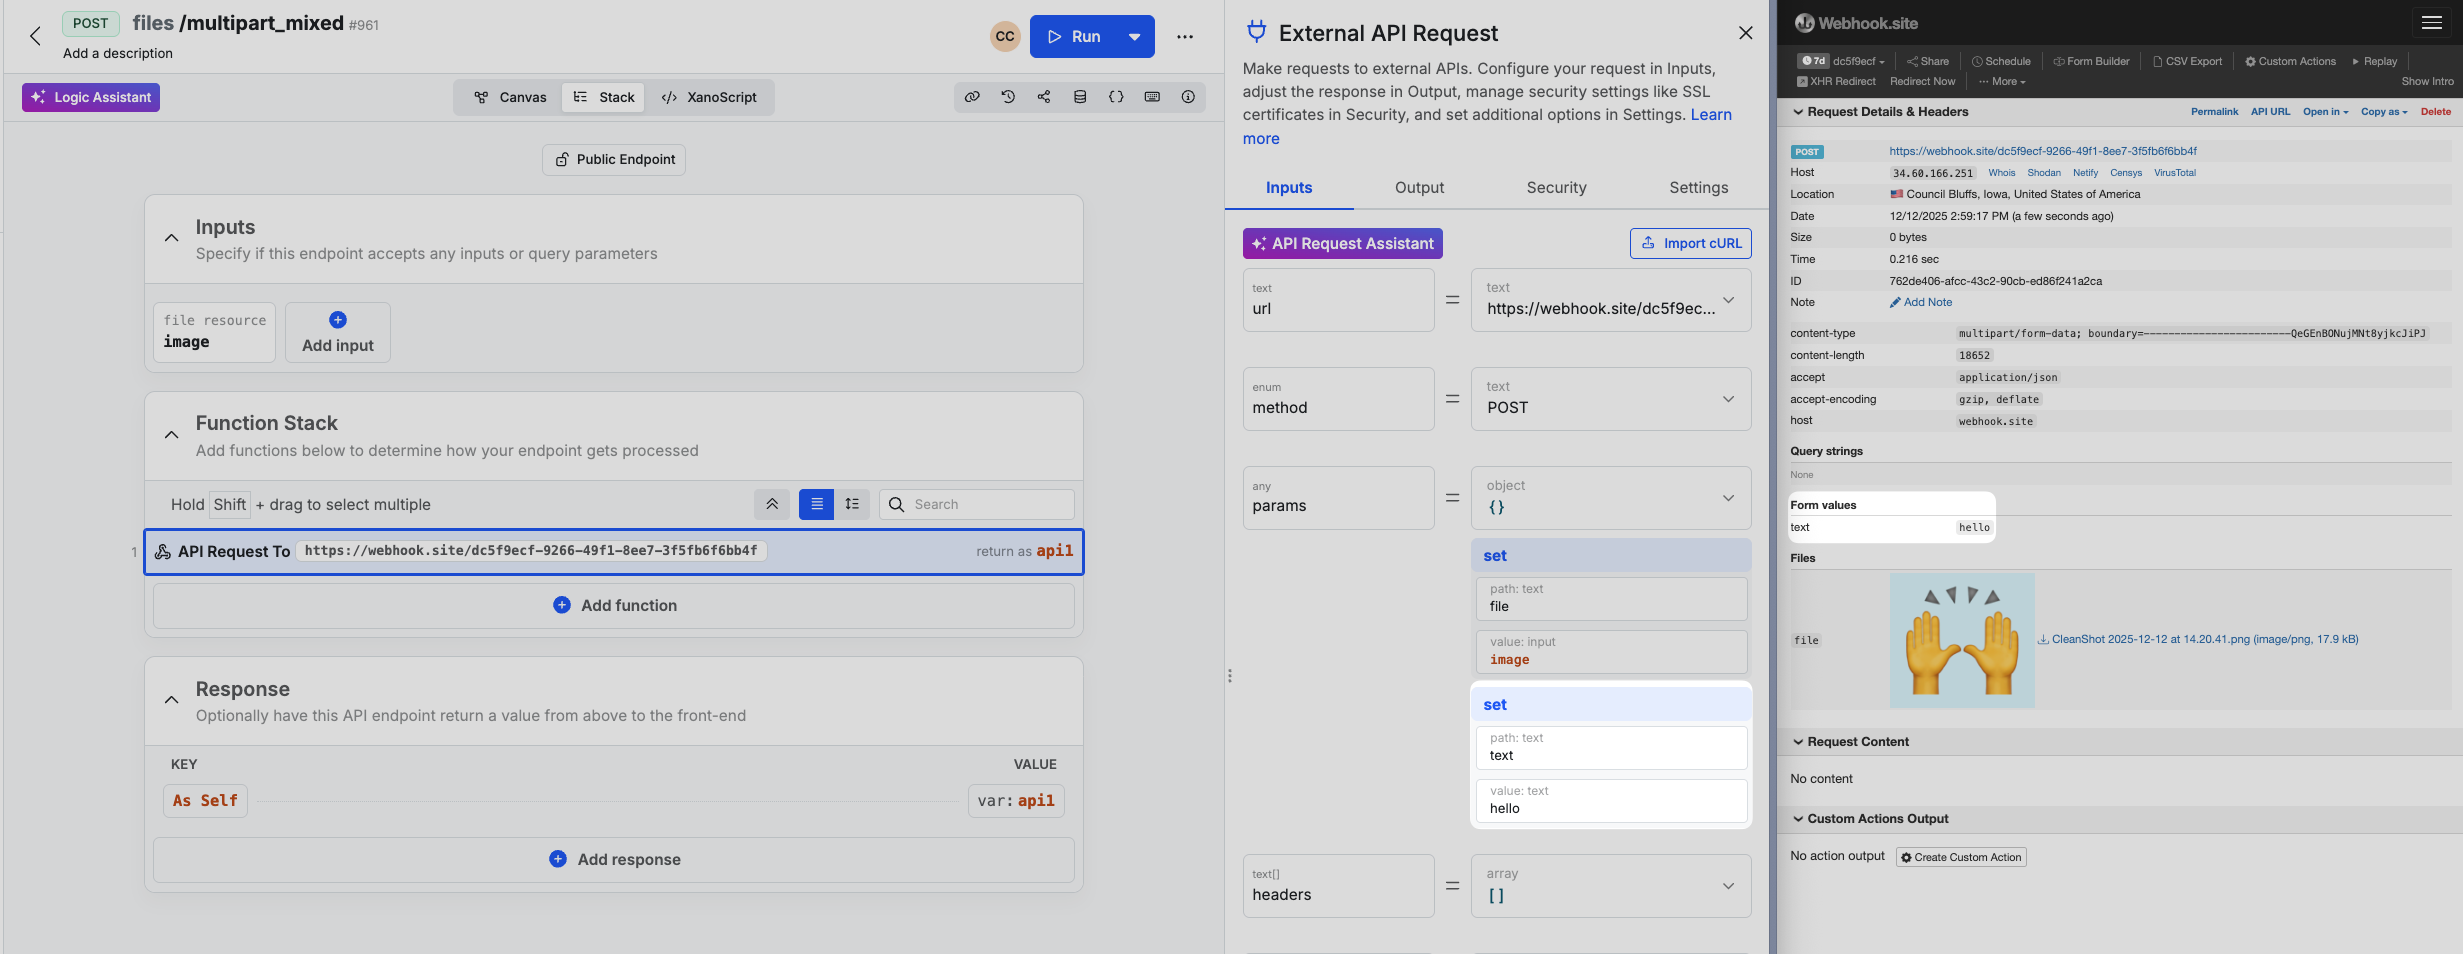
In this example, we've built an API request to send an image file along with a text description.
Sending multiple images as the whole request body
To send multiple images as part of the request body, you can send an array of file resources via the ‘params’ option. You may also need to set the Content-Type in the headers to the type of files you’re sending, depending on the API.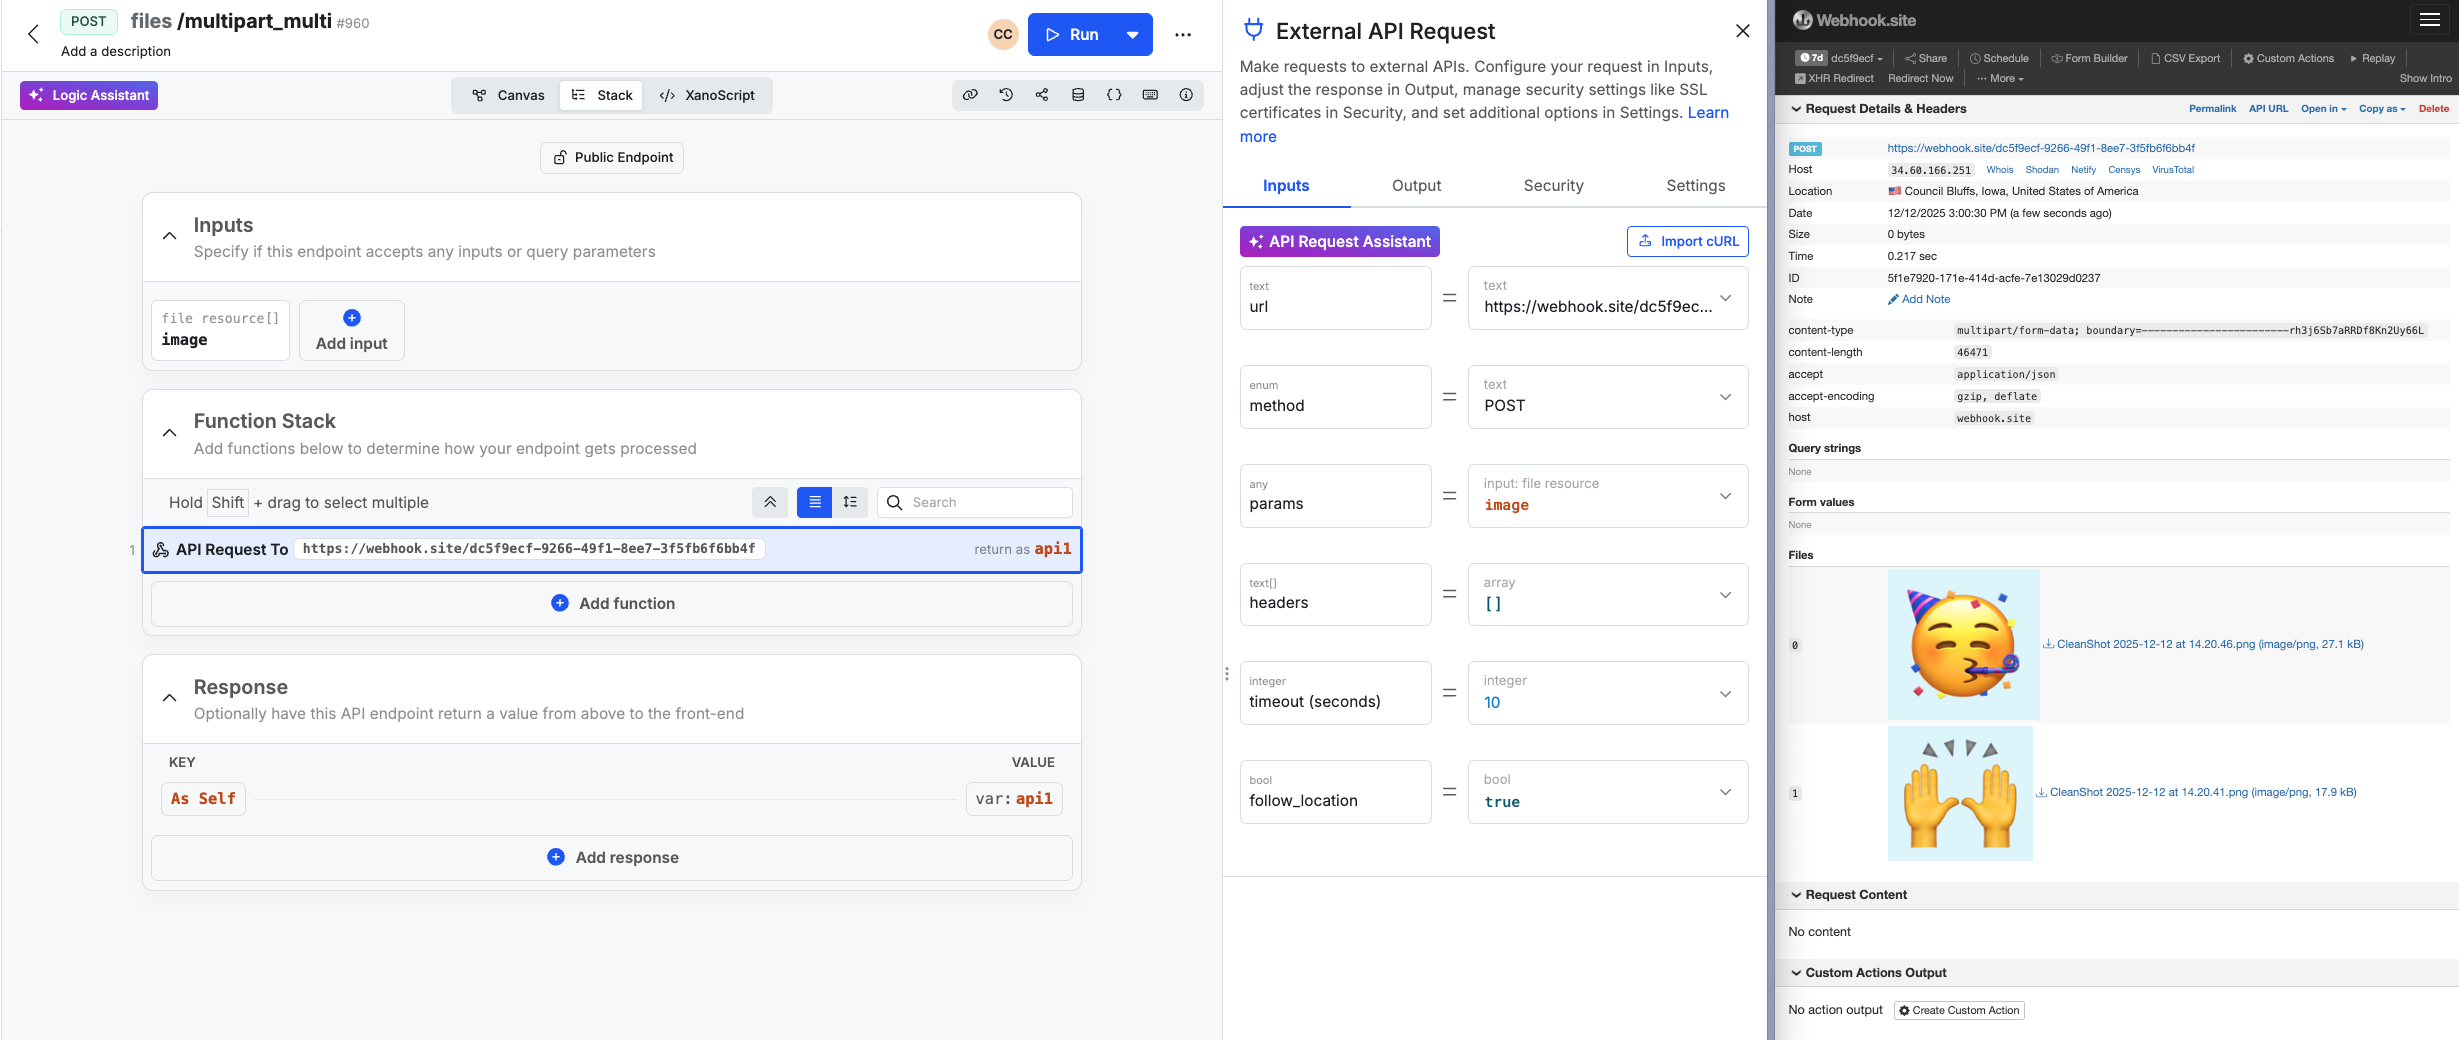
In this example, we've built an API request to send multiple image files as the entire request body.
Security Settings
Host Verification
When an API request is sent to a secure server (you’ll know if it’s a secure request if the URL starts with https — most requests will), the domain’s secure connection is verified using a certificate. Enabling host verification checks the certificate to make sure that it matches the domain you’re sending the request to. This value can betrue or false
Recommended Setting: true
You might want to set Host Verification to ‘false’ in a few specific scenarios:
- Development and Testing Environments: When working with development servers that use self-signed certificates or have hostnames that don’t match their certificates
- Internal Services with Misconfigured Certificates: In corporate environments where internal services may have certificates that don’t exactly match the hostnames used to access them, especially in legacy systems.
- Troubleshooting SSL Issues: To isolate whether hostname verification is causing connection problems when debugging API connectivity issues.
Peer Verification
Secure certificates are usually issued by certain trusted authorities, such as LetsEncrypt. Peer Verification enables checking whether or not the certificate is issued by one of these known trusted authorities, validating its authenticity. This value can betrue or false
Recommended Setting: true
You might want to set this to false if the server you’re sending the request to falls under one of the scenarios outlined above under Host Verification.
SSL Authentication
This is a set of additional options you can use to validate the security of the request being made. The provider of the service you’re calling should be able to provide these for you, if necessary.certificate: The content of the client certificate file. Usually, you’d be provided with a .crt or a .pem file — just open it up in your text editor of choice and paste the contents here.certificate_pass: Password for the certificate if it’s password-protectedprivate_key: The contents of the private key file. Usually, you’d be provided with a .pem file for this — just open it up in your text editor of choice and paste the contents here.private_key_pass: Password for the private key if it’s password-protected