Access your workspace settings at any time by clicking the icon in the upper-right corner.
Workspace
Clone, export, and general workspace configuration
Branch Defaults
Request history defaults for each object type
Environment Variables
Persistent variables available across your workspace
Git Sync
One-way sync to GitHub or GitLab
Middleware Defaults
Global PRE and POST middleware configuration
Workspace Triggers
Triggers for branch events
Processing Jobs
Background job status and management
Realtime
Realtime channel settings
Database Preferences
Table format and SQL configuration
Xano Link
Sync branches and schema across workspaces
Workspace
Clone
Creates a clone of the entire workspace. Everything in the current workspace will be cloned, except for:- Database records
- Drafts
_1 appended to the workspace name.
Reset Drafts
Resets all items currently in draft state. All draft states will be lost and can not be restored. This option is useful if you want to revert multiple changes across a number of workflows quickly, or need to troubleshoot UI-related issues inside of Xano. If you’re unsure, reach out to our support team for clarity before continuing. Type the name of the workspace into the prompt box and click Confirm Reset to clear all drafts.Export Workspace
Creates a multidoc export of the current branch. A multidoc is a single file containing your workspace definitions (schemas, APIs, functions, tasks, and more) in XanoScript format — plus any optional data (records, environment variables, drafts) you tick below. Check the box next to the items you want to include, and click Export.Export Data
Provides a representation of your entire workspace in JSON format. Also can include your hosted files, if you choose. Check the Media/Attachments option if you want to include media, and click Export. Your export will process in the background. You’ll receive an email when it’s ready, and can check the status in the Processing Jobs section at any time, where you can also access the download link. Exports will be removed after 12 hours.Statement Explorer
Locate all instances of a specific statement across functions, endpoints, tasks, and triggers within your workspace. From inside the statement explorer, select the statement(s) you’d like to search for. You can navigate right to the logic that houses that statement. Multiple statements can be selected for a more specific search.
Workspace Name
Give your workspace a unique and memorable name. Any officially sanctioned and programmatic operations against your workspace refer to the workspace’s ID and not the name, so you can change this at any time without consequence.Description
Give your workspace a clear description.Use Internal Documentation Tool
Enables the internal documentation feature on supported workflows, which can be accessed from that object’s individual settings. Great for things like sample inputs or other information.
CLI
Settings for the Xano CLI and Metadata API- Allow Direct Workspace Push
- When enabled,
xano workspace pushapplies changes to this workspace immediately, skipping the standard sandbox review flow. Use with caution.
- When enabled,
Navigation Preferences
Customize your Xano experience by enabling or disabling various UI elements- Show Marketplace
- When enabled, the deprecated Marketplace will be made available.
AI Preferences
- Accept the AI terms and conditions to enable AI features
- Unaccepted terms will limit access to certain features
Connections
- Webflow
- Connects your Xano and Webflow accounts, which enables access to the Webflow Connect statement to help make building requests to Webflow’s APIs easier.
Metrics Preferences
- Enable performance tracking
- Track run times and counts of function stack runs to gather insights
- Show average runtime on function stack
- Displays average execution time on each function in the stack (requires performance tracking)
Branch Defaults
These are default settings related to what is logged in your Request History
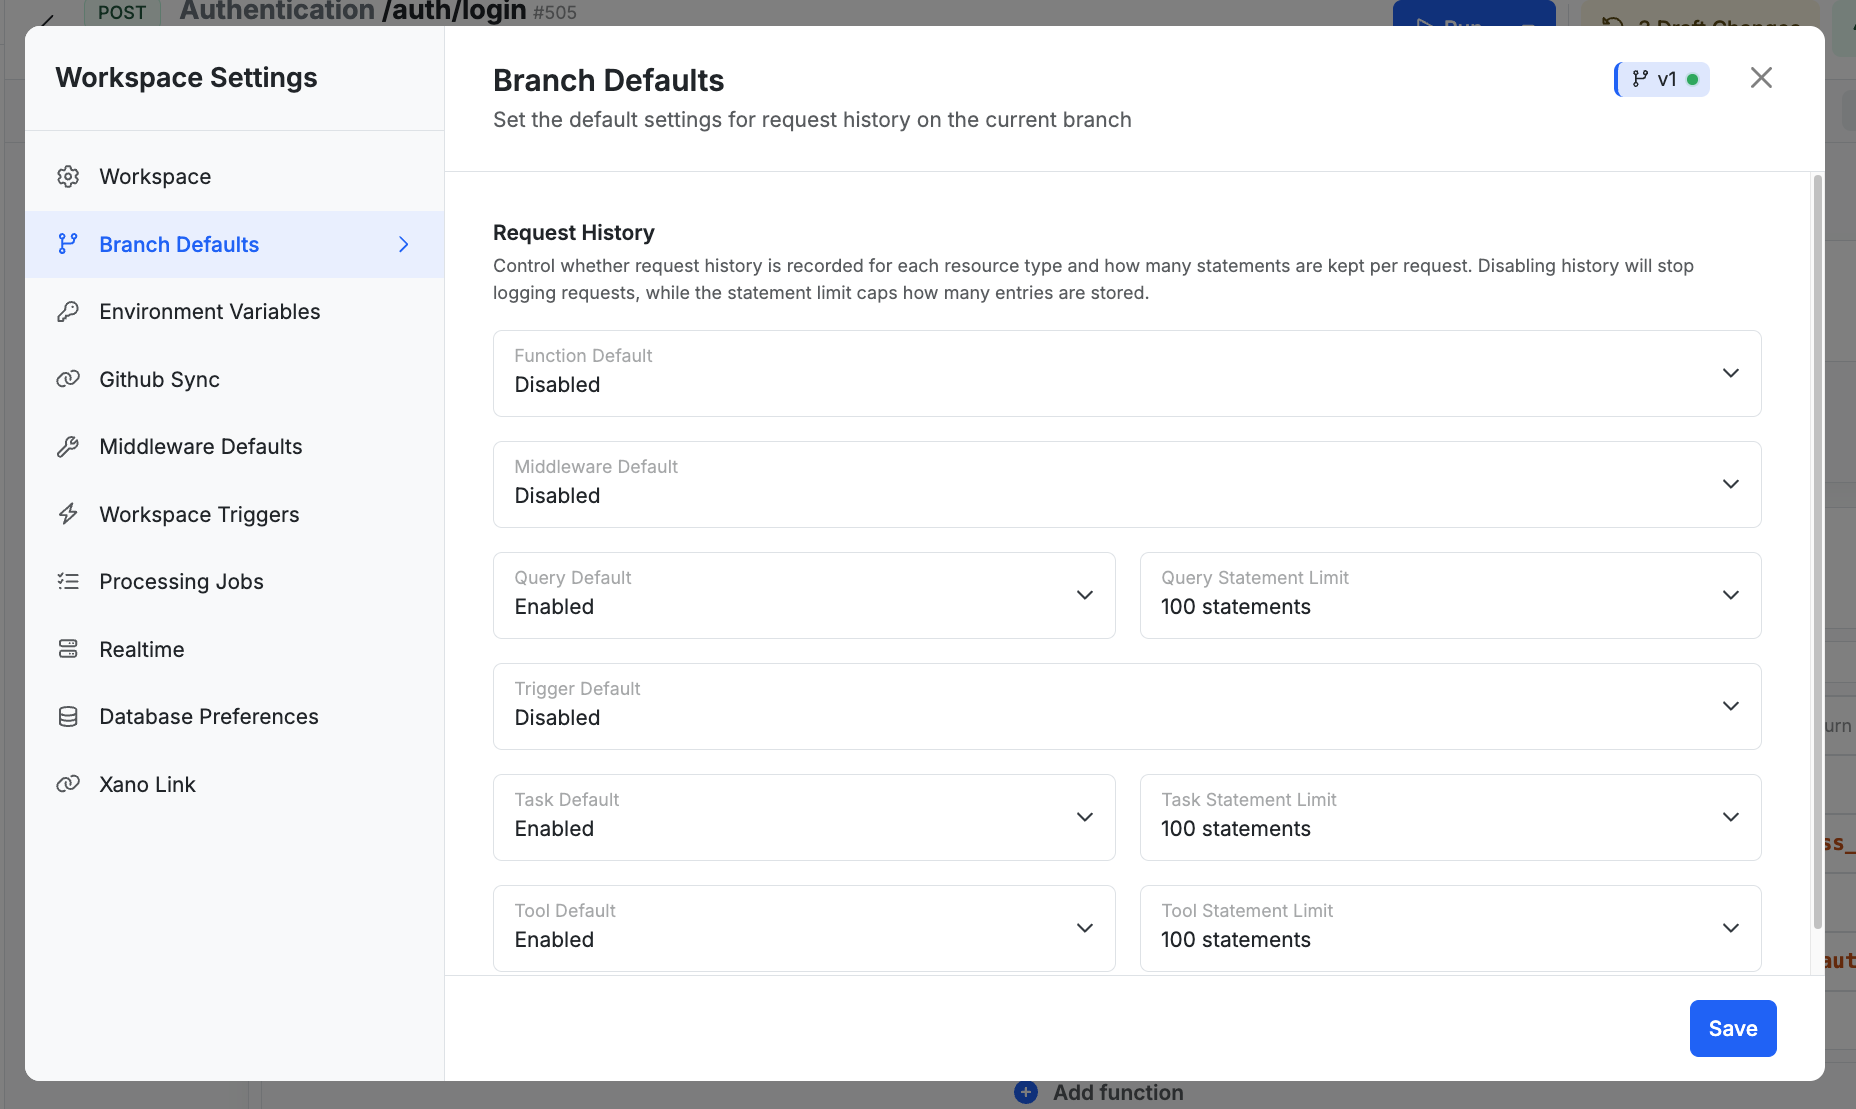
- Enable / Disable - Performs the selected action on the object type
- Function Statement Limit - The number of statements to record for each object type. You can choose between:
- No statements
- 100 statements
- 1,000 statements
- 10,000 statements
- Store all statements
Inheriting Settings
In each individual API, function, task, middleware, or trigger’s settings, you can also control the request history for that object specifically. By default, these will be set to inherit, which means it will obey the branch defaults. Otherwise, you can adjust this for specific objects as necessary.Environment Variables
Environment Variables are persistent variables that are available across your entire workspace. Typically, these are used to store things like external API keys or other sensitive information that you need to use across multiple function stacks, without storing it in a database table.- Click Add Variable to add a new environment variable.
- View or edit the contents of an environment variable by clicking the icon.
- Click Bulk Edit to import a collection of environment variables at once. The expected format is shown below.
Environment Variables in XanoScript
Use an environment variable in a workflow with
$env. followed by the name of the environment variable.Environment Variables in the Visual Builder
Reference the variable in any value input. You can type the name of the variable or select it from the ENV section.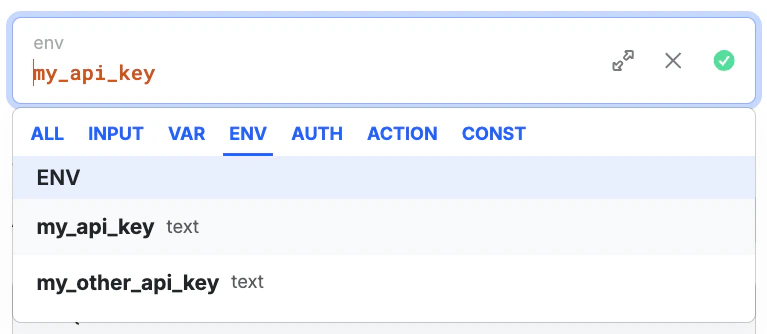
Git Sync
Xano supports one-way Git sync to GitHub and GitLab. Push your XanoScript to a Git repository every time you publish changes — useful for version control, backup, collaboration, and CI/CD integration. Xano is always the source of truth; Git serves as a mirror for history and collaboration. You cannot push changes from GitHub/GitLab back into Xano. Read the full Git Sync guide for setup instructions, example workflows, and FAQ.Middleware Defaults
Configure and manage global middleware across your workspace. You can configure PRE and POST middleware for APIs, AI tools, Functions, and Tasks. Click Add under the appropriate section to add a PRE or POST middleware. Read more about Middleware in XanoWorkspace Triggers
You can set workspace-level triggers for certain events:- Branch Live - Any time a branch is set to live
- Branch Merge - Any time a branch is merged with another
- Branch New - When a new branch is created
Processing Jobs
This section offers quick access to jobs that run in the background, such as workspace or database exports. You can check the status of any active job and download results when they’re ready. These are not the same as your background tasks.Realtime
Access your Realtime in Xano settings from here. You’ll need to enable Realtime before any settings become available. Once enabled, you can manage channel configurations and access connection details for integrating Realtime into your application.Database Preferences
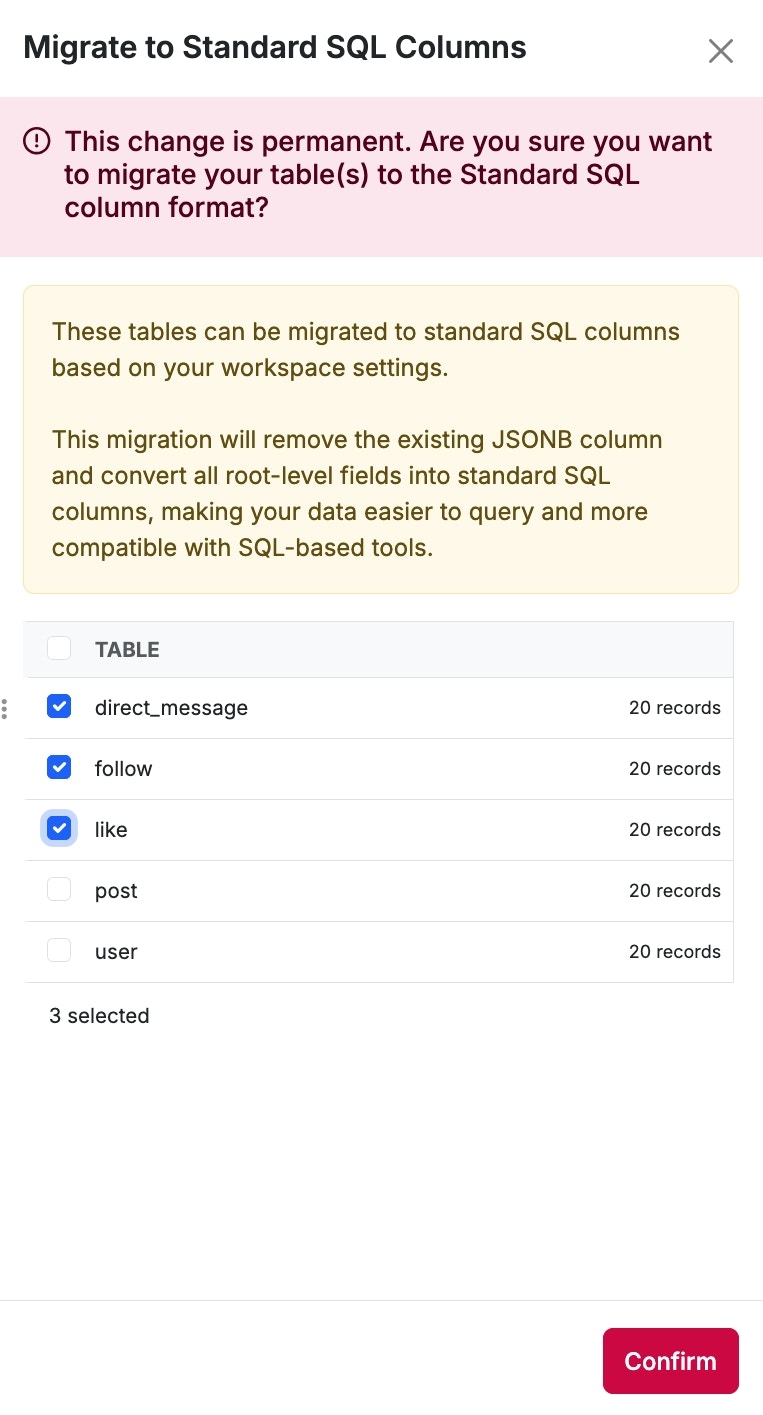
Your tables can be created using one of two formats:-
JSONB format
- This creates your tables with two columns:
id- the ID of the recordjsonb- contains a JSON representation of the entire record
- This creates your tables with two columns:
-
Standard SQL format
- This creates a more standard table layout. Instead of a jsonb column, each column is written separately.
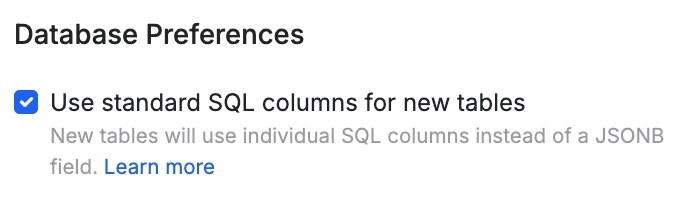
Scroll down to the Database Preferences section, and check the option to 'Use standard SQL columns for new tables'
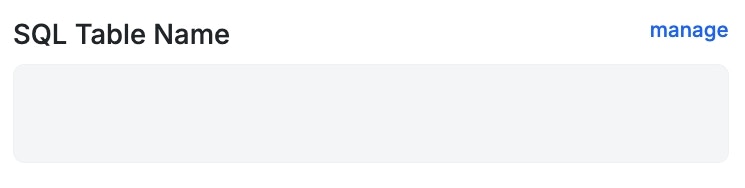
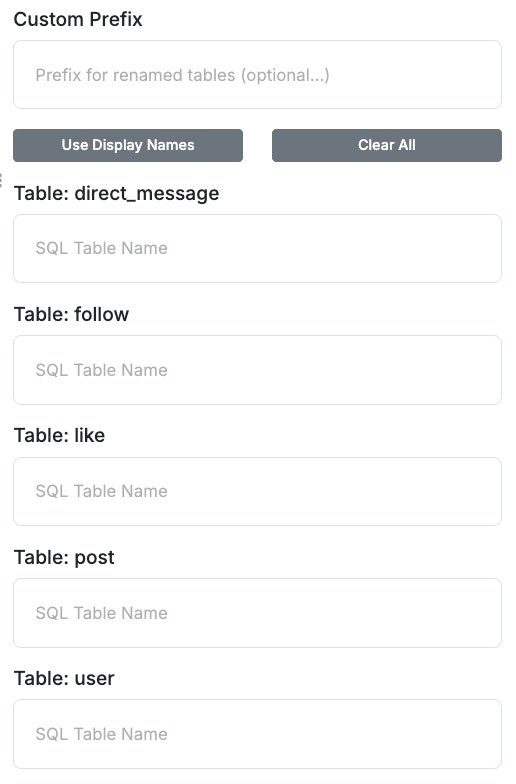
- Leave the SQL Table Name field blank to use Xano’s default SQL table name, which follows the format
mvpw<workspaceID>_<tableID>(e.g.,mvpw1_3). - SQL table names must be globally unique across all workspaces. Hint: Use the Custom Prefix to ensure uniqueness across workspaces.
- Datasources automatically add a suffix based on their environment. For example, users becomes users_test in the test datasource. To reuse the same base name across workspaces, use a workspace-specific prefix (e.g.,
projA_users,projB_users).