- Run & Debug the Action.
- Make edits to the Action.
- Clone: Make a copy of the Action, change whatever you’d like, and publish a new (separate) version of the Action.
- Add the Action into your workspace to be used in any function stack.
What does zero dependency mean?
Actions are designed not to contain dependencies to support more seamless integration to existing Xano workspaces and function stacks. Additionally, it promotes easy shareability for anyone, regardless of if they’re a Xano user, to interact with Actions.Zero-dependency means Actions do not contain:
- Database request functions or database tables
- Middleware
- Environment variables*
- Lambdas
- Redis caching
- Multiple Xano objects
- Docker Microservices
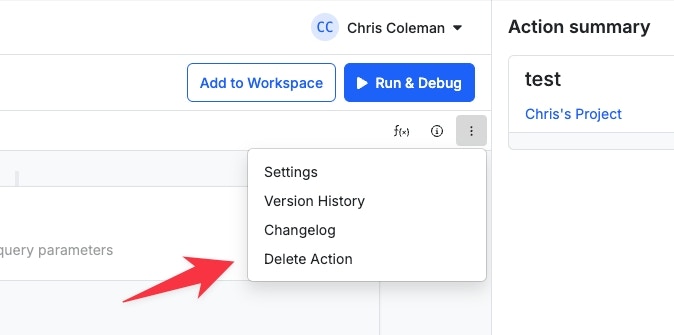
Browsing ans Using Actions
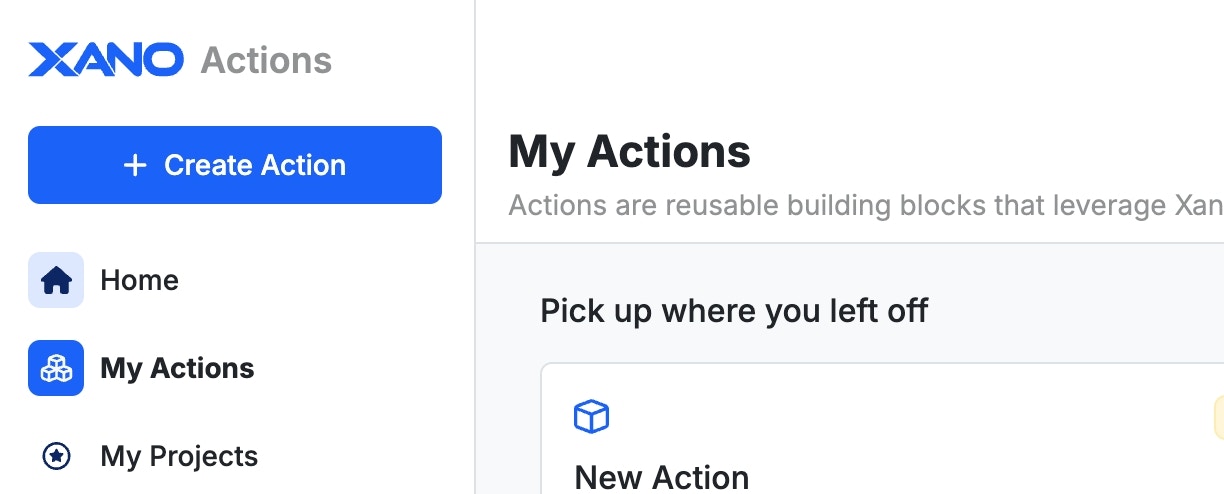
1
From the sidebar, click Actions
2
Browse for and add new actions from here, or at xano.com/actions
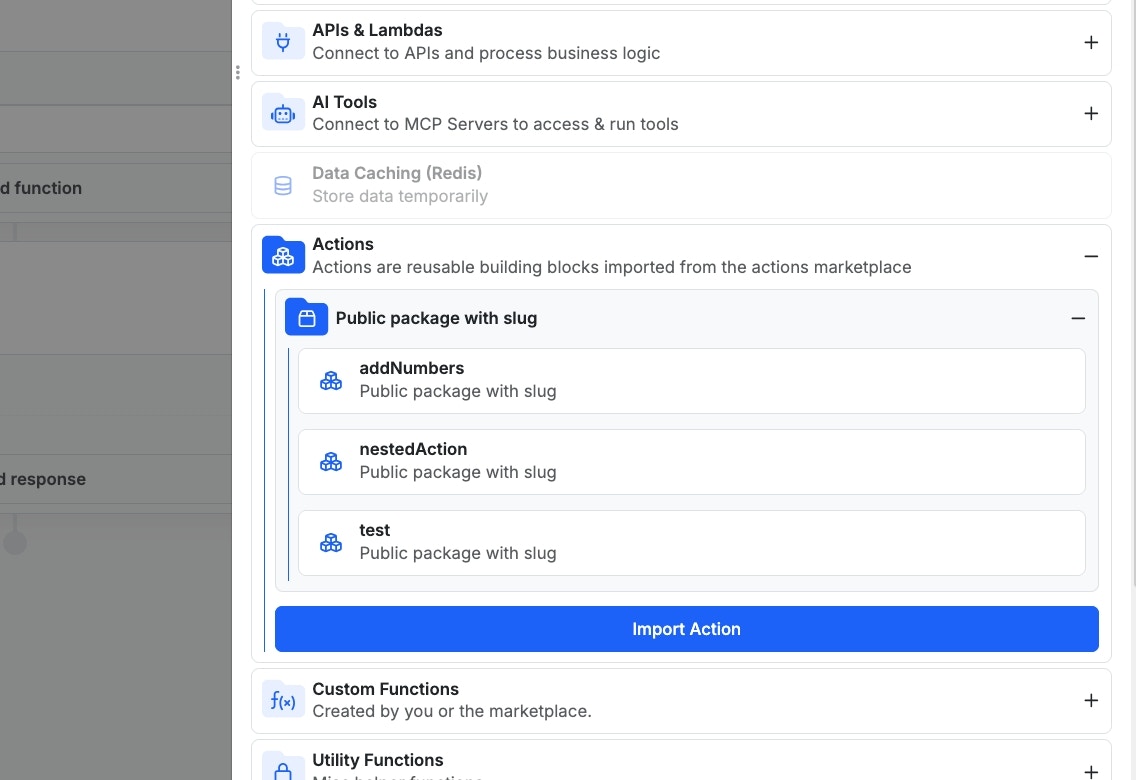
3
From any function stack, under the Actions category, you'll see your installed actions available for use
Creating an Action
Please note that because Actions are designed to not have dependencies outside of the Action itself, certain functions such as database operations are not available.
Action Settings
Click the three dots in the upper-right corner to access Action Settings. From this panel, you can update the following: Name - Give your action a unique name Instructions - You can write documentation to accompany your action here. This field supports markdown for formatting (see below). View the expandable section below for a quick reference.Basic Markdown Reference
A quick guide to simple text formatting inside Xano.No images or advanced components—just the essentials.
Headings
Use# to create headings. More # = smaller heading.
Heading 1
Heading 2
Heading 3
Heading 4
Paragraphs & Line Breaks
- Leave a blank line between paragraphs.
- Add two spaces at the end of a line for a single line break.
This line breaks here.
Emphasis
italic or italicbold or bold
bold & italic
Lists
Unordered list- Item one
- Item two
- Nested item
- You can use asterisks too
- First item
- Second item
- Sub-item
- Third item
Links
Link textCode
Inlinecode is wrapped in backticks.
You can also preview your instructions using the **Preview **tab.
Category - You must provide a category for your Action before publishing
Video URL - You can insert a YouTube or Loom video link here to accompany your action
Action Packages
Packages can be used to bundle and install multiple Actions at once.1
Click "My Packages" in the sidebar.
2
Give your package a name, description, and check the other settings in the panel that opens.
3
Add Actions to your package by clicking "Add Actions".
4
When your Package is ready, click Publish, and once publishing completes, you can add it to your workspace(s).
Publishing
When you publish your Action, you’ll be able to review and make any changes to the documentation and certain Action settings once more before going live. Make sure to choose the appropriate access level for your Action. Public - This Action will be available for anyone to browse for, install and use. Private - This Action will not be available for distribution. Use this for specific Actions that you only want to use internally. Unlisted - This Action will be available to anyone that has the URL, but will not be found when browsing available Actions.Settings Registry
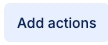
Because Actions have no dependencies, each Action contains a Settings Registry, which is used in a similar manner to environment variables. You will use the Settings Registry for situations where an Action requires an API key or other sensitive data that you need to ensure users of the Action supply without supplying it yourself. To add a new value to the Settings Registry, just add a new input to your Action. In the settings for that input, you’ll see a new option in the Configuration section called Settings Registry.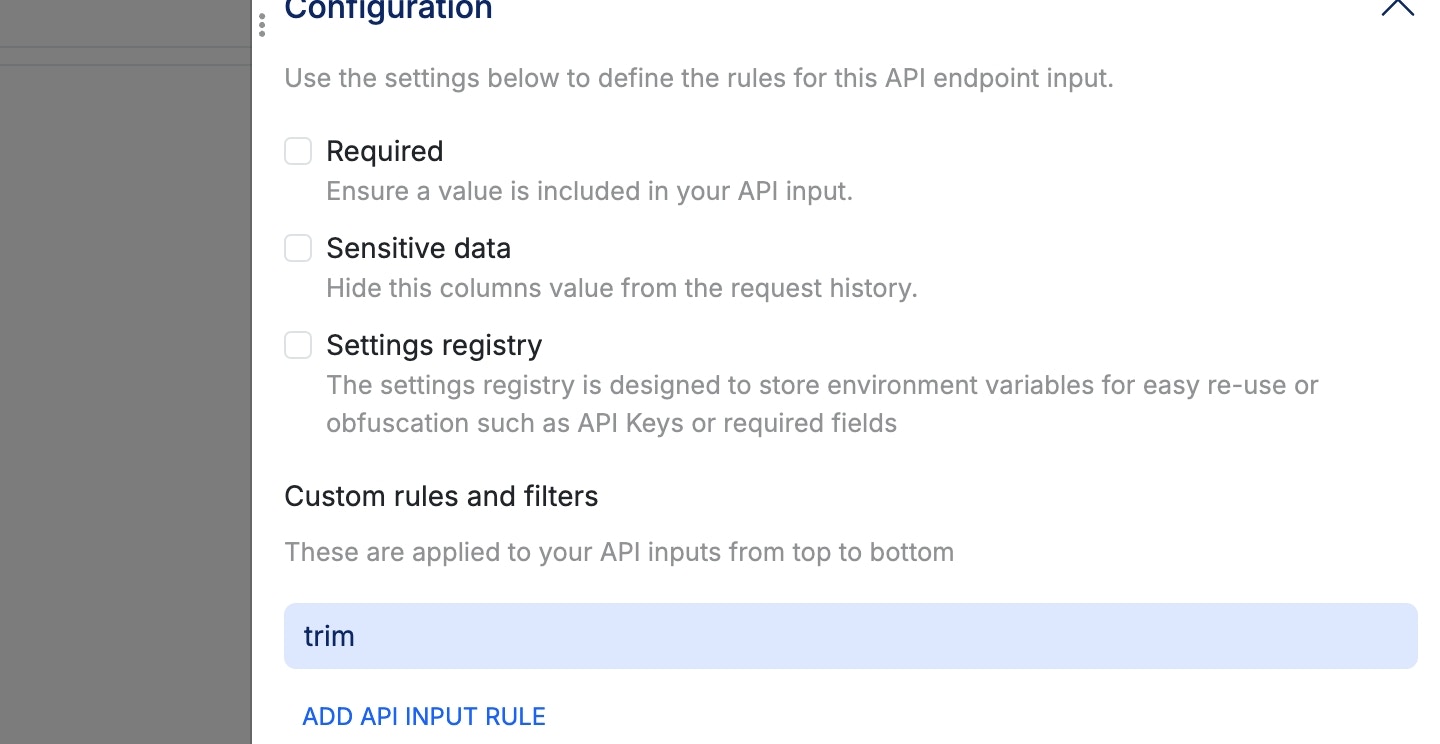
Deleting an Action
Please note that deleting an action does not impact users who have already imported your action into their workspace.
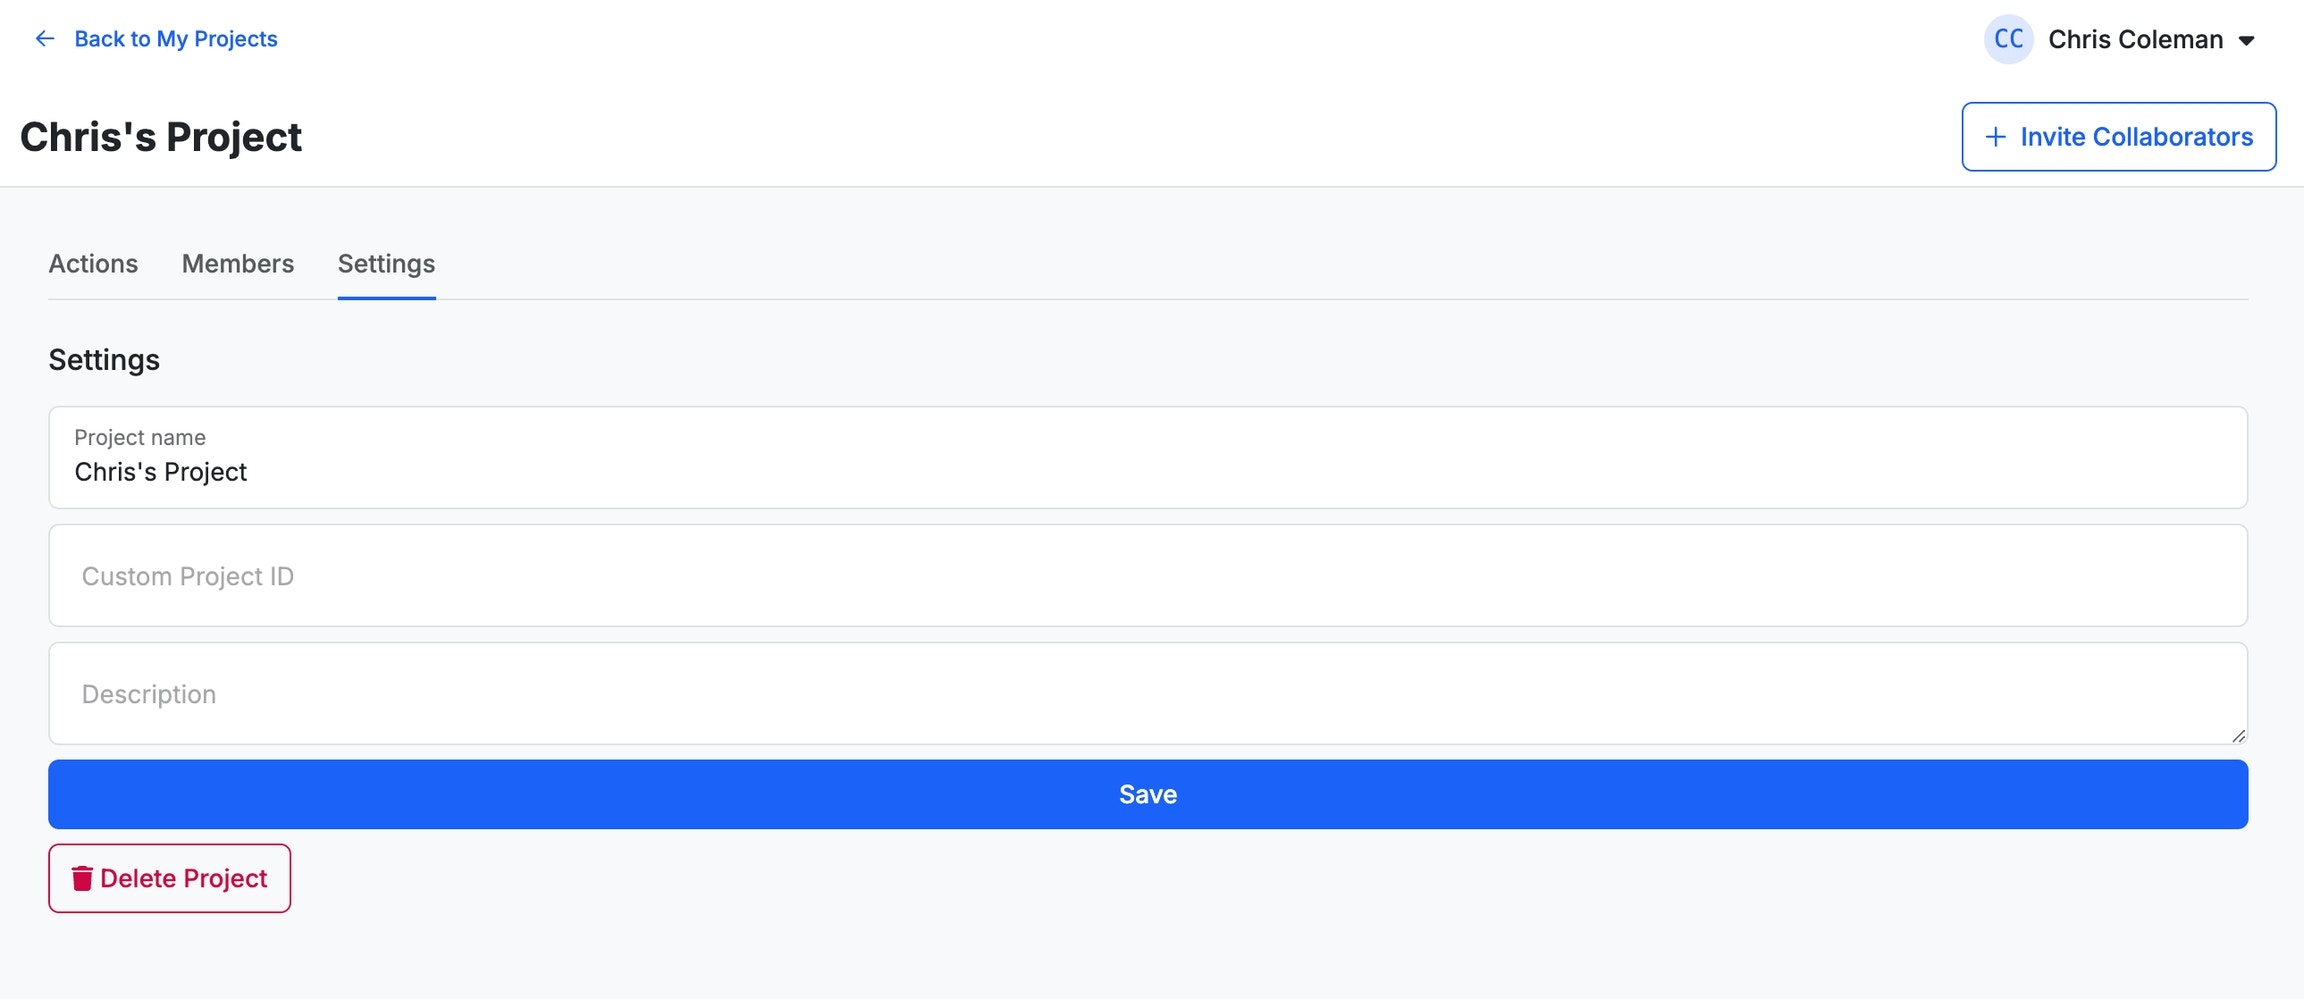
Actions
Members
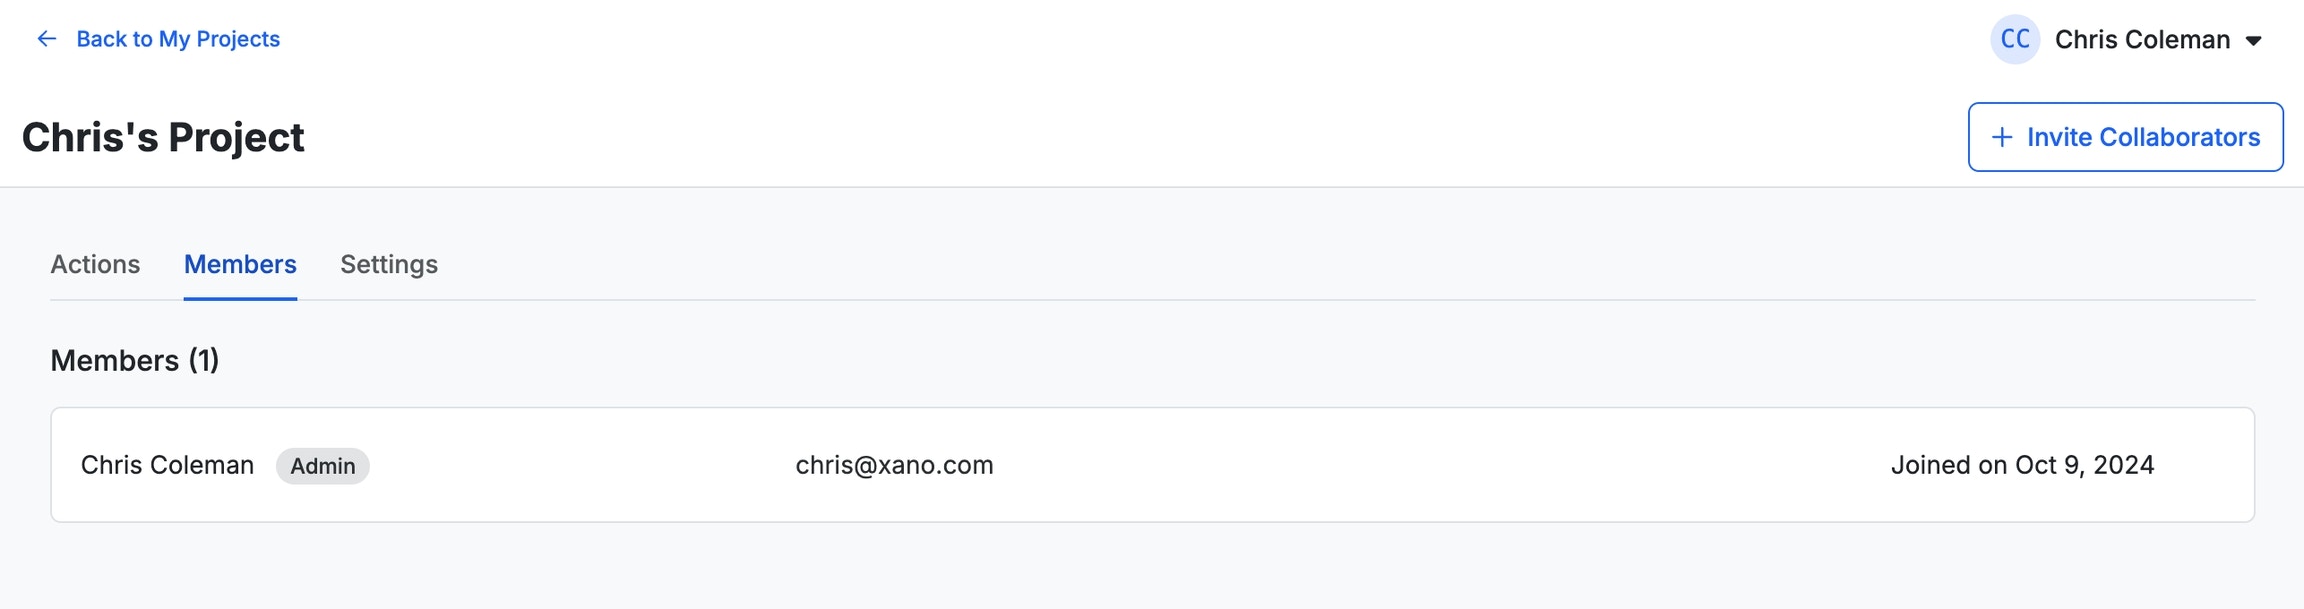
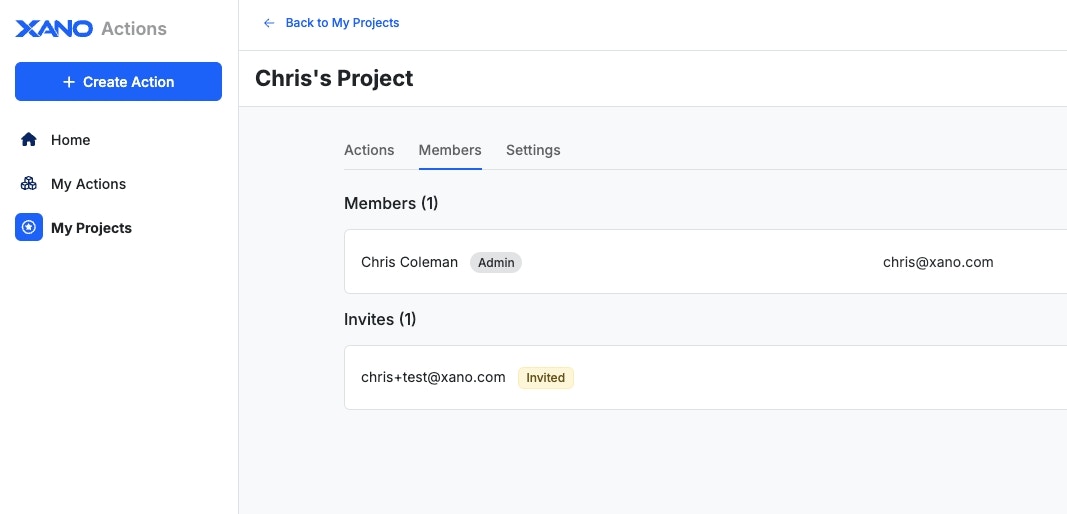
Settings