The options you are able to utilize depend on your plan, your role on the instance (Owner, Admin, etc.), and which add-ons are enabled.
Opening the panel
1
Go to your instance selection screen
Head to your instance list.
2
Click the gear icon
Hover over the instance you want to manage and click the icon.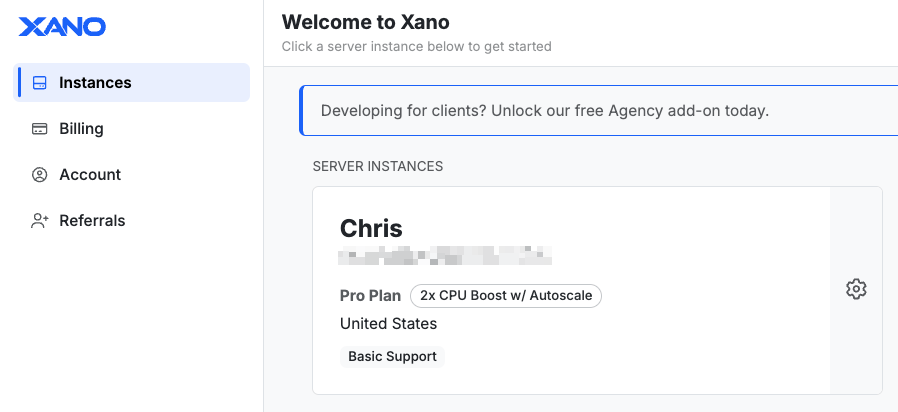
3
Choose an option
The settings panel slides in from the right. Select any option to open its panel.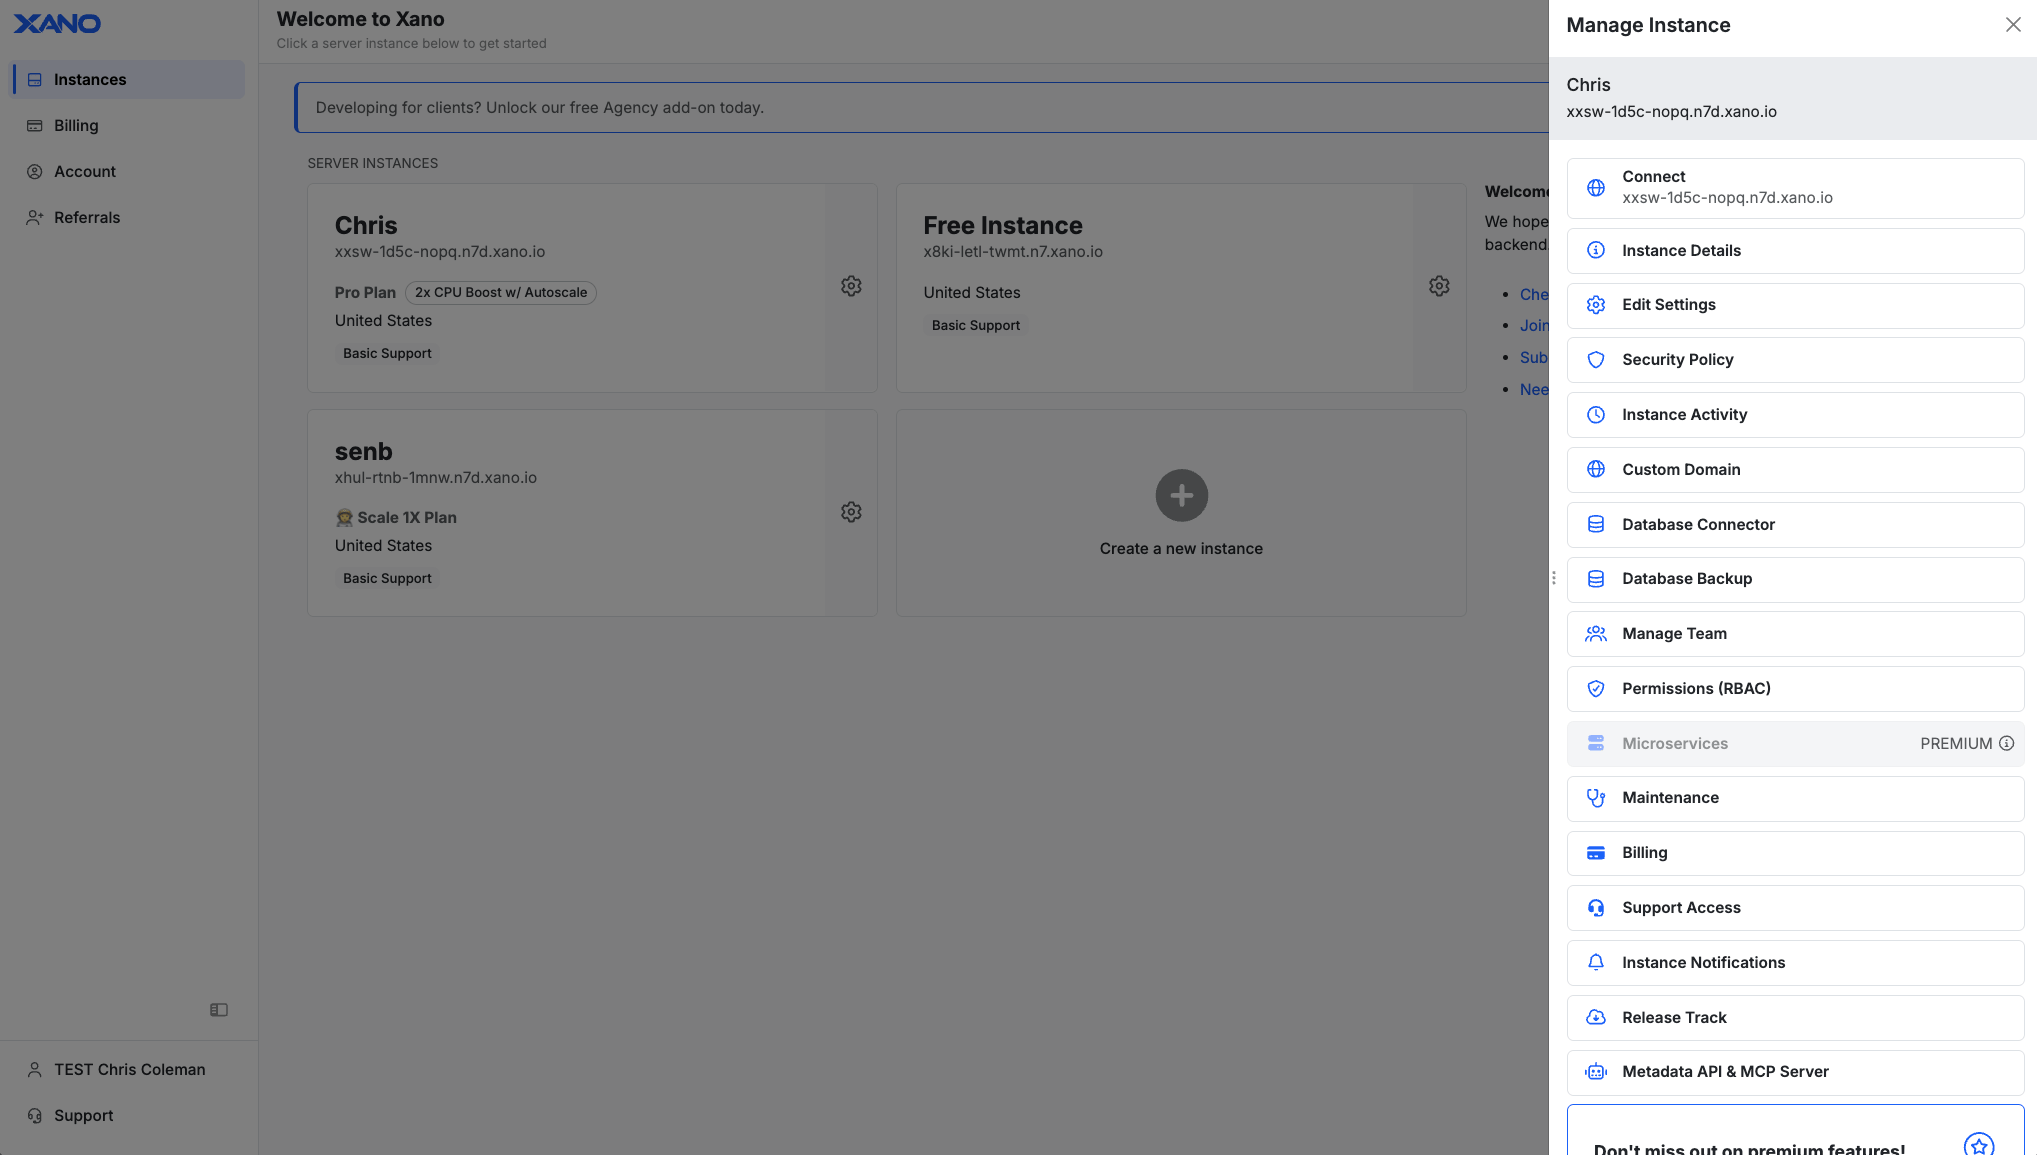
Options in the panel
The panel lists the following options, top to bottom. Options with their own guide link out to it; the rest are described below.Connect
Connect to the instance and enter its workspace(s)
Instance Details
Read-only summary of plan, domains, and resources
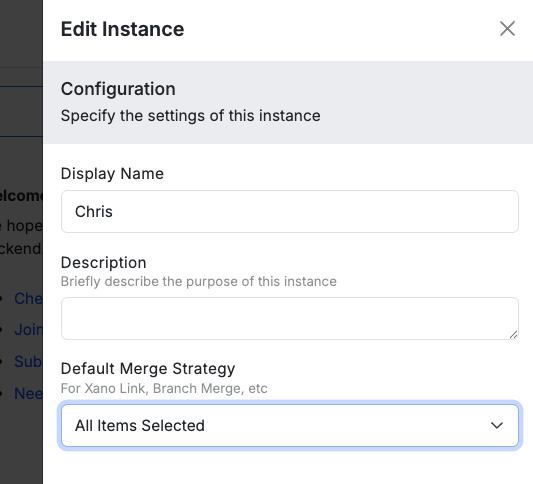
Edit Settings
Display name, description, and merge strategy
Security Policy
Manage security rules for this instance, such as forcing 2FA and inactivity timers
Instance Activity
Audit trail of actions taken against the instance, like logins and settings changes
Custom Domain
Serve your Xano backend from your own domain
Database Connector
Connect external tools to your Xano PostgreSQL database
Database Backup
Create and restore database backups
Manage Team
Invite and manage instance team members
Permissions (RBAC)
Roles and granular permissions for team members
Microservices
Deploy microservices alongside the instance
Maintenance
Instance optimization and maintenance routines
Billing
Access previous invoices
Support Access
Grant or revoke Xano support team access to your instance
Instance Notifications
Notification preferences for instance events, such as downtime
Release Track
Control when Xano updates are applied
Metadata API & MCP Server
Metadata API endpoints and MCP server details
Connect
Opens the instance and takes you into its workspace(s). This can be helpful if your instance is in a special billing state and you need to regain access, or your custom domain is failing.Instance Details
A read-only summary of the instance — plan, region, domains, compliance status, and resource usage. Availability: not shown on free instances.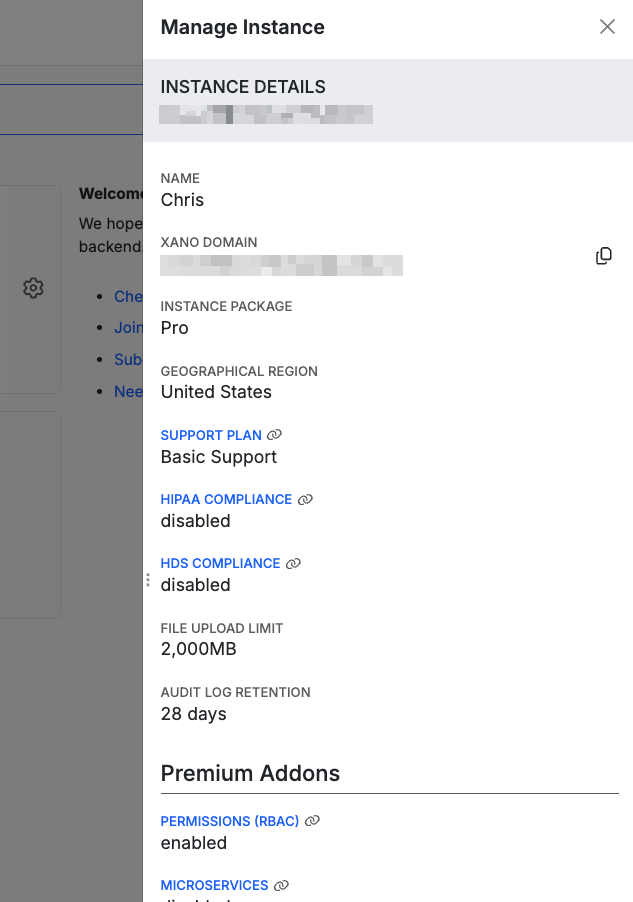
Edit Settings
Update the instance display name, description, and merge strategy. Availability: Admin or Owner.- Display Name - The friendly display name of the instance
- Description - A description of the instance
- Default Merge Strategy - All Items Selected / No Items Selected, defines the default behavior for features like branch merging and Xano Link
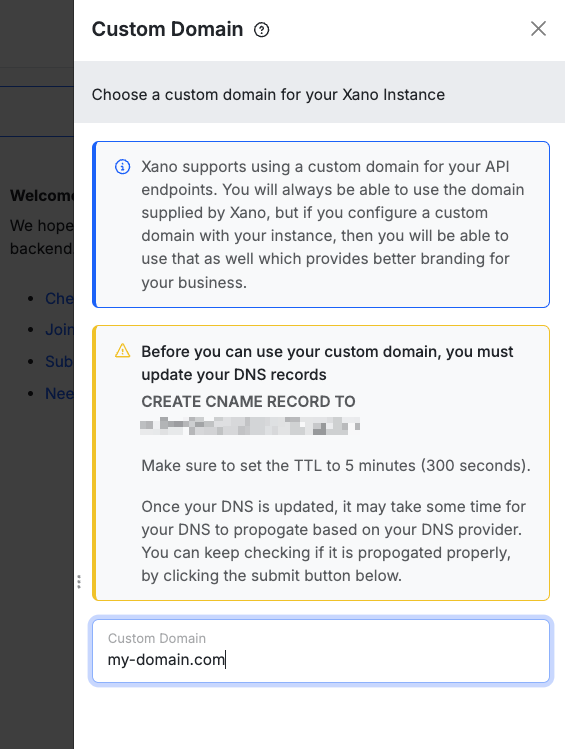
Custom Domain
Xano has support for users on any of our paid plans to set up a custom domain for their Xano backend. From the instance selection screen, click the icon and choose Custom Domain. Before you can use your custom domain, you must update your DNS records. Create a CNAME record pointing to your instance URL:x123-b456-i789.n7d.xano.io
Make sure to set the TTL to 5 minutes (300 seconds).
Once your DNS is updated, it may take some time for your DNS to propagate based on your DNS provider. You can keep checking if it is propagated properly, by clicking the Submit button on the custom domain settings panel.
Connect via Xano Domain
In some cases, you may still want to connect to your Xano instance via the original Xano domain. To connect through your Xano domain, head to your instance selection screen. Click the icon and choose “Connect Via Xano Domain”.Database Connector
Database Connector is included in our Essential and Pro plans. If you’re on a grandfathered plan, please visit your Billing page for more information.
How to Access the Database Connector
On your instance selection screen, click the icon, and in the panel that opens, choose Database Connector. The panel that opens is split into two sections, Details and Settings.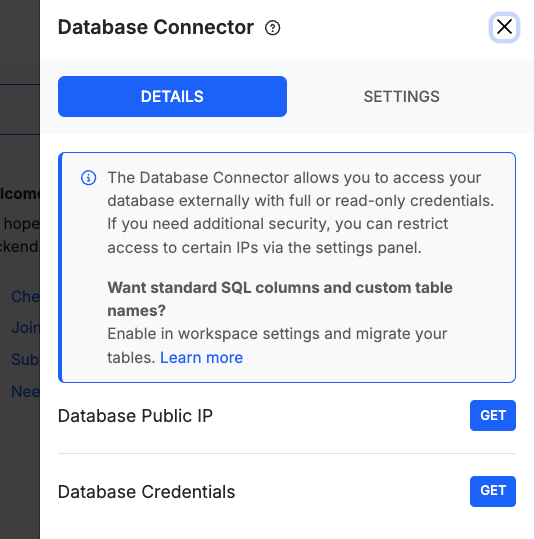
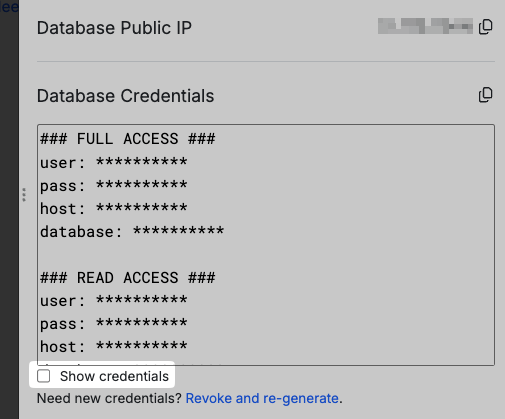
- Get your database’s public IP
- Get your database credentials
- Settings Panel
- Add an IP address to your allow list
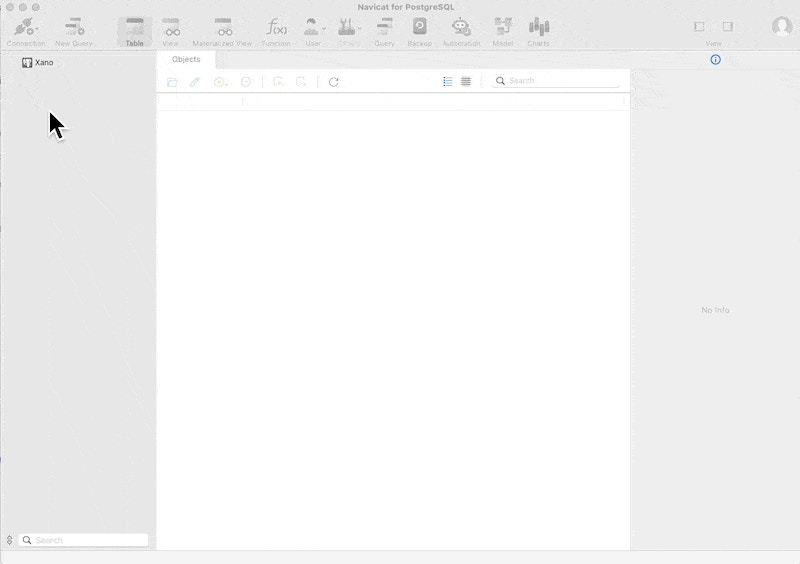
You can use any application you’d like that is capable of connecting to a PostgreSQL database. In this example, we’ll be using Navicat. Select ‘Connection’ in the top-left, and fill in your credentials and the IP received from Xano.

Support Access
Grant or revoke Xano support’s access to your instance for troubleshooting. Availability: Admin or Owner.Instance Notifications
Configure notification preferences for instance-level events. Only instance admins can receive notifications. You can choose to notify all or only select team members from this panel.Options shown in specific cases
Some options only appear in the panel when the instance meets certain conditions:These won’t appear for every instance. They surface based on your domain setup, build, or instance type.
- Connect Via Xano Domain — appears when a custom domain is configured, letting you connect through the original Xano-issued domain instead. Read more
- Agency Profile — manage your agency profile and listing. Appears on agency instances. Read more
- Resource Management — manage compute and resources for BYOC / Enterprise instances.
Upgrading an Instance
Why should you upgrade? Free accounts come with one workspace that shares resources with other Xano customers. It also is limited on capabilities such as storage, database records, and processing power. You’ll easily be able to prototype most of your application in this type of account, but upgrading to a paid plan will give you a more powerful instance that can scale with your needs. View plan pricing and details. What can I upgrade to? If you are on our Essential plan, your next step would be Pro. Upgrades from Essential to Pro are able to make use of a 48 hour no questions asked refund policy — if you find that Pro is not solving the requirement that prompted the upgrade, reach out to support within 48 hours and we’ll roll you back and refund the difference. What does upgrading your instance actually do? Upgrading your instance migrates your data and business logic to a brand new, faster instance. If you upgrade to the Essential or Pro plan, you’ll be put on your own dedicated instance for maximum performance and scalability. How long does upgrading take? Upgrading an instance usually only takes seconds to complete.How to upgrade an instance
Step 1 - Go to the Billing page
Go to the Billing section within Xano and click Change Plan
Step 2 - Make your changes
Click Manage Add-ons to add on additional features to your current subscription plan, or scroll down and click Select on the plan you want to upgrade to. Once you’ve made your selections, click Final Review & Checkout.Does upgrading happen automatically once I pay?
Sometimes, you’ll need to update the URLs your frontend or other external connections use to connect to your Xano backend. This is usually referred to as your API BASE URL or API ORIGIN. This might happen if:- You are adding certain features to your plan, such as Static IP
- You are upgrading from free to paid (paid to paid upgrades on the same region do not need to update their URL)
- You are changing your server region
Write down your new API URL Origin
What is an API URL ORIGIN anyway? It’s the first part of any API endpoint you have hooked up to the front-end. See below for an example