What is the Sandbox Environment?
For all paid plans as part of the Xano CLI, the Sandbox Environment introduces ephemeral tenant environments as the structural safety layer for the code-first development workflow. By default, when you run theworkspace push command, you will be blocked and prompted to first push to a sandbox environment.
xano sandbox push — push changes to your sandbox
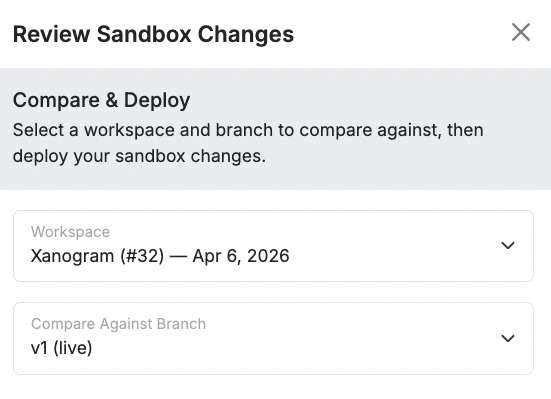
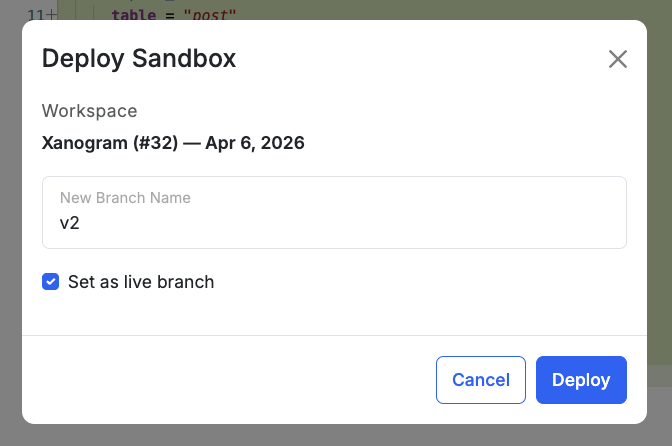
xano sandbox review — edit any logic, inspect the snapshot diff, and promote changes to the workspace
The CLI spins up an isolated ephemeral environment and provides a link to you for review and validation before anything touches production.
Using the Sandbox
Push changes to your sandbox environment by runningxano sandbox push <directory>, <directory> being the folder that contains your XanoScript.
After your changes have pushed to the sandbox successfully, run xano sandbox preview to open a preview of your changes in an ephemeral environment.
The environment is exactly the same experience you get working in Xano normally, but read only. You can browse the workspace, review data, run workflows, and anything else you’d like to do to test before pushing to your workspace.
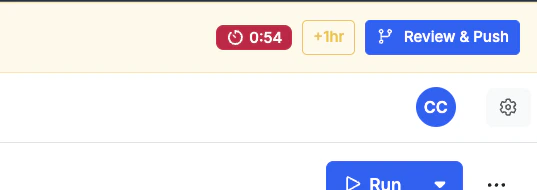
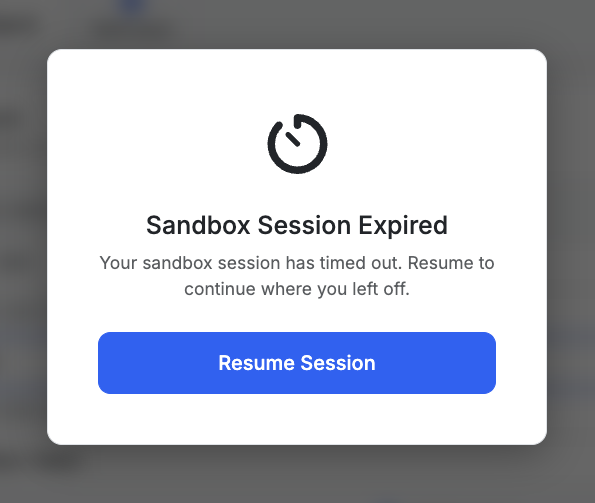
The environments are only available for a limited time; you’ll see a notification in the top-right corner giving you the opportunity to extend the time the sandbox is live if necessary.