 Xano
XanoBuilding APIs in Xano
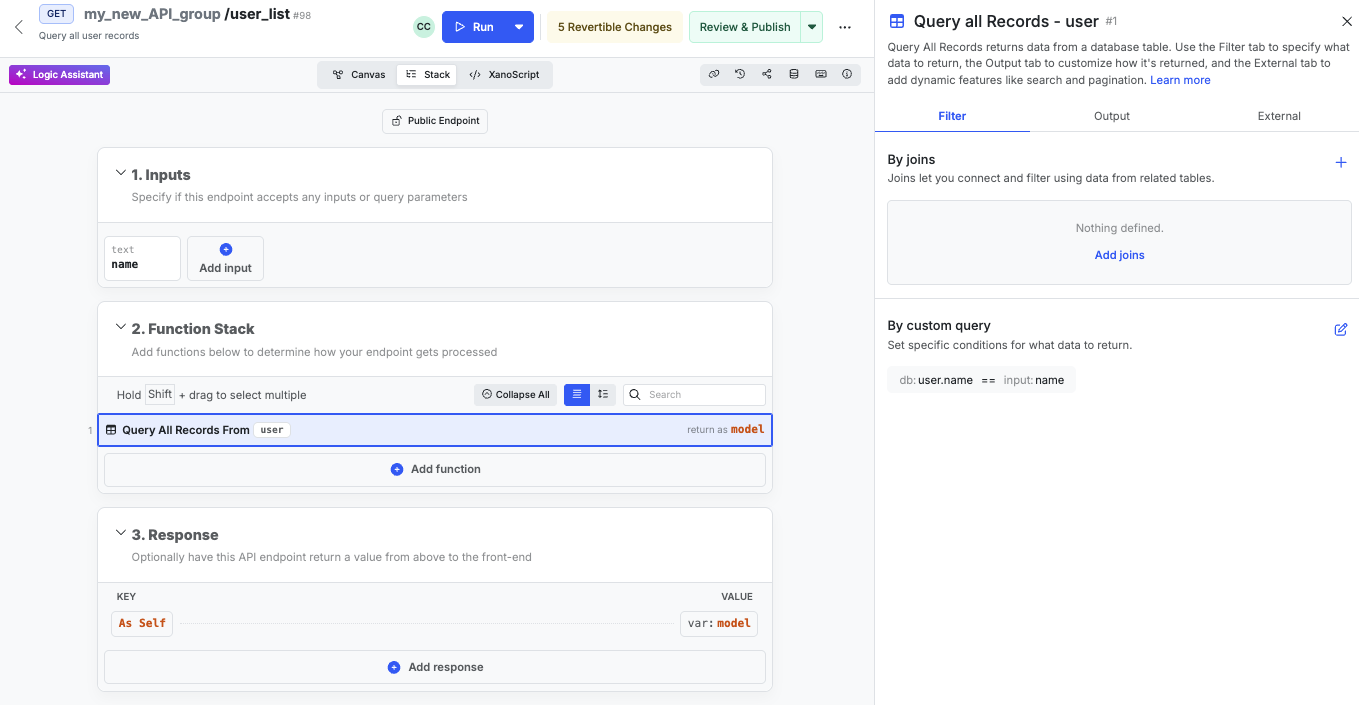
APIs are a core part of any backend. They allow you to connect your backend to other services and applications. Each API is assigned a name, a verb, and a URL.- The name is the unique identifier for the API. For example,
user_list. We’ll be referencing this sample API throughout the rest of this page. - The verb is the HTTP verb that will be used to make the request. For example,
GET. - The URL is the endpoint that the API will be accessed at. For example,
https://myapi.com/user_list.
-
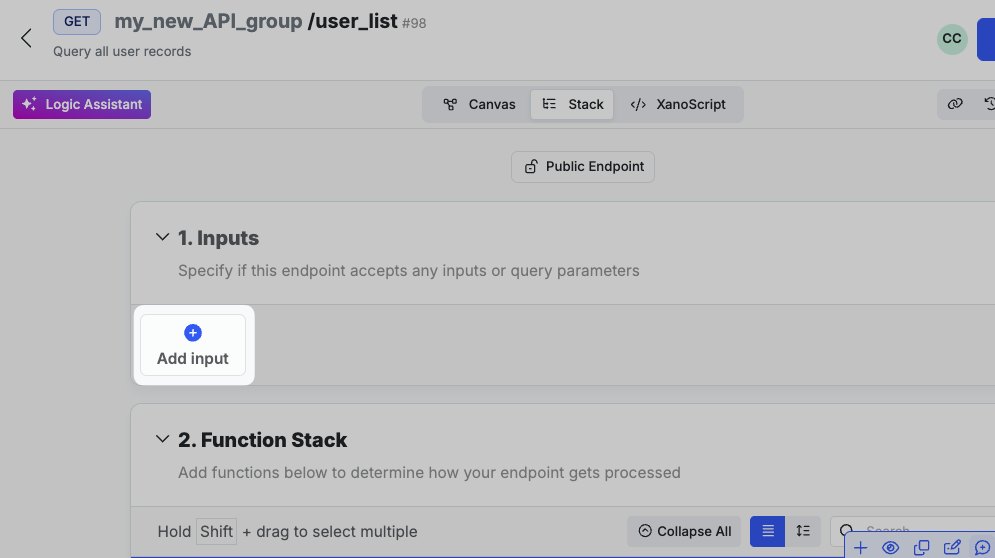
Inputs
— Inputs are the data that the API will accept. For example,
nameandemail. - Logic — The logic is the logic that will be executed when the API is called. For example, retrieving a record from your database or calculating a user’s age.
-
Response
— The response is the data that the API will return. For our
user_listAPI, it might return a list of users, or a single user.
API Groups
APIs live inside of API groups. Think of groups as folders that you can use to organize all of your different APIs. For example, you might have a group for your authentication APIs, a group for your user APIs, and a group for file storage APIs.Creating a new API Group
1
From the sidebar, click API, and then click + Add API Group.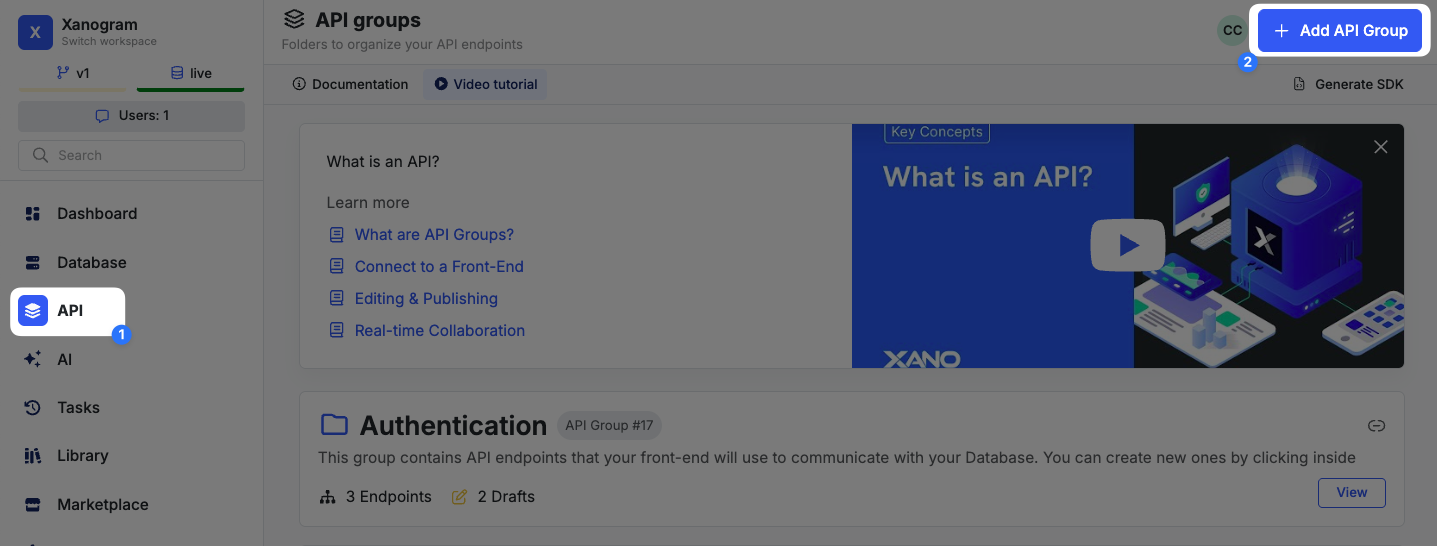
2
In the panel that opens, give your API group a name. You can also provide a description, tags for organization, and choose whether or not to make auto-generated API documentation available for this group.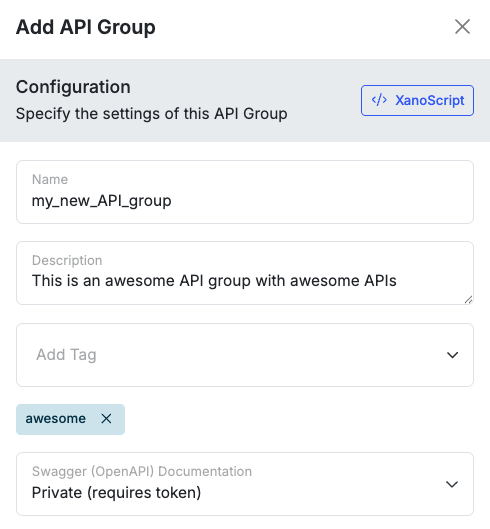
- Visually
- With Code
Creating a new API
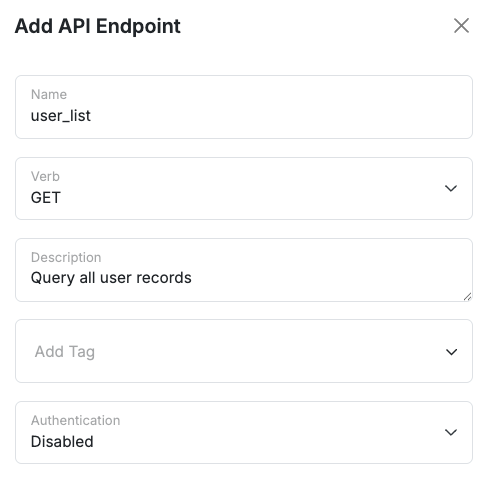
Clicking the + Add API Endpoint button will open a panel that allows you to create a new API. You can choose from one of the following options:
You’ll be asked to provide some basic information about your API before continuing.
You can build APIs in Xano in three different ways. Choose the one that best fits your needs. You can switch between them at any time.
- Canvas View
- Function Stack
- XanoScript
The Canvas View
1
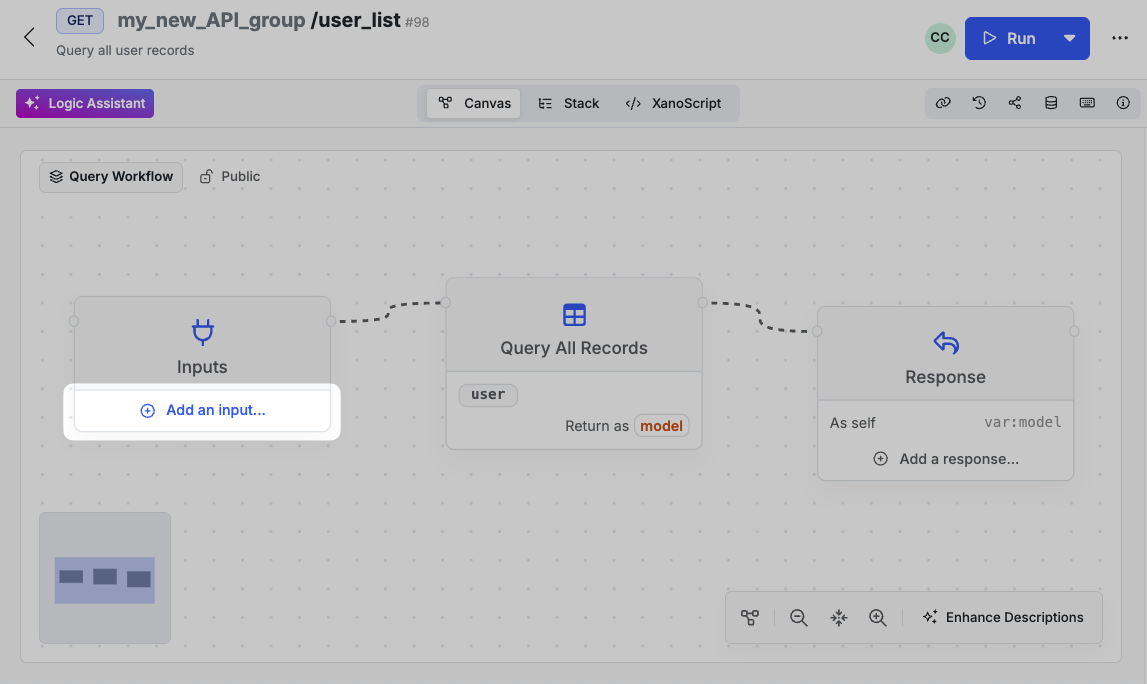
Add Inputs to define what your API accepts
Learn how to work with Inputs
Inputs define the data your API expects. Learn how to add and configure them.
2
Build your logic in the Function Logic or Canvas View
Learn how to work with Functions
Functions define the behavior of your API. Add and arrange functions to process inputs and fetch data.
3
Define what your API returns with the Response
Learn how to configure Responses
Control exactly what data your API sends back.
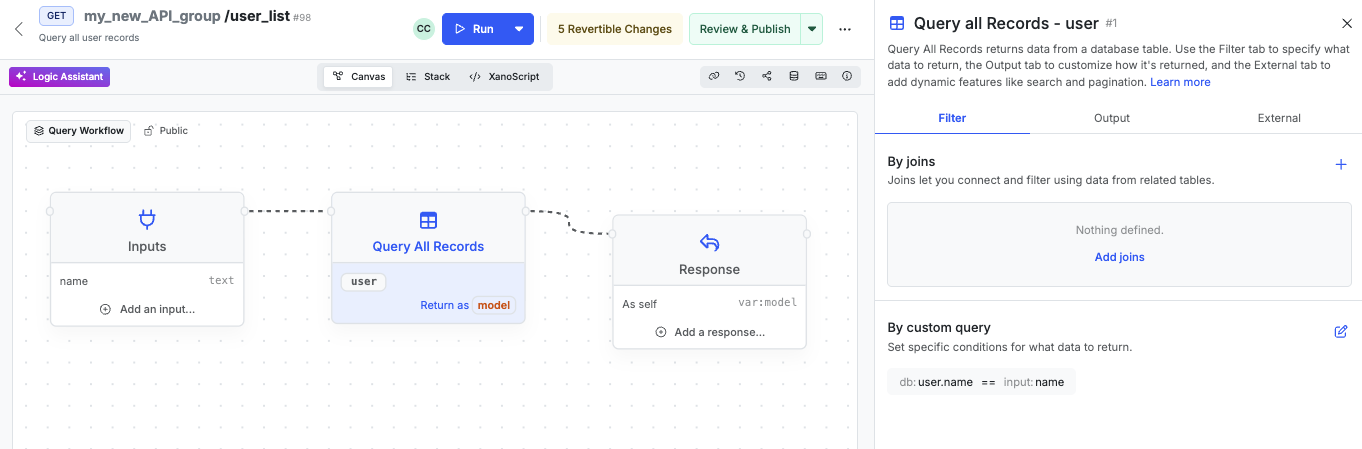
Here's an example of a basic API in the canvas view