🖥️ Instance
📂 Workspace
🧠 Backend
📱 Frontend
🗄️ Database
🔌 API
Headers
Headers are the configuration that rides along with an API request. They contain information like where the request is coming from and what type of data it contains.
Method
The method, also known as the verb, is assigned to an API to typically dictate the type of operation the API is designed to complete.
- GET
- Retrieve data
- POST
- Send data
- PUT / PATCH
- Update data
- DELETE
- Delete data
Please note that when you build APIs in Xano, you can choose the method to apply, giving you full flexibility in exactly what function that API serves. While it isn’t always best practice, a DELETE endpoint could technically do nothing but add new data, if it makes sense for your use case.
Query parameters / Request body
Query parameters and the request body are kind of the same thing, but sent in an API request in different ways.
-
Query parameters live as part of the request URL. If the API URL is
https://myapi.com/getThingsand expects you to send a thingId with your request, you would append it to the URL with?thingId=99, so your full request URL would behttps://myapi.com/getThings?thingId=99.You would typically use query parameters for GET and DELETE endpoints. - Request Body is like a set of query parameters, but sent as a JSON object. It’s more flexible when sending complex data types, such as lists, nested objects, or files.
Response
The response is whatever the API sends back once it has completed the logic it is meant to perform. An API doesn’t necessarily need to deliver a response, but it is typical.Think of your frontend sending an API request when a user logs in. That API request would probably return information about the user logging in, such as their name, location, or other relevant user data.A response has a few different pieces, similar to what’s included in the request, including response headers and a response body.
🏷️ Variables
Variables are like containers or labels that store information you want to use later in a workflow. Think of them as named boxes where you can keep different types of items, such as numbers, words, or lists. You give each box a name so you can easily find and use the information it holds whenever you need it in your project. This makes it simple to update or change the data without needing to rewrite everything. Variables are temporary and exist only while a workflow is running, used for storing information you need to access quickly, whereas values in a database are like records in a filing cabinet, stored permanently until you decide to update or delete them, accessible across various workflows and sessions. This makes databases ideal for managing large sets of data over time, and variables more appropriate for temporary data handling.🗃️ JSON
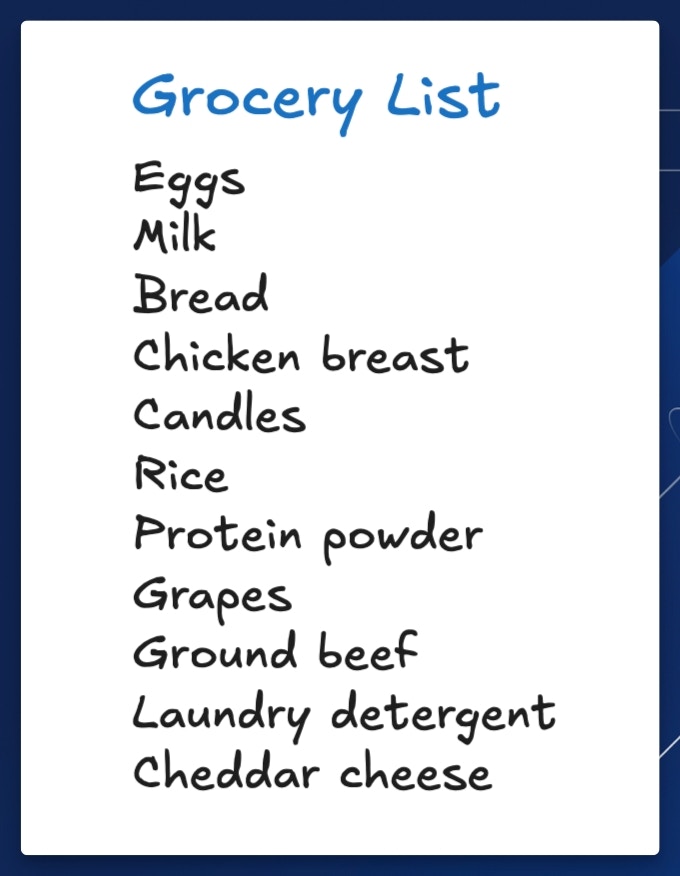
- Handwritten List
- JSON

key: value pairs. The key typically defines what the value represents, and the value is the actual value itself.
While it may seem similar, JSON is not code. It is just a standard way to structure data. For a real-world comparison, maybe you have a favorite news site or blog that you visit daily. You are used to the format they provide so the information is easily digestible. Now, imagine if every day, they decided to follow a different, unorganized structure instead. This is why data standardization is important, and JSON is a very effective way of achieving this.
📄 Objects
An object represents the whole of a thing, such as a person, place, vehicle, form submission — the possibilities are endless and fully dependent on what you are building. A JSON object can have multiple keys and values inside. Here is an example of a JSON object that represents user data.name, age, and city, as well as our values, which are the actual data that belongs to this user.
📑 Arrays
JSON can also represent lists of items, like the example below. It looks almost exactly the same, but now we have multiple people inside of an array, or list, denoted by square brackets.Nested Data
Values don’t just have to be single items, such as a person’s name or email. You can also supply other objects or arrays for your values. In the below example, we’ve added an interests key and supplied an array of text strings for the value.ℹ️ JSON Data Types
You may have noticed a few mentions of things like integers or strings when learning about JSON. It is important to know what types of data are valid representations inside of a JSON object. One of the most important things to remember when working with JSON is that quotation marks are incredibly important and can be the difference between something working or falling apart. 🔤 Strings are surrounded by “quotation marks” and are just plain text.1994 in the example below. If we used "1994" instead, this would become a string.