Authentication

Authentication is the way the backend handles adding users and allowing them to access certain areas of your app.

Enable Authentication for a Table

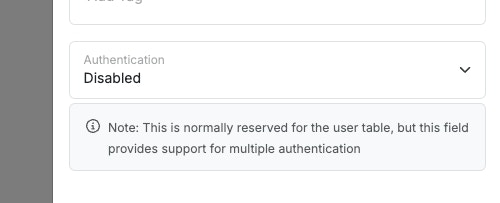
Each table has the ability to require authentication. Normally this is just the user table, but it is possible to have authentication against multiple tables. For example, sometimes you may have user accounts in more than 1 table. Such as, a legacy system that you need to still handle or maybe you have customers in one table and staff in another. There are a number of different reasons. Ideally, you have just one table for your user accounts - although this isn't a requirement.

Enable Authentication on an API Request

Each API endpoint has the ability to require authentication. If you select a login method during Jumpstart, Xano will automatically generate an Authentication API group with endpoints that you can learn about on the Sign-up & Log in page.

Once an API endpoint requires Authentication, then an Authentication header is required via API, or the debugger now requires the Authentication token. For example:

What is an Authentication Token?

An Authentication token is a JWE (JSON Web Encryption) token. In short, this is the industry standard for securely storing information into an encrypted token.

How do I Retrieve an Authentication Token?

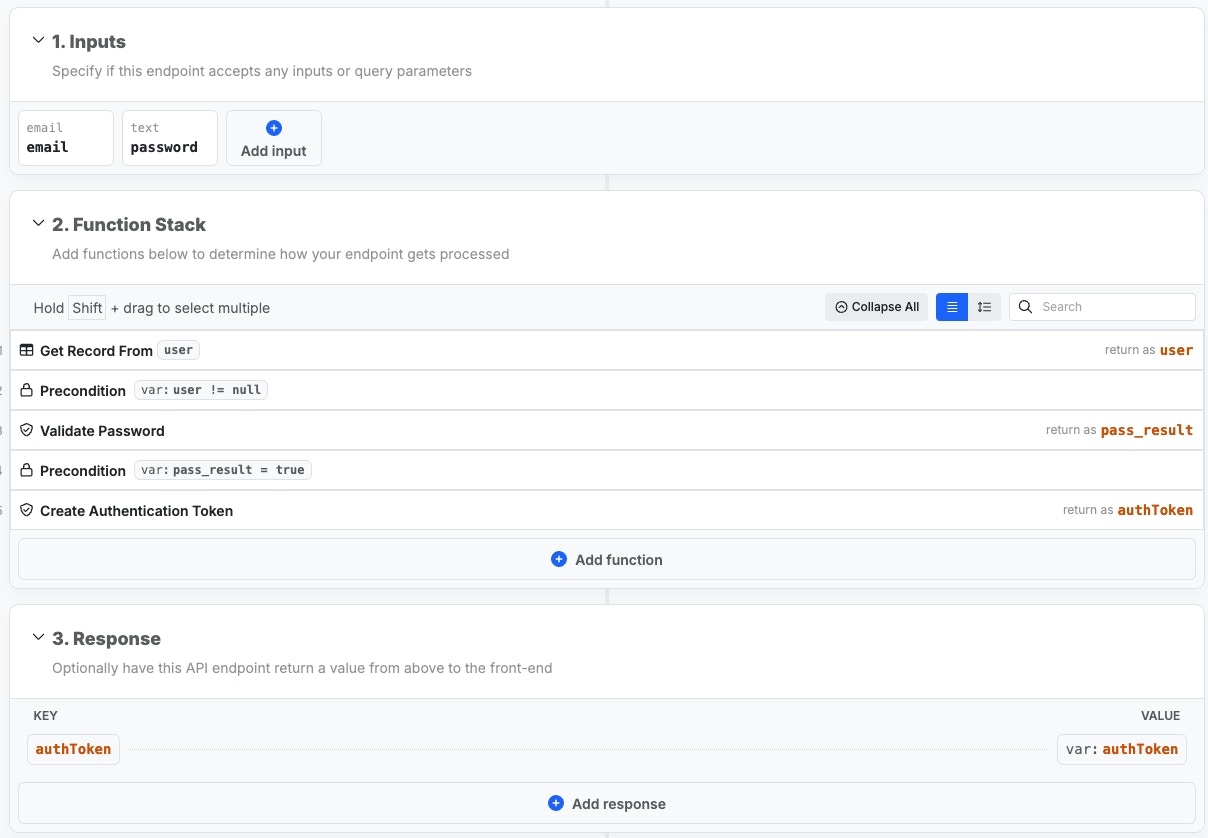
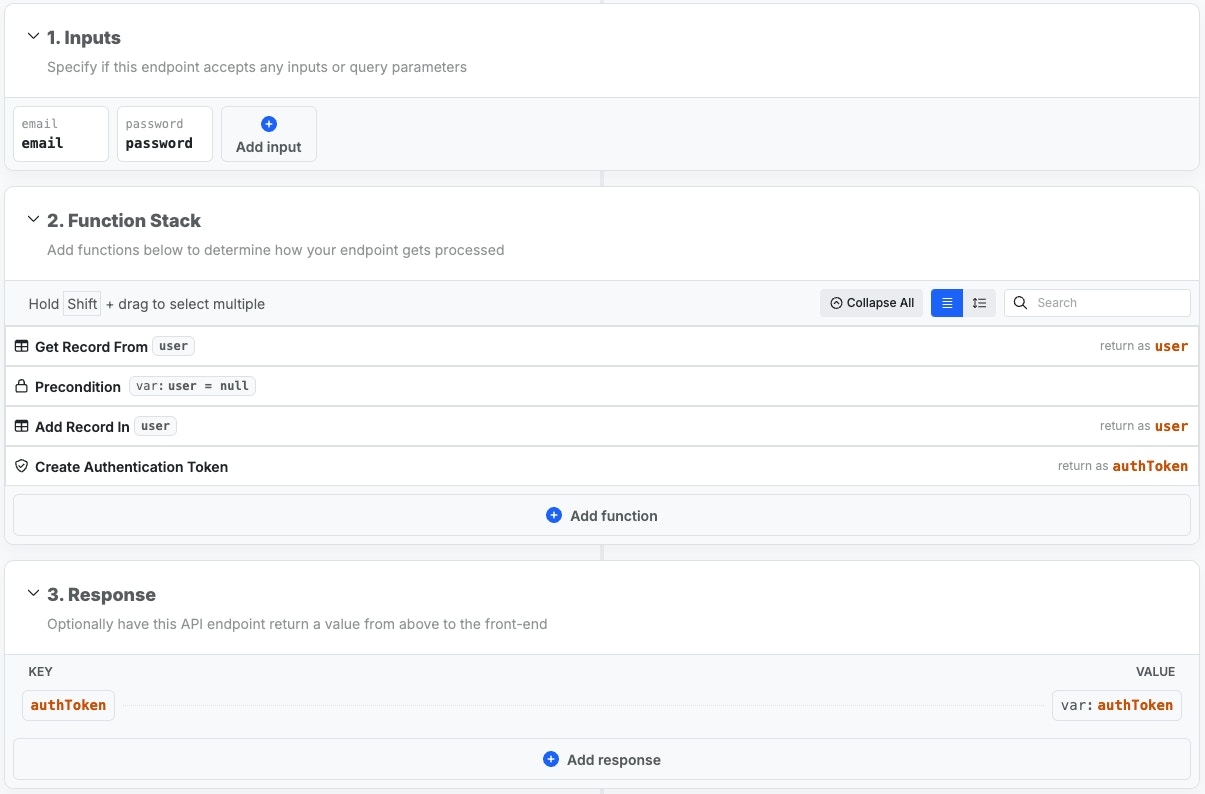
This happens either by login or signup. The default login/signup endpoints verify an email and password, if there is a successful match, then an Authentication token is returned. The business logic on how to enforce proper authentication can be customized to whatever your specific requirements are, but once you have determined the user has validated their account credentials, then the “Create Authentication Token” Function Stack statement comes into play.

For example, this Function Stack statement below, Create Authentication Token, has the following inputs:

  • id - this is the primary key for the table you are using for Authentication. Normally, this is the user table. So, if you just logged in with your account and your account happens to be id = 20, then 20 would be inputted here.

  • dbtable - this is the actual name of your table being used for Authentication. Normally, this is “user” but if you renamed the table or have multiple tables being used for Authentication, then this needs to match that name exactly.

  • extras - this is an advanced concept explained below.

  • expiration - this is the amount of time in seconds that this Authentication token is valid. 86400 would be 1 day in seconds. You can set this value to 0 if you want the token to never expire.

By default the Authentication token stores the id of the object you authenticated against. If you have a user table and authenticate user 20, then inside the token, the number 20 is stored, which you can retrieve through the auth.id variable.

Extras

The extras payload allows you to store additional information securely inside the token. This allows you to reliably use that data without having to store it in a database. Only once you decode the token, can you have access to the data. NOTE: Storing data inside the token causes the token to grow in size, so make sure to use it sparingly.

An example of utilizing extras is whether or not you wanted to restrict access to a specific API endpoint for administrators only. Let’s assume on your user database table, you have a text field called “role”. If the value of that field is “administrator”, then that means you are an administrator.

So, if you wanted to check if the authenticated user was an administrator, then you would need to load the user object and then check. It would be very convenient if you could just skip that step and rely on that “role” field just being available the same way the authenticated user id is available.

Here is how you could use extras to store the user role.

To continue this example, now that the role is stored inside the token, you can access it. Here is a precondition, which enforces that something is true to continue, enforcing administrator access.

*The easy authToken retrieval will not include any extras you create in a sign-up or login API endpoint. This is because the easy authToken retrieval does not mimic the logic of these endpoints where the extras are created. But rather it's for quick testing purposes only. If you need to test an authToken containing extras then you must run the endpoint where the extras are created then copy the outputted authToken and paste it in the header of the authenticated endpoint.

Alternative Authentication Headers

If you need to provide a secondary authentication header that takes precedence over the original Xano authentication, you can do so by sending the X-Xano-Authorization-Only header along with your requests. This will allow you to move the Xano authentication token to its own header, keeping the original standard Authorization header for something else.

You would want to utilize the X-Xano-Autborization-Only header if you are sending requests to your Xano APIs from another source that uses the Authorization header key for something else on both public and authentication required endpoints that are using the Authorization header for something other than Xano authentication.

Example:

// For a public Xano endpoint that sends an Authorization header
curl "http://localhost:9999/api:elnQNVvy:v1/public_test" \
-H "X-Xano-Authorization-Only: true"

// For a private (authenticated) Xano endpoint that receives an Authorization header
that is not a Xano auth token
curl "http://localhost:9999/api:elnQNVvy:v1/private_test" \
-H "X-Xano-Authorization: Bearer ey...." \
-H "X-Xano-Authorization-Only: true"

Last updated