

 Xano
XanoDirect Database Connector is included with the Essential and Pro paid plans. Please visit your Billing page for the most up-to-date pricing for this additional feature.
Accessing the Database Connector
You can access your connection details two different ways.Through the Instance Selection screen
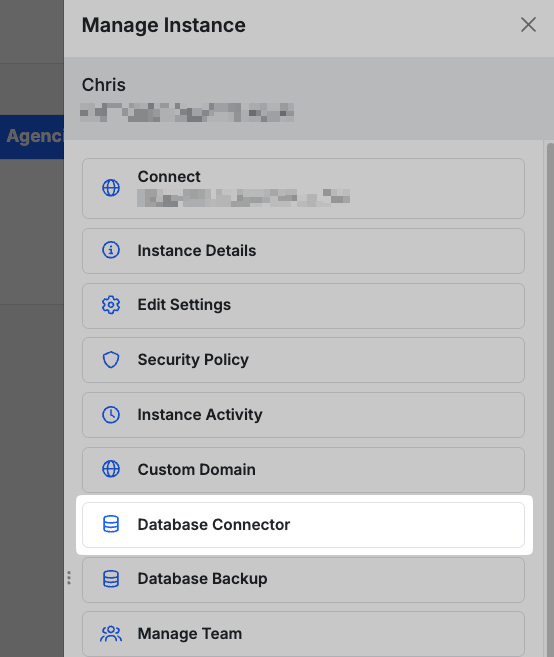
On your instance selection screen, click the⚙️ icon, and in the panel that opens, choose Database Connector.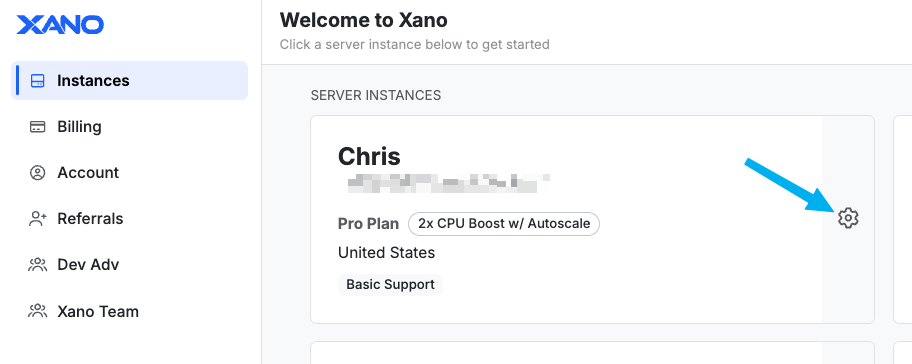
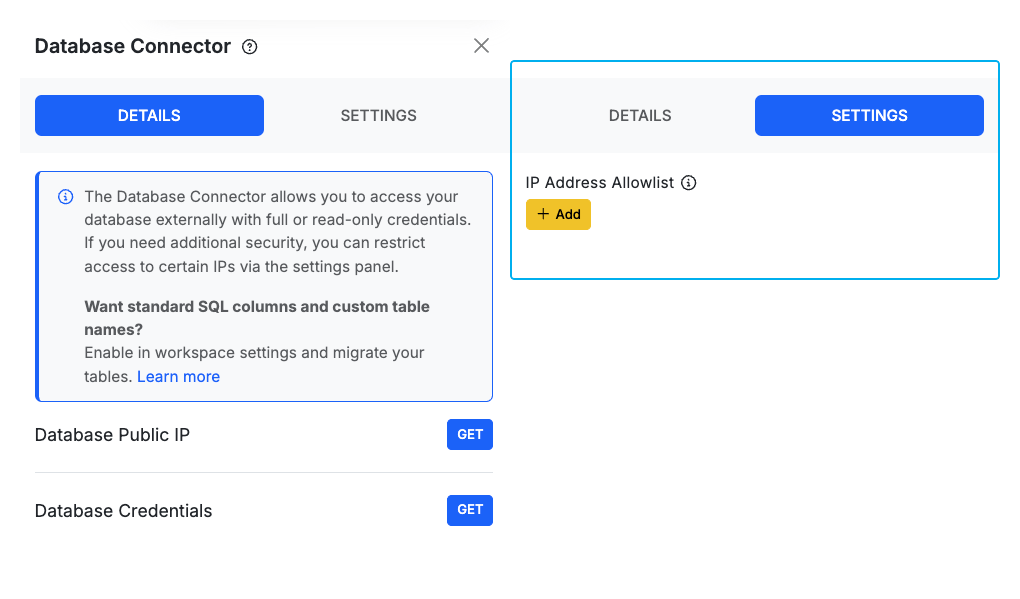
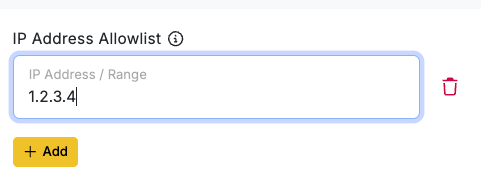
Xano does not check these IP address values for validity.
From your Workspace
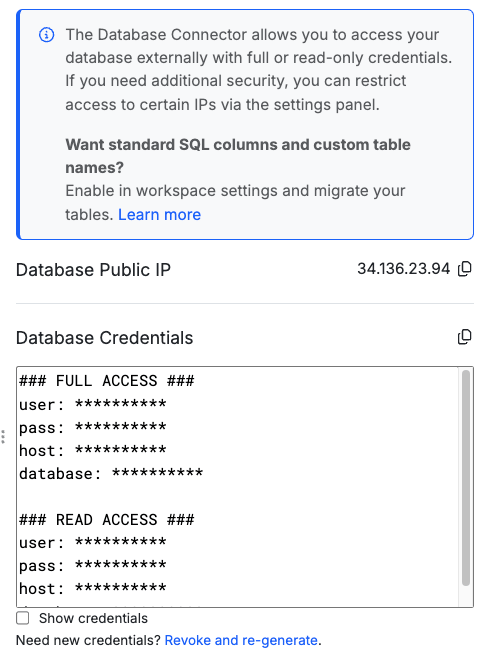
From anywhere in a workspace, click Connect this backend. Choose Database Connections from the left-hand menu, and you’ll be presented with access to your database IP, credentials, and IP allowlist. You can review the section above for more details on how these operate.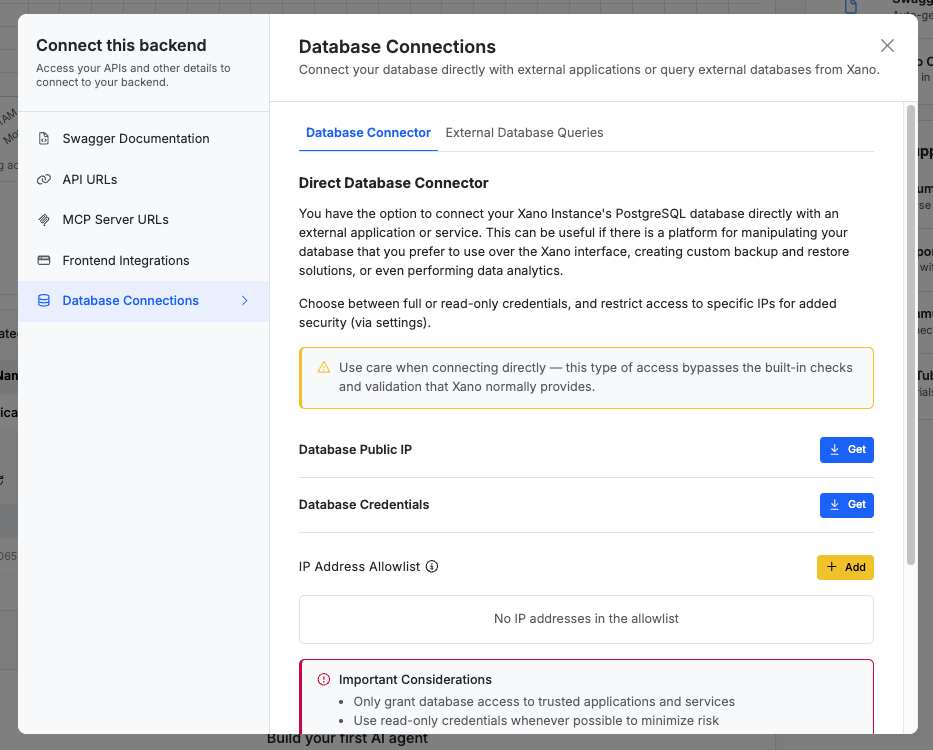
Establishing a Direct Database Connection
You can use any application you’d like that is capable of connecting to a PostgreSQL database. In this example, we’ll be using Navicat. Select ‘Connection’ in the top-left, and fill in your credentials and the IP received from Xano.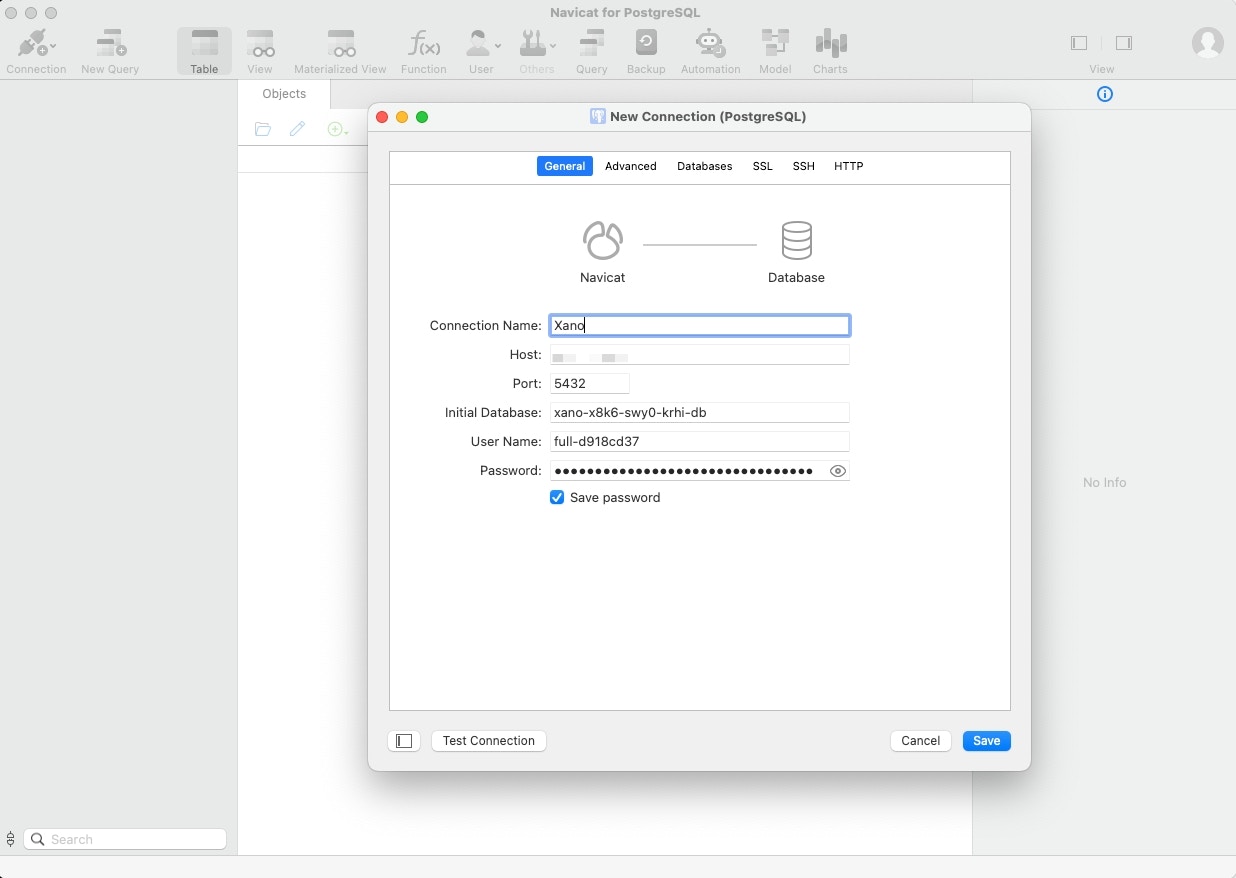

Table Formats
As of our 1.68 release (5/27/25), all new workspaces will default to the standard SQL column format for tables. For all workspaces created prior to that, read below. Your tables can be created using one of two formats:-
JSONB format
-
This creates your tables with two columns:
-
id- the ID of the record -
jsonb- contains a JSON representation of the entire record
-
-
This creates your tables with two columns:
-
Standard SQL format
- This creates a more standard table layout. Instead of a jsonb column, each column is written separately.
Converting Tables from JSONB to standard SQL
1
Click the settings icon in the upper-right corner to open Settings.
2
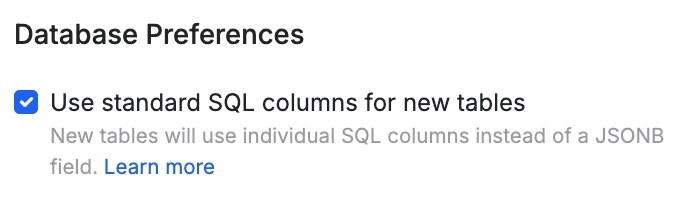
Scroll down to the Database Preferences section, and check the option to 'Use standard SQL columns for new tables'
3
Convert your table(s) from your workspace settings, or the settings of any table.
From the migration panel, select any of the tables you’d like to convert, and confirm your choices. The migration will begin immediately.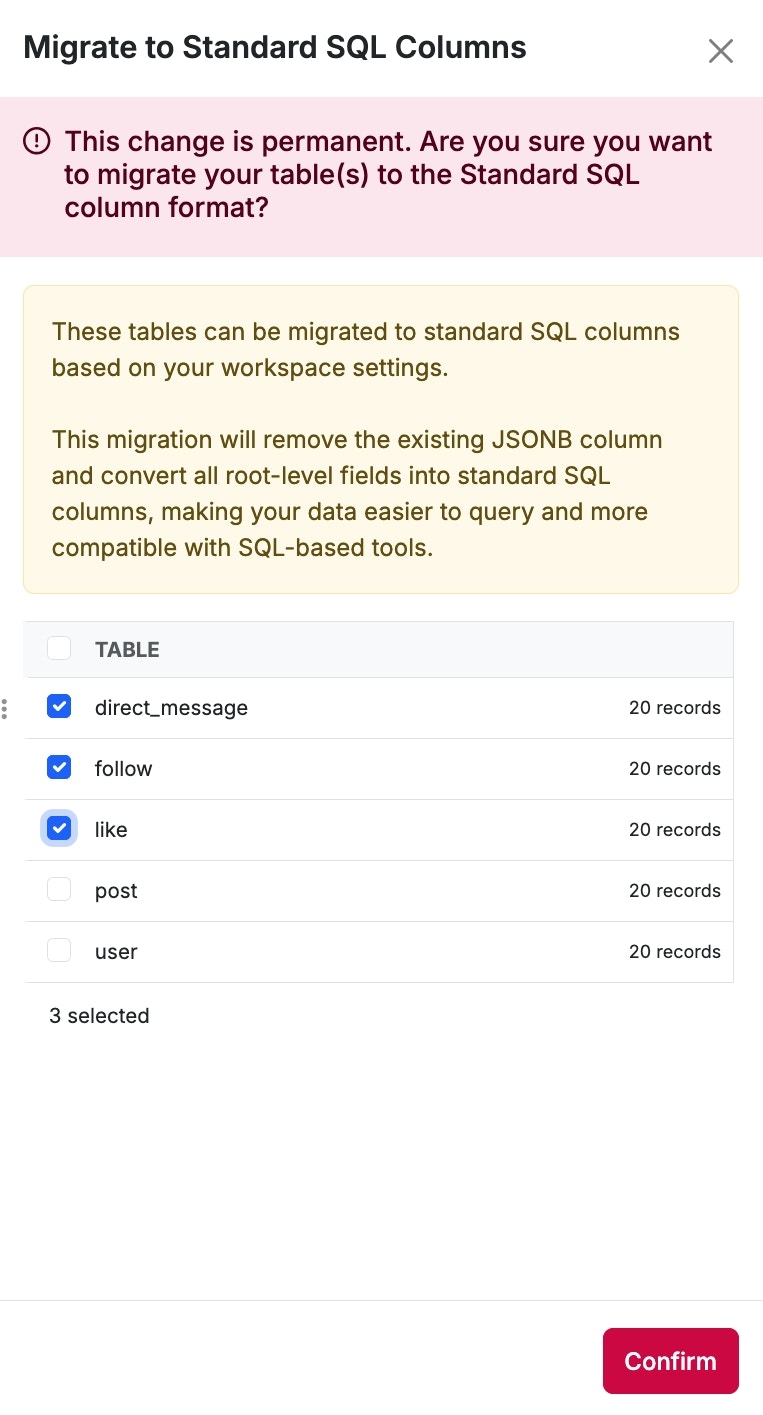
Custom SQL Table Names
From your Workspace settings, you can enable Custom SQL Table Names. By default, Xano assigns each table a SQL name in the format mvpw_ (e.g., mvpw1_3). This identifier works for direct access, but can be difficult to read or use with direct queries and database tools. You can replace this with a custom SQL name to make queries more intuitive and improve compatibility with external connectors. If you change a table’s SQL name, be sure to update any queries that reference the old name to avoid breaking functionality. Once you’ve enabled Custom SQL Table Names, head to any database table’s settings, and click Manage next to SQL Table Name.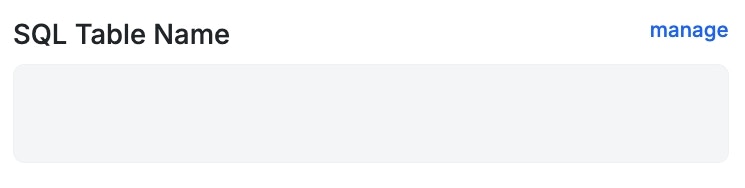
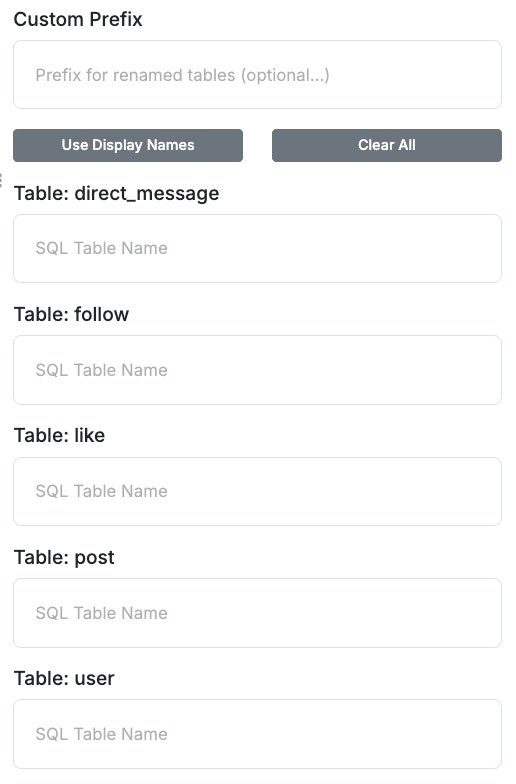
- Leave the SQL Table Name field blank to use Xano’s default SQL table name, which follows the format mvpw<workspaceID>_<tableID> (e.g., mvpw1_3).
- SQL table names must be globally unique across all workspaces. Hint: Use the Custom Prefix to ensure uniqueness across workspaces.
- Datasources automatically add a suffix based on their environment. For example, users becomes users_test in the test datasource.* To reuse the same base name across workspaces, use a workspace-specific prefix (e.g., projA_users, projB_users).
What are these extra tables I see when connecting directly?
Xano maintains several database tables behind the scenes to operate your instances, workspace, and application. It should generally not be considered safe to directly modify these tables at any time, and only target tables you’ve created as a part of your application. Some of these tables can safely be included in TRUNCATE operations if you wish to perform maintenance outside of the Xano interface. These tables are:mvp_request— contains API request historymvp_function_history— contains custom function request historymvp_task_history— contains background task run historymvp_tool_history— contains API tool request historymvp_trigger_history— contains history of trigger executionsmvp_middleware_history— contains history of middleware executions
We strongly advise you to only perform maintenance operations inside of the Xano interface to ensure your access or your application’s uptime are not impacted.