What is Single-Tenancy vs Multi-Tenancy
Single-tenancy means that a user is on their own dedicated server environment. Their data is completely separated and isolated from any other user. A multi-tenancy environment means users share the same server resources across a shared environment.How Xano Link Works
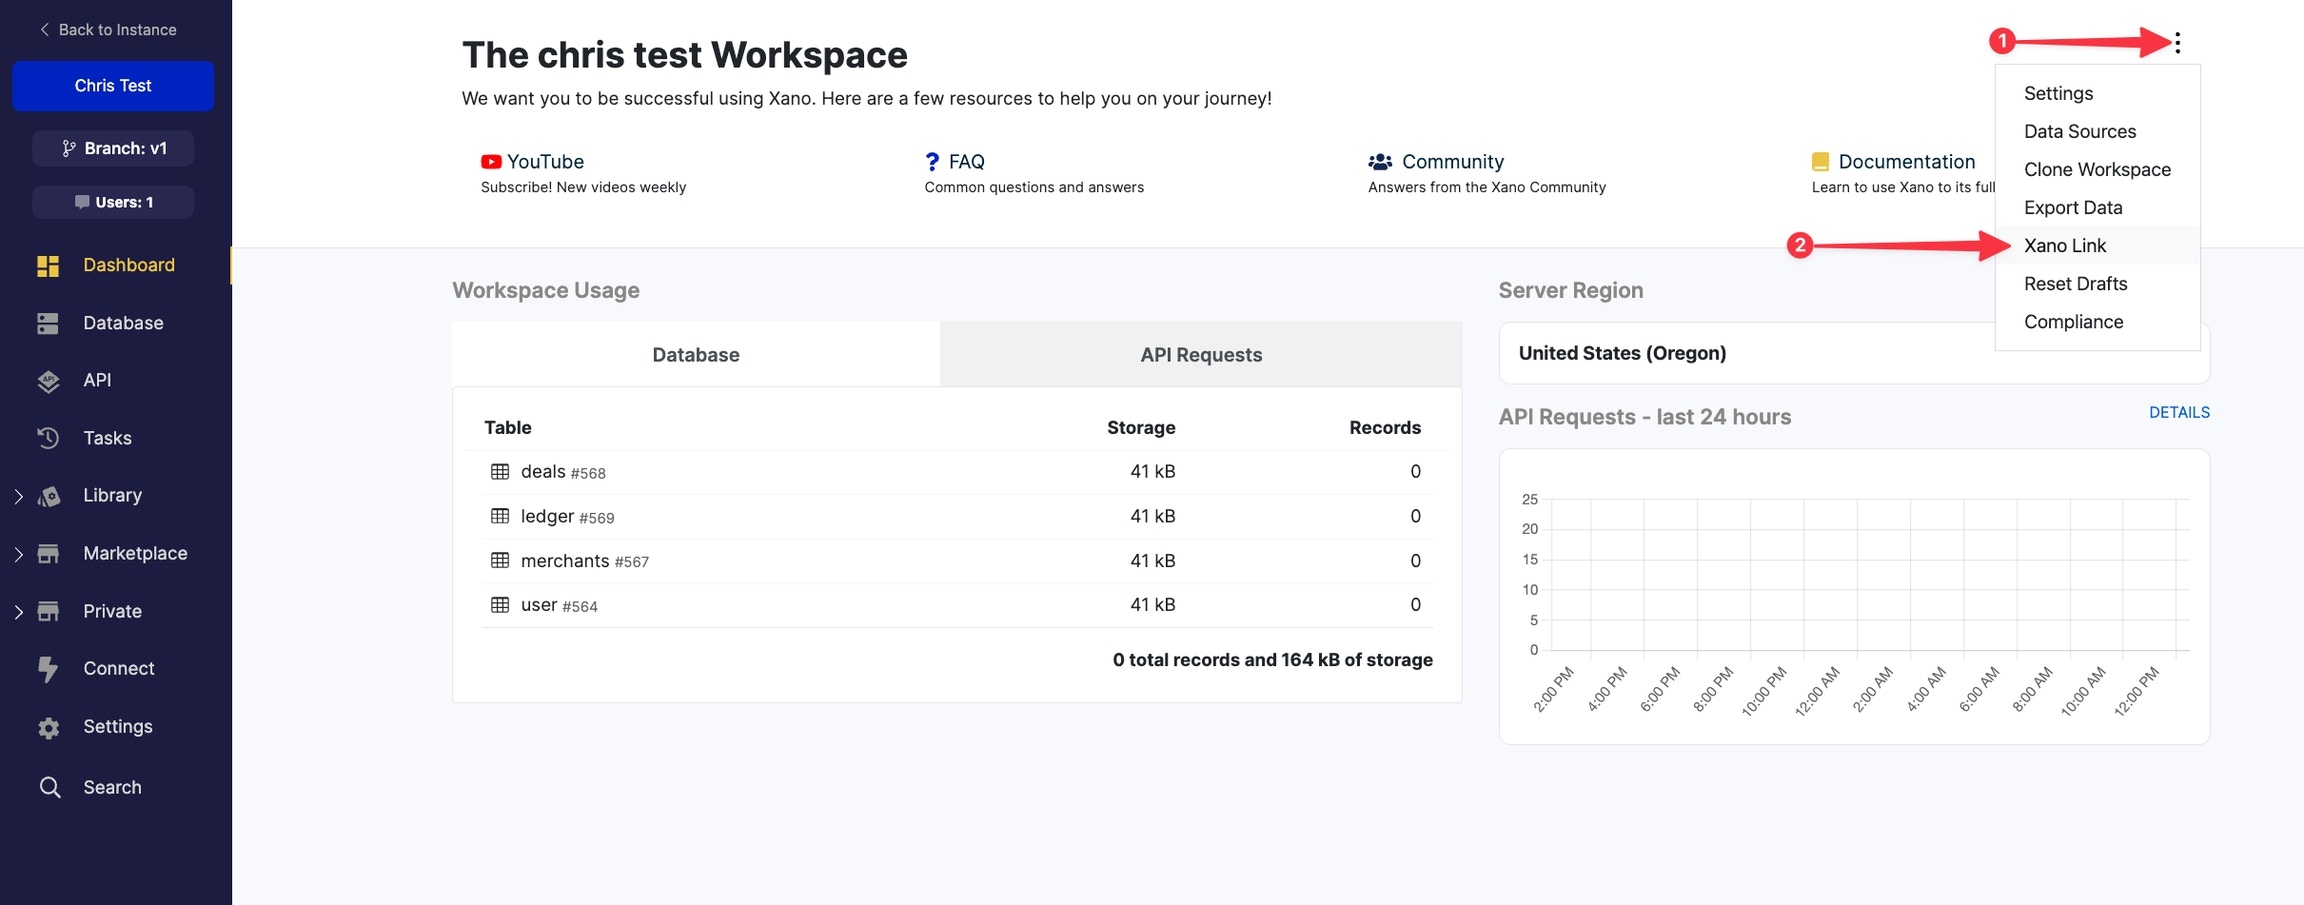
Xano Link is a feature that allows you to use a separate workspace for each client (aka tenant). Each workspace is a separate environment with its own copy of all schema, which includes the database, API, Addons, Functions, and Background Tasks. This allows for a single-tenant solution to be built on Xano.Xano Link still shares the same Instance server resources across all tenants, so Link is not a true form of single-tenancy. However, it is a similar solution through data separation and workspace isolation.
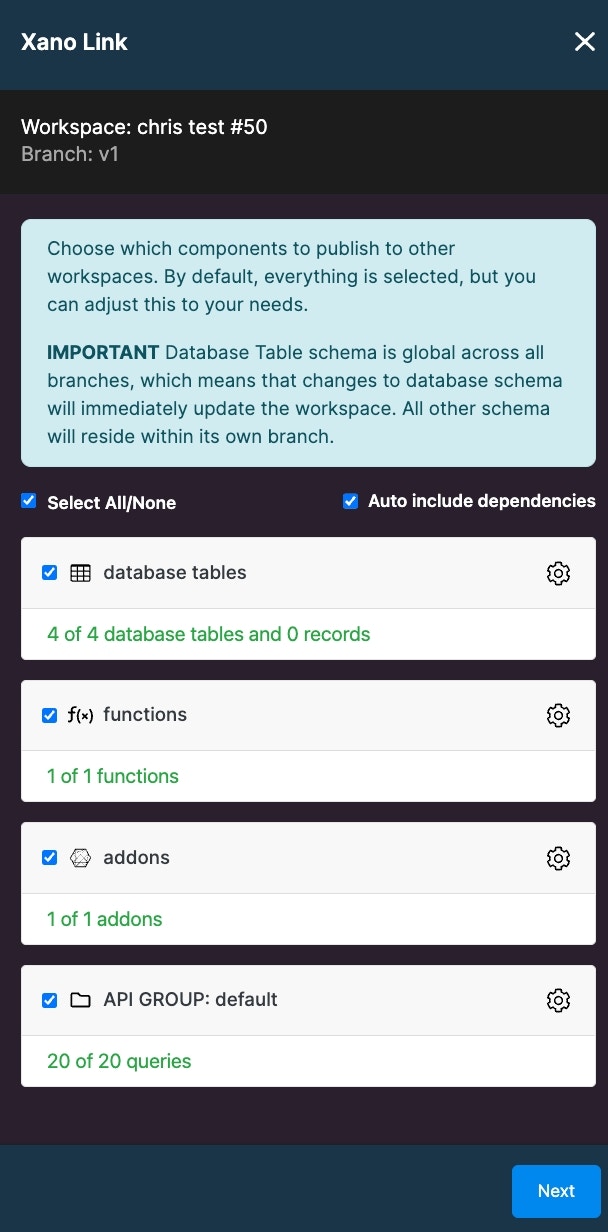
Select All/None allows you to quickly bulk select or de-select items.Auto include dependencies will scan and auto-include in the Link any items that are dependent on what you have already selected. For example, if you are choosing API endpoints that include custom functions, the functions will also be merged without you having to select them manually.
Merging Database Tables
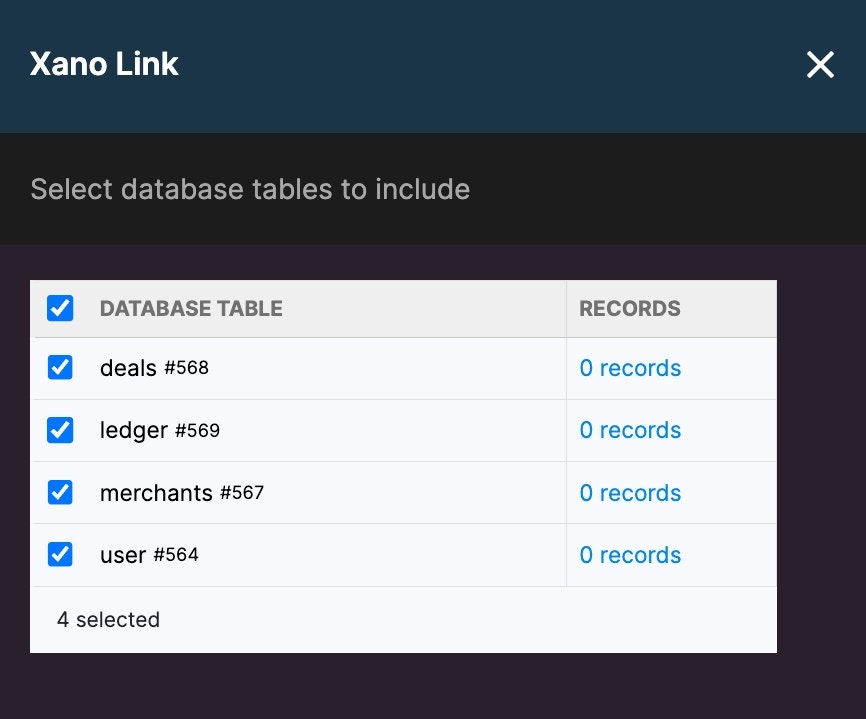
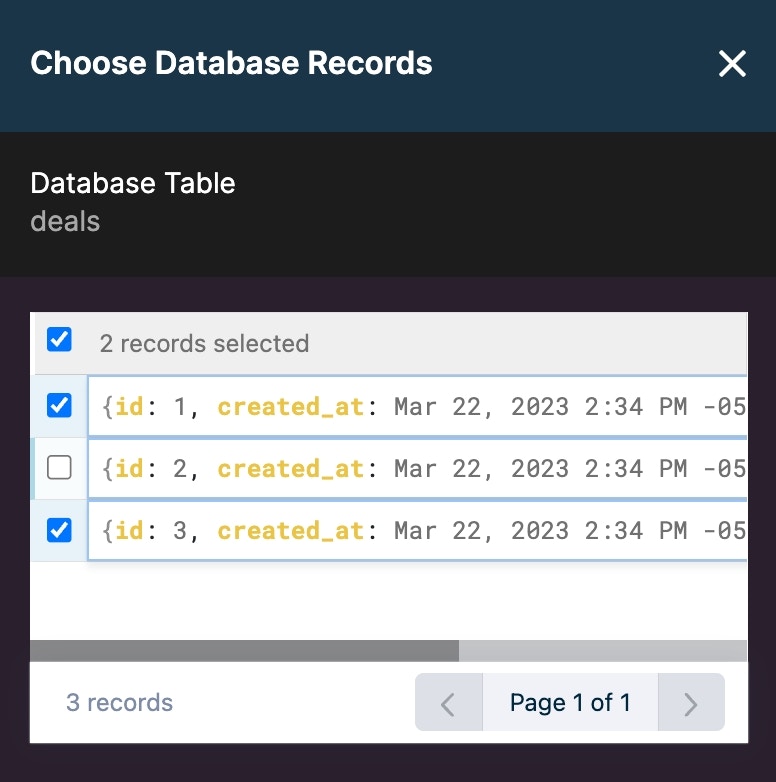
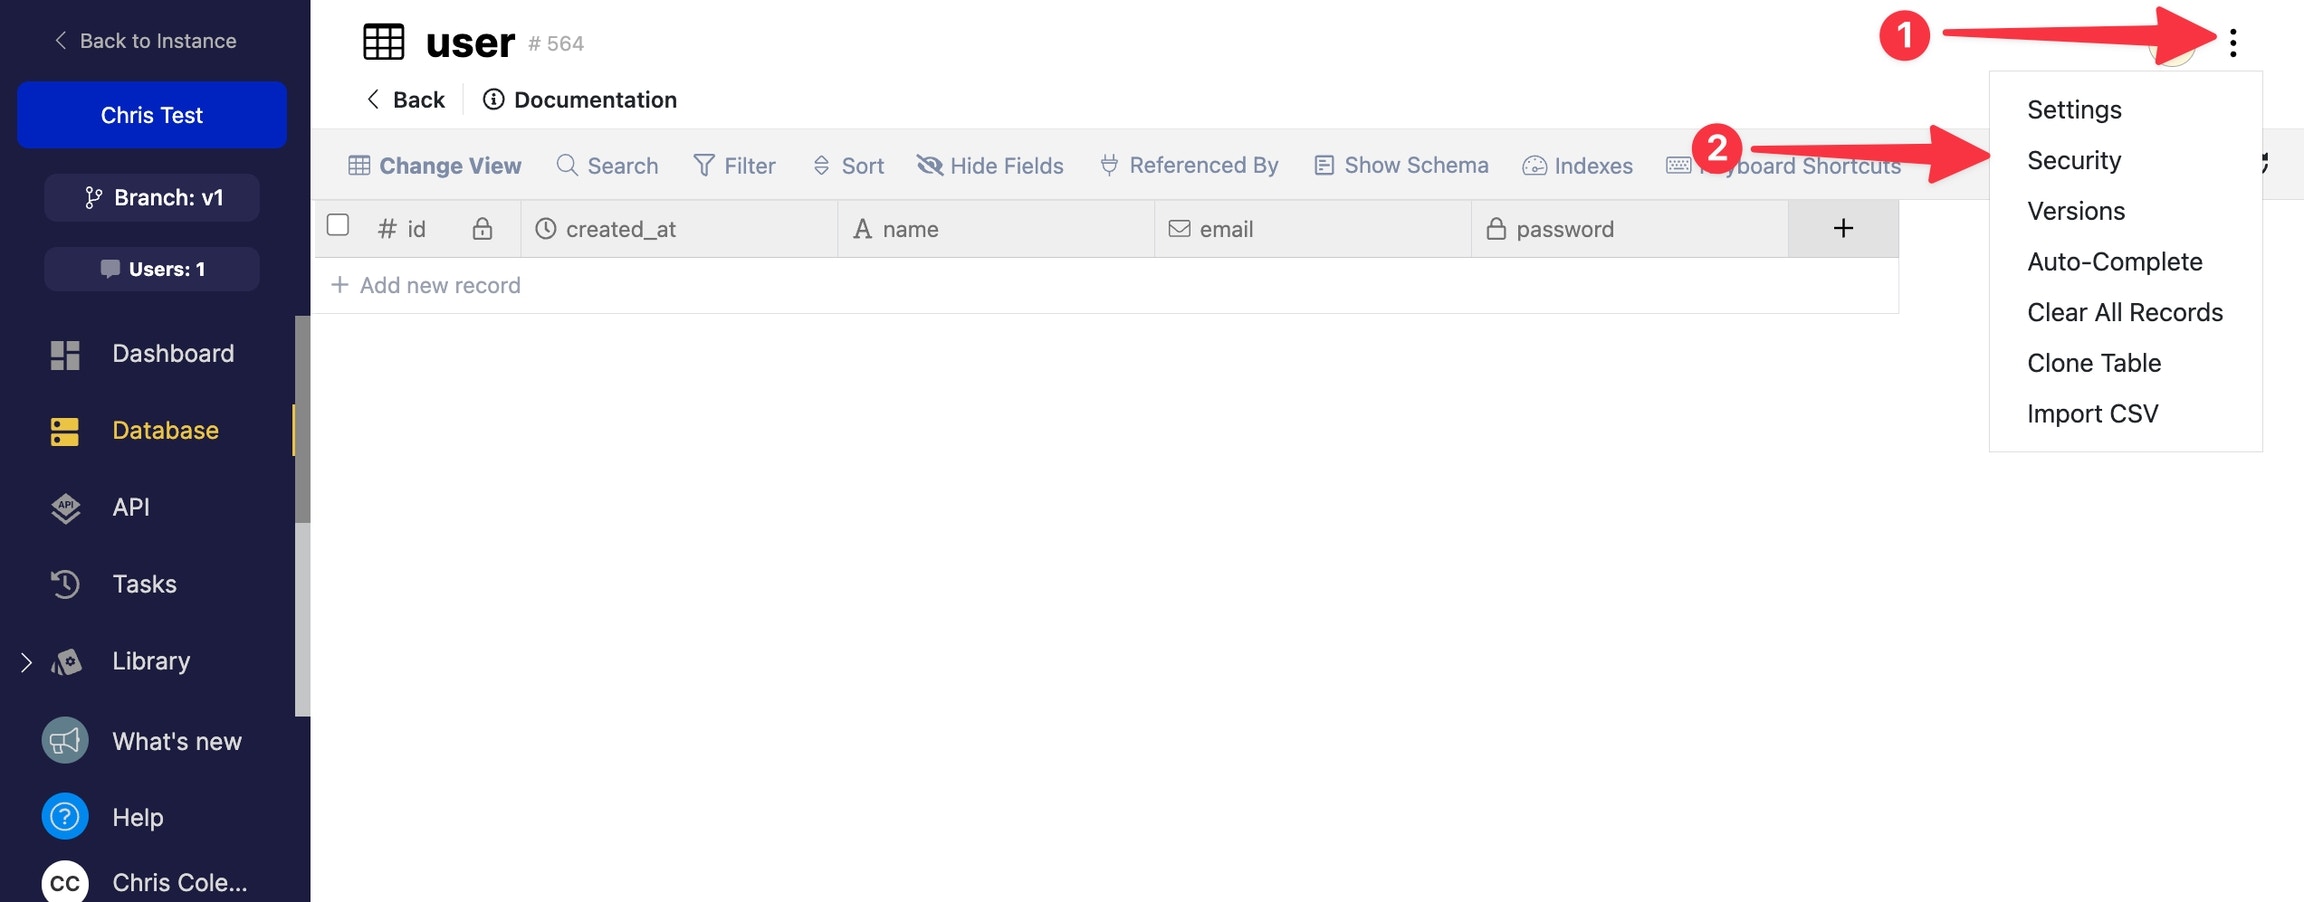
- Head to the source table, click the three dots in the top-right, and choose Security.
- Click “Show Advanced Settings” and copy the GUID that is shown in the box.
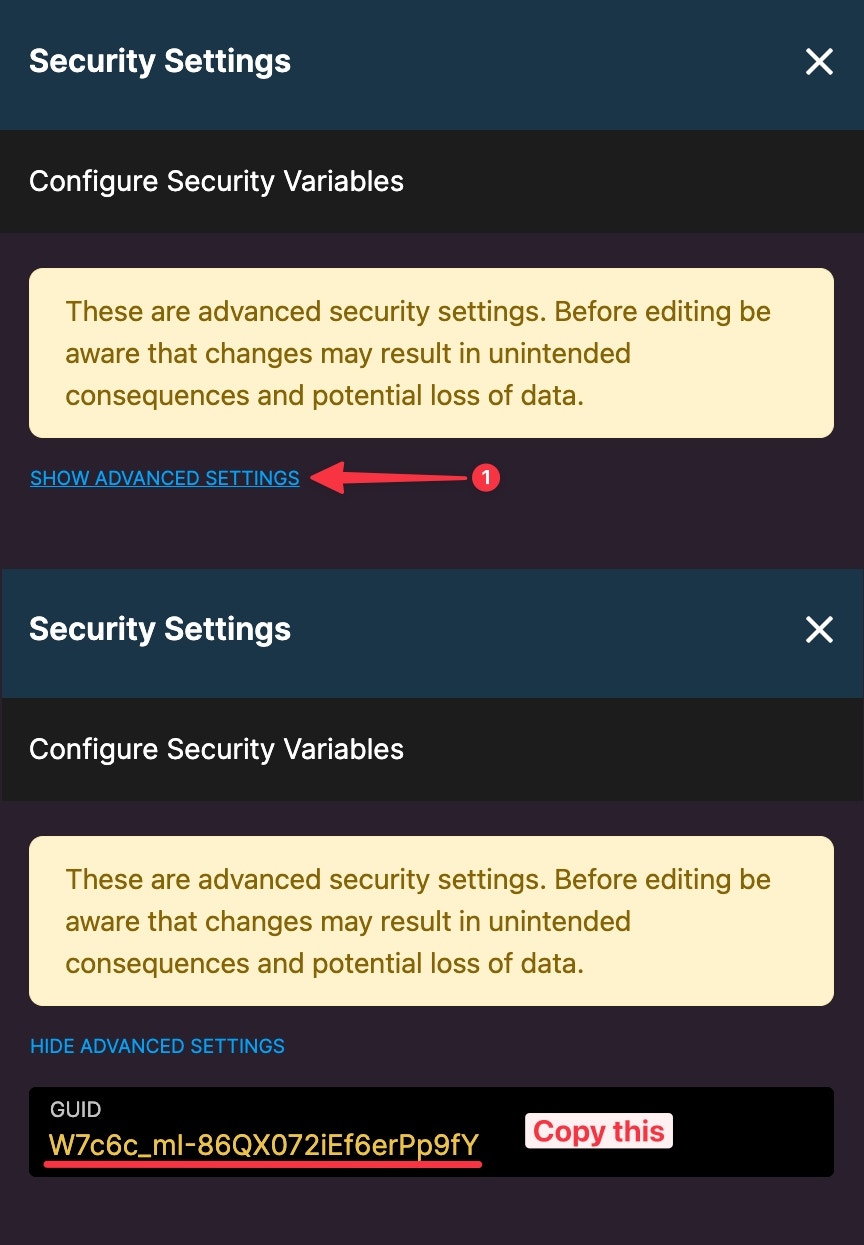
- After you’ve copied the GUID, head to the destination table in the new workspace, and replace the GUID with the copied value from the source table and save your changes.
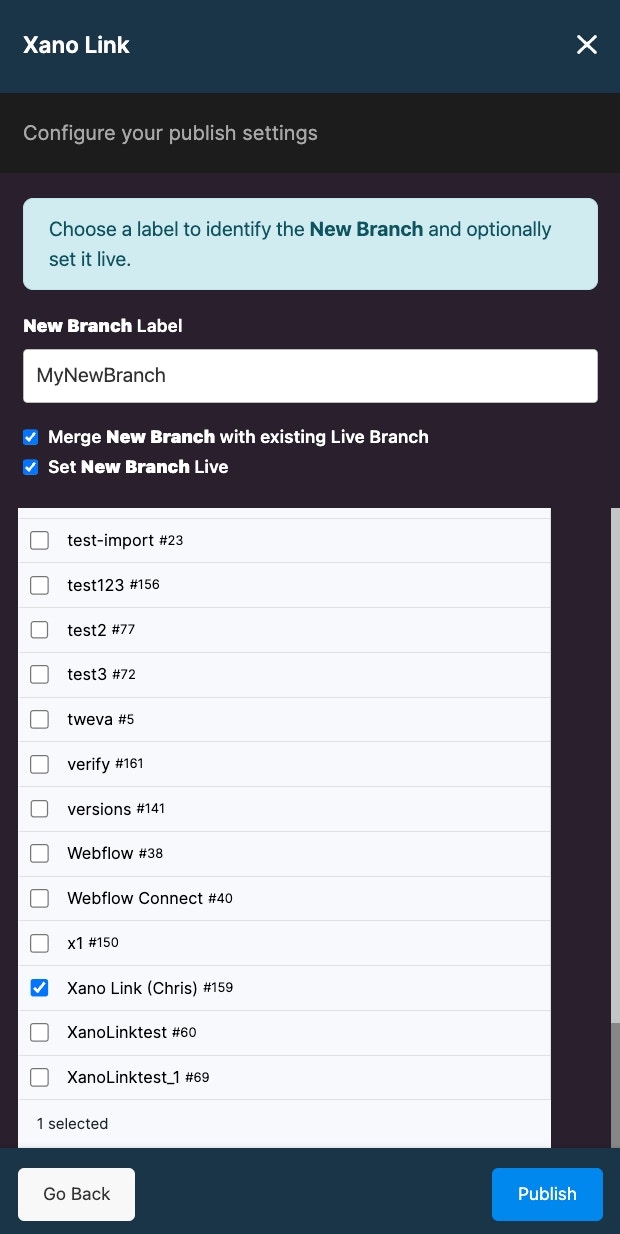
Merge New Branch with existing Live Branch will merge the newly created branch with the branch in the destination workspace that is currently set to live.Set New Branch Live will set the newly created branch as the live branch immediately.
Customization
Customization on a per-client basis is possible by using additional tables or APIs that are independent of the source workspace. Customization to the schema from the source workspace would get overwritten with any new updates.Compare Differences
Xano Link allows you to view and compare differences before merging a branch from the source workspace into a branch from the destination workspace. Be sure to select the Merge New Branch option and the destination workspace before selecting “view.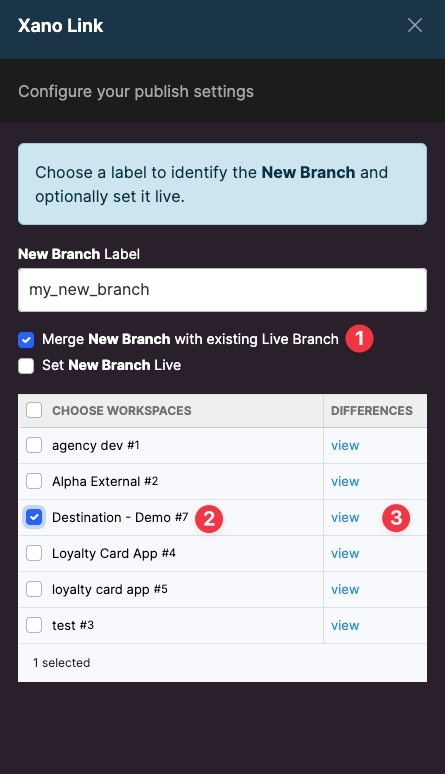
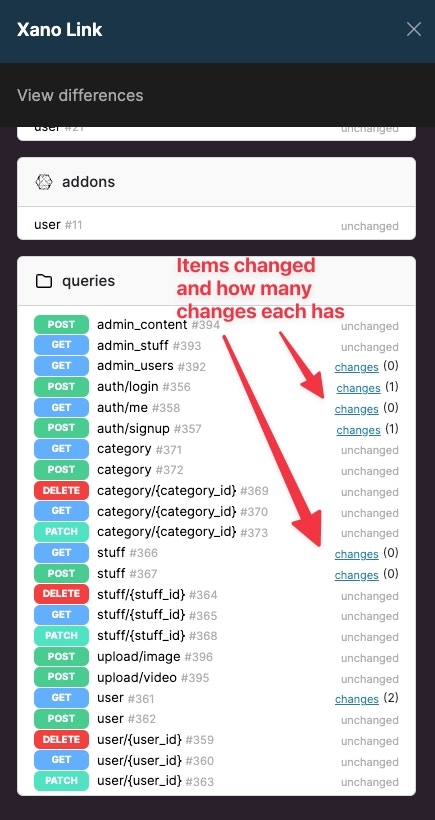
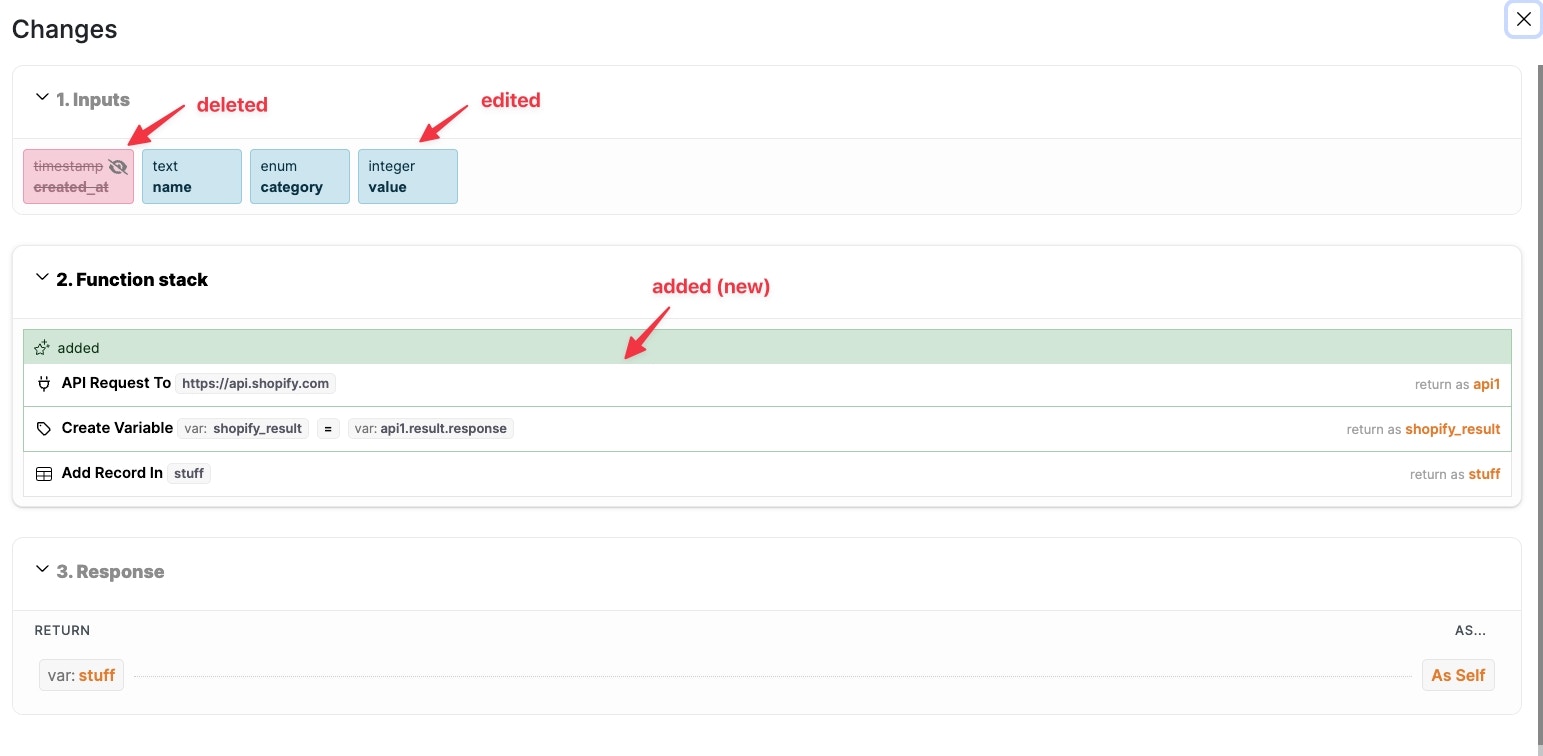
- Created_at input deleted
- Name input edited
- Category input edited
- Value input edited
- API Request function added
- Create Variable function added