Add a Team Member
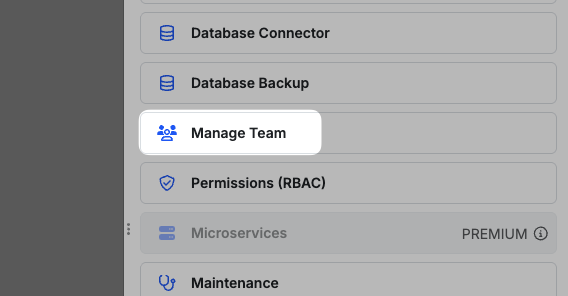
From the instance page, find the instance that you wish to add a team member. Click the menu icon and select Manage Team.
Team Member Roles
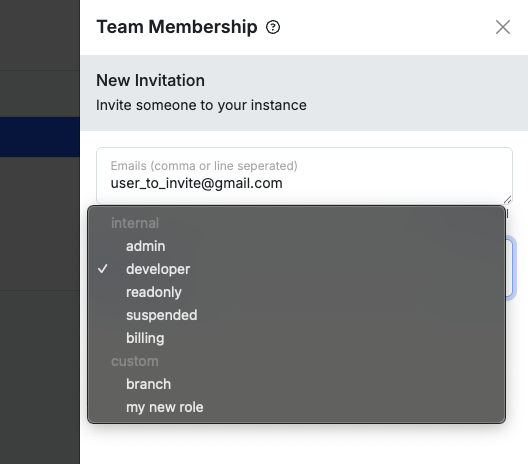
- Admin - full access to everything including the ability to manage team members.
- Developer - full access to everything except managing team members.
- Read-only - read-only access to everything except for actions like workspace export and run & debug.
- Suspended - no access at all, but still a team member (this tends to be a temporary state, so you can switch back without having to re-invite the user).
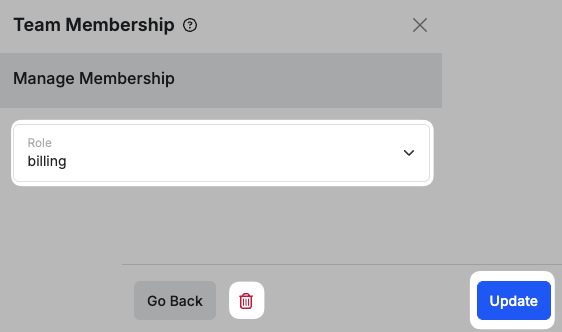
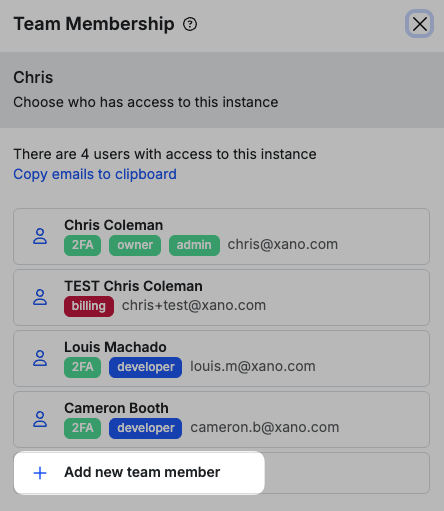
Remove a Team Member and Update Roles
By selecting one of the team members you are able to either update their role or remove them from instance access.